Build Your First Custom Interface
Once you understand how custom item interfaces help support the users in your process and how to add one, it's time to build your first custom interface. This topic guides you through building a simple interface for a module in a New Employee Onboarding solution.
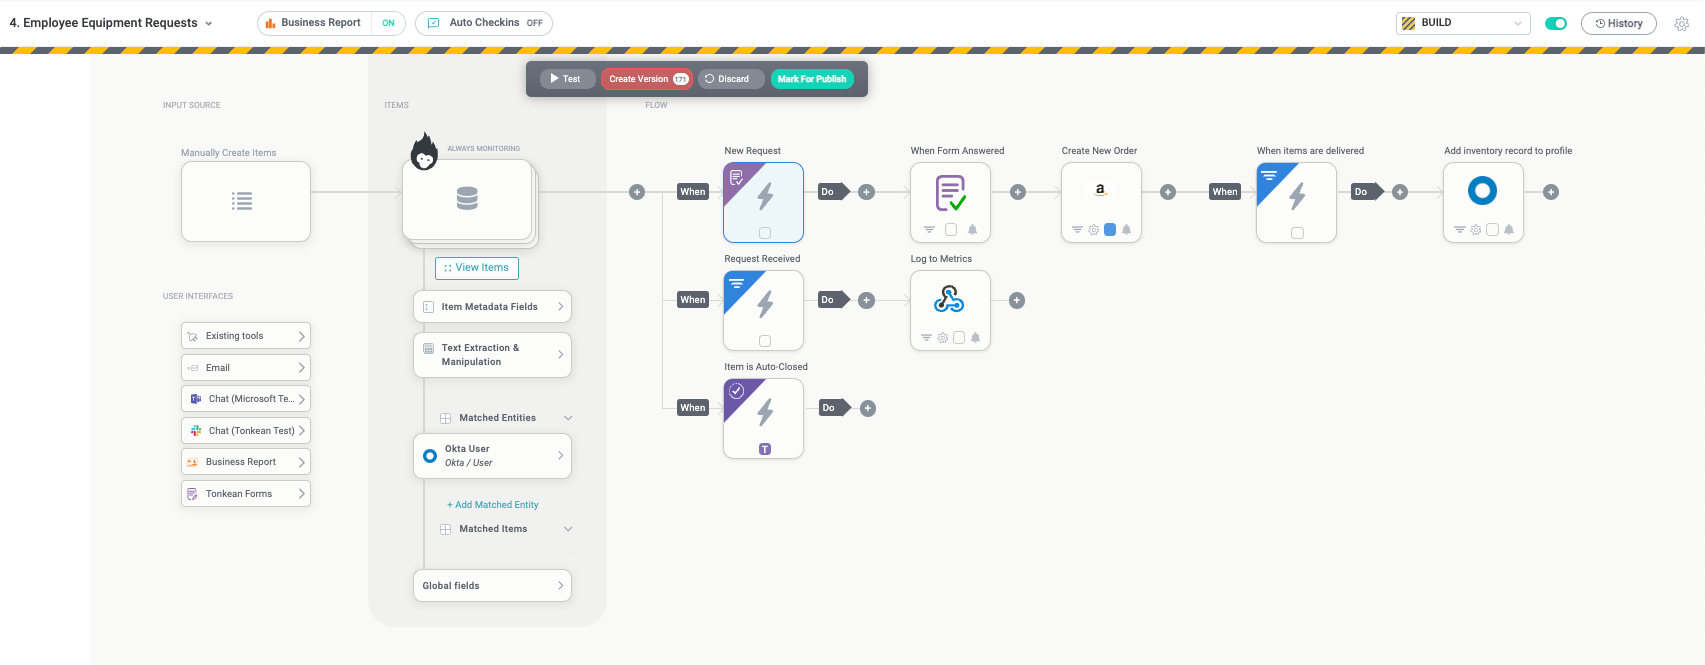
In this use case, we have a module that orchestrates new employee equipment requests, including a create form for the initial request, creating a new Amazon order, and logging the new equipment with the specific employee in a connected Okta data source:
We need an interface that's useful for both the new employees ordering the equipment and the manager who approves the request, so we'll add widgets to display the most important fields, allow users to add comments, and even enable users to take relevant actions directly from the interface.
In order to follow this walkthrough, you should have a working module that has at least one module item—this ensures your fields will have values to populate your interface.
Create the Custom Interface
Navigate to the module you want to create the custom interface for and select Editor. The module builder displays.
Select the Interfaces button in the module builder toolbar. The Interfaces panel displays.

Select Create a new interface. The Create New Interface window displays.

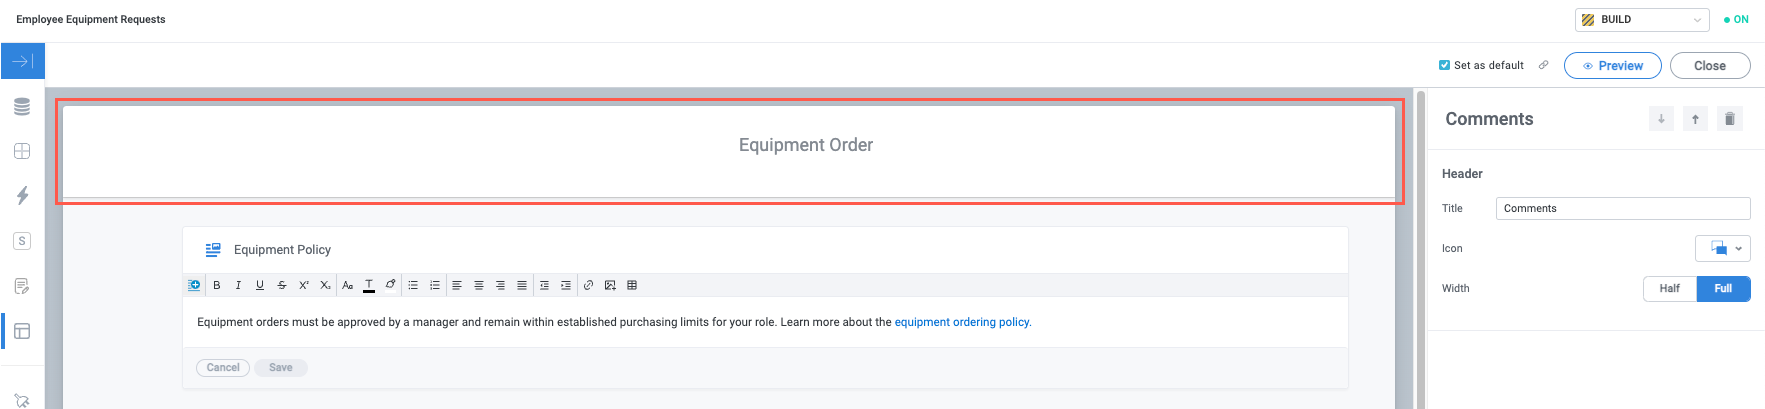
Enter a Name and a brief Description for the interface. We'll title our interface "Equipment Order" and include a description to provide context for new employees using it. When finished, select Create. The interface builder displays.

Add and Configure Widgets
Now that we have a new custom interface, we can add and configure the widgets.
Because one of the users of our interface is new employees, we want them to be aware of the equipment ordering policy to avoid confusion or denied order requests. The best widget for this purpose is the Rich Text widget, which allows us to provide a brief summary of the policy as well as link them to the complete document.
Select the Rich Text widget in the right panel. The Rich Text widget is added to the interfaces and displays in the interface builder and the configuration panel.
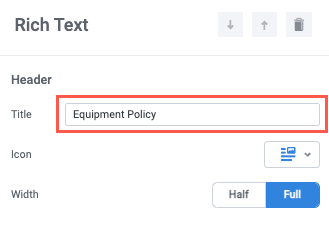
In the configuration panel, enter a new Title for the widget. We'll title ours "Equipment Policy".
In the interface builder, select the rich text field and enter the desired text. We'll add a brief reminder of the company equipment policy and provide a link to the complete document. When finished, select Save.
In addition to rich text, select the insert field button,
 , to include fields from your module.
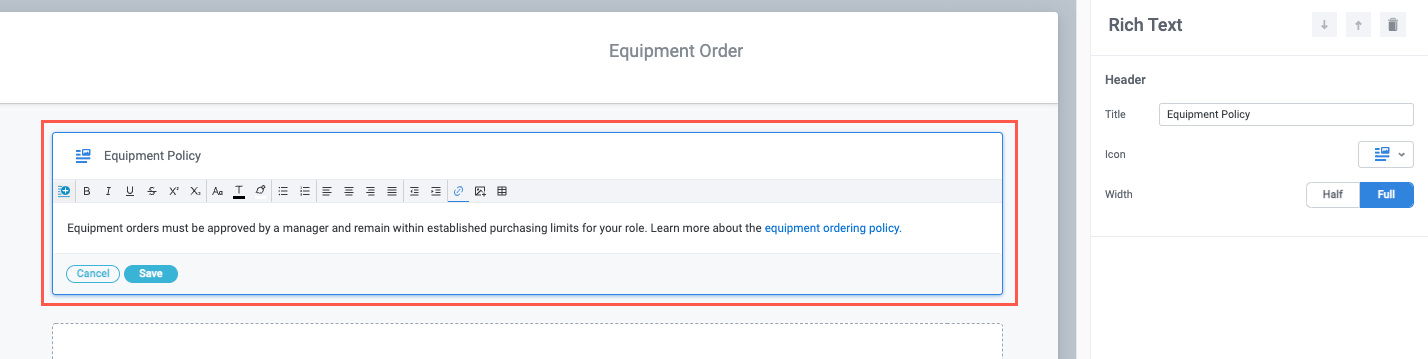
Next, we want to add the most important details of the order request to enable users to track the order as it moves through the module workflow. This will be the core of the interface.
For this information, we'll need to display the main fields from the module, so the Fields widget is best option.
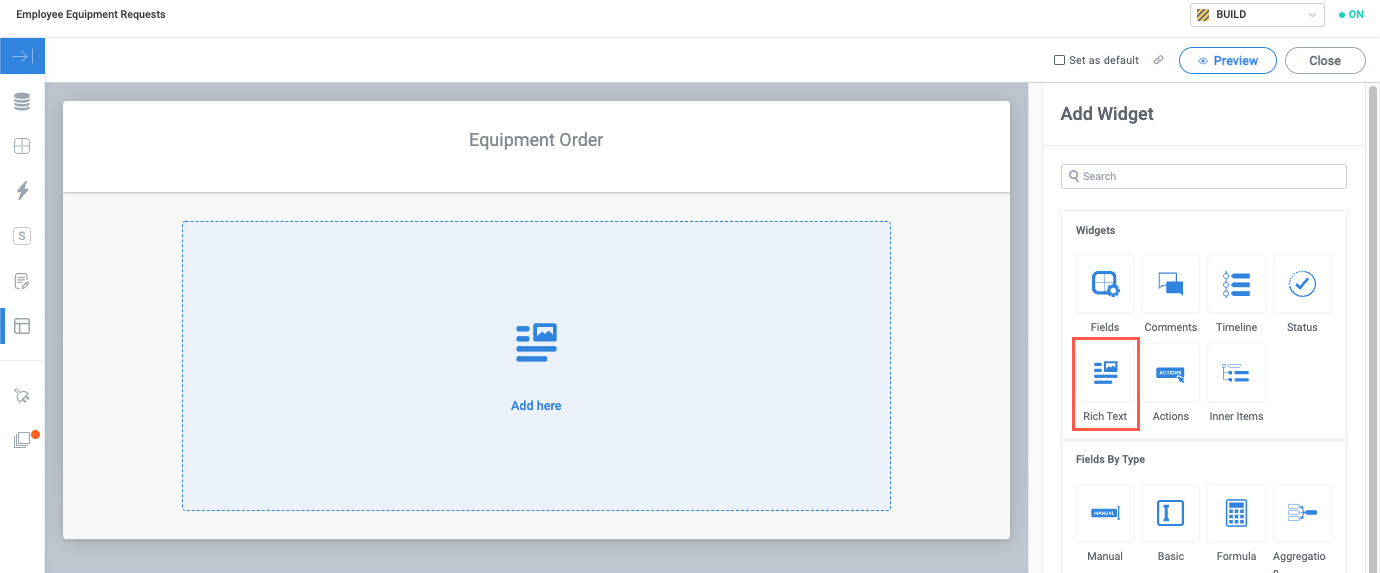
Below the Rich Text widget, select Add Widget. The Add Widget panel displays.

Select the Fields widget in the right panel. The Fields widget is added to the interfaces and displays in the interface builder and the configuration panel.

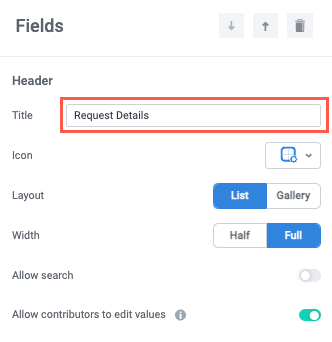
In the configuration panel, enter a new Title for the widget. We'll title ours "Request Details".
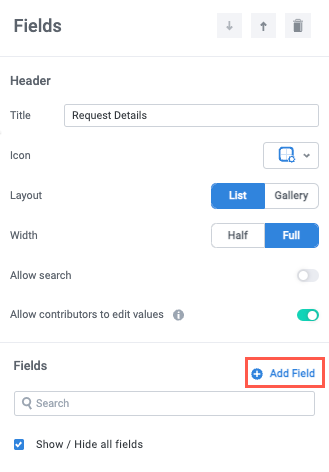
Next, we need to add the specific fields we want to display in the widget. In the Fields section of the configuration panel, select Add Field. A new Select Field dropdown displays.
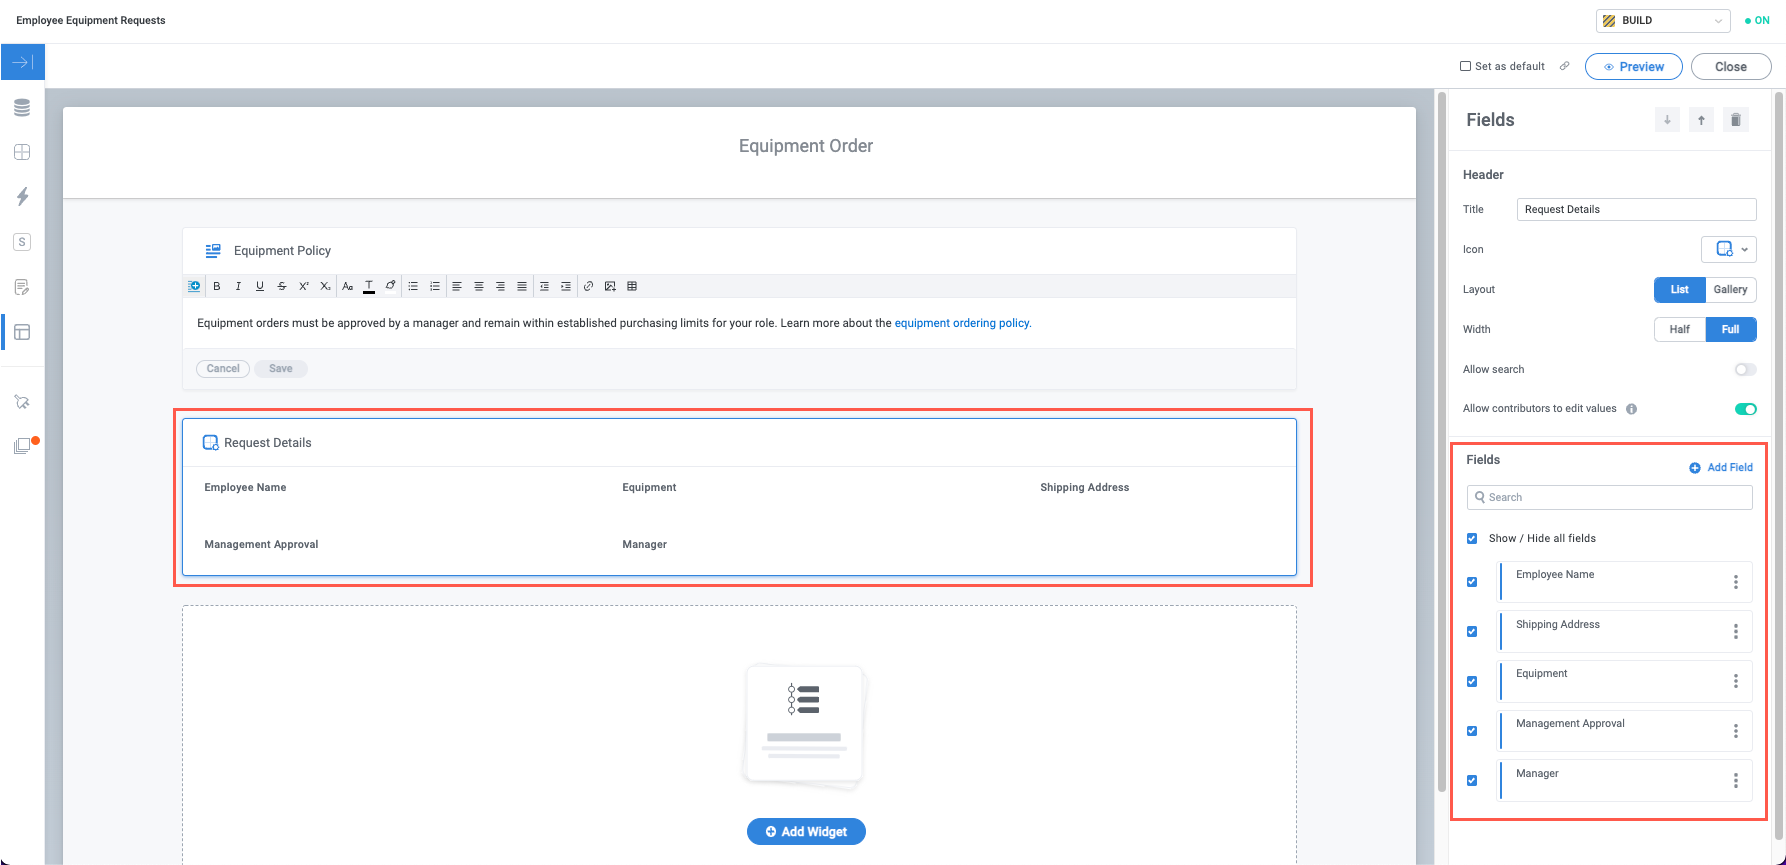
Select the dropdown and choose the field you want to include in the widget. We'll select Employee Name as the first field to display in the widget.

After choosing the field to include, select Add Field to add it to the widget. The field is added to the Fields widget.

Repeat steps #11-13 for each field you want to display in the Fields widget. For our Request Details widget, we'll add a total of five fields:
To edit the label for, rearrange, or remove any field, select the options icon,
 , beside the field in the configuration panel.
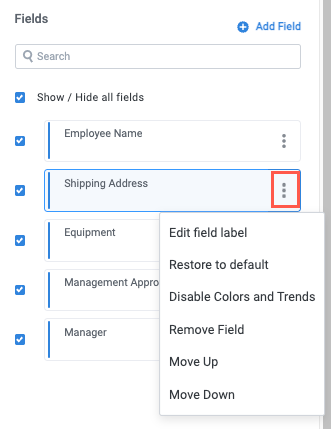
With all our fields added, this Fields widget is complete.
In addition to simply monitoring the important information about equipment requests, we want users to be able to take relevant actions to update or cancel their order. For this, we'll include an Actions widget.
Below the Fields widget, select Add Widget. The Add Widget panel displays.
Select the Actions widget in the right panel. The Actions widget is added to the interfaces and displays in the interface builder and the configuration panel.

In the configuration panel, enter a new Title for the widget. We'll title ours "Order Actions".

Next, we must determine which actions from the module we want to display in the interface. In our case, we want to include all the actions from the module, so we don't need to make any changes. If you do want to exclude any actions from your interface, you can uncheck the relevant box beside the action in the Actions section of the configuration panel:

Now, users can take relevant module actions directly from the interface.
Whenever there are multiple users or groups of users participating in a process, it's helpful to enable them to leave comments on an interface. This can allow them to add relevant context to a module item. For this, we'll add a Comments widget.
Below the Actions widget, select Add Widget. The Add Widget panel displays.
Select the Comments widget in the right panel. The Comments widget is added to the interfaces and displays in the interface builder and the configuration panel.

The Comments widget requires no additional configuration, so we can leave it as it is.
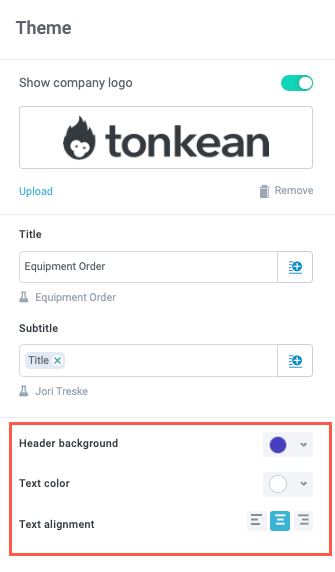
Lastly, we can personalize the interface to make it fit our organization's colors.
Select anywhere in the interface header. The Theme configuration panel displays.
Select Upload to add your company logo and turn on the Show company logo toggle to display it on your interface. We'll upload the Tonkean logo.

Next, select colors for the header background by selecting from the color picker. You can also choose the header text alignment. We'll change our header background to Tonkean purple and leave the text center-justified.
That's it! Our interface has the content, functionality, and design we want. Next, we'll set the custom interface as the default.
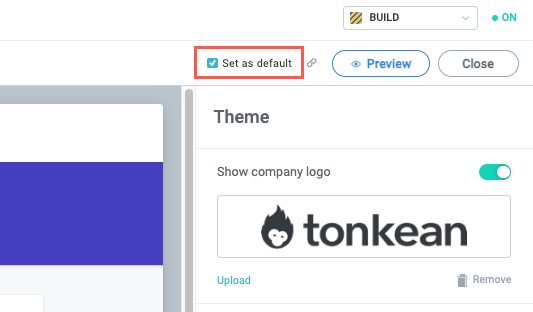
To set the custom interface as the default view for items in the business report, select the Set as default checkbox in the top right. This ensures all users with access to the business report see our curated view.
To view a preview of the interface, select Preview in the top right.

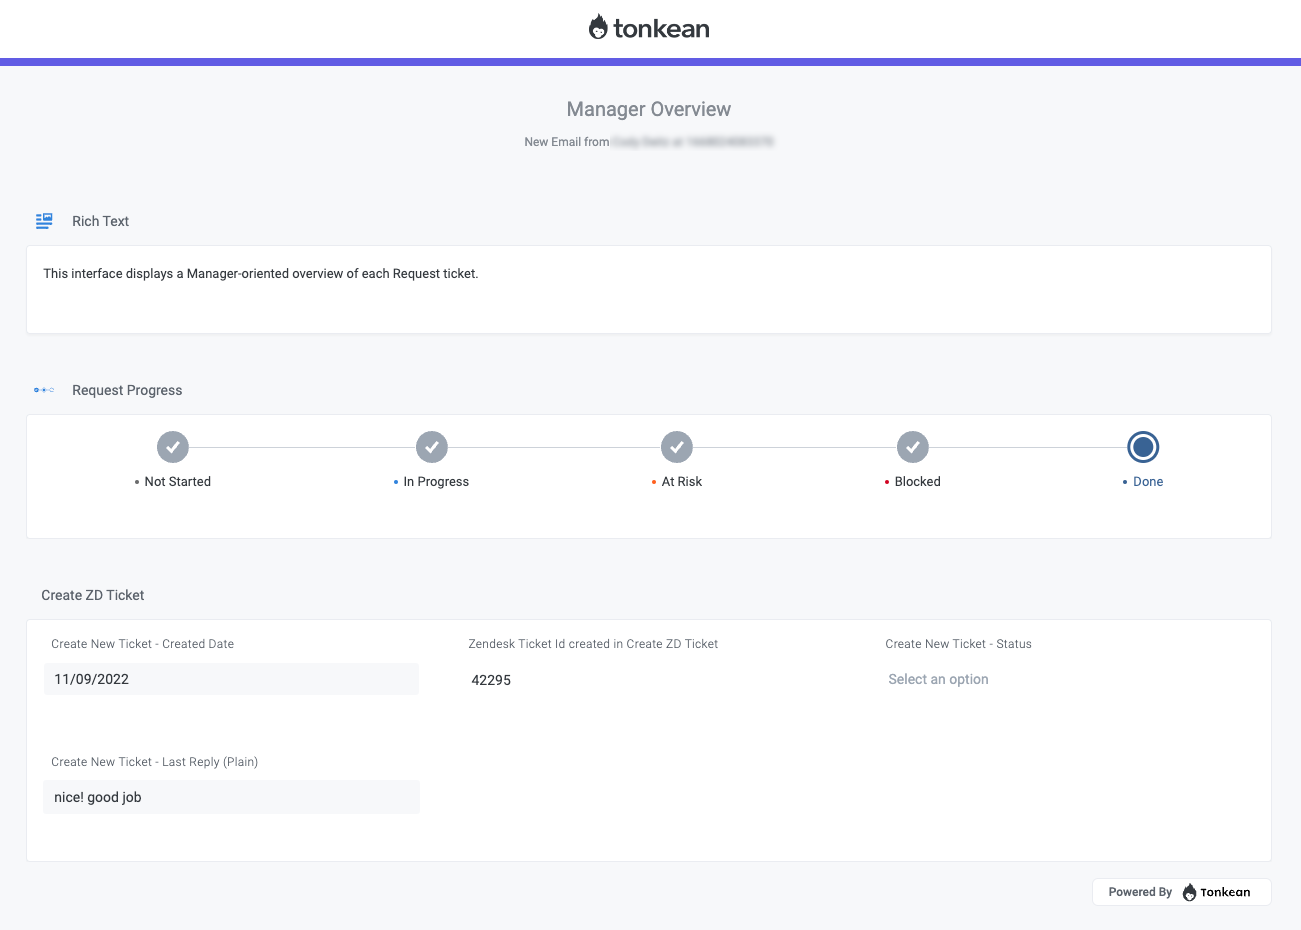
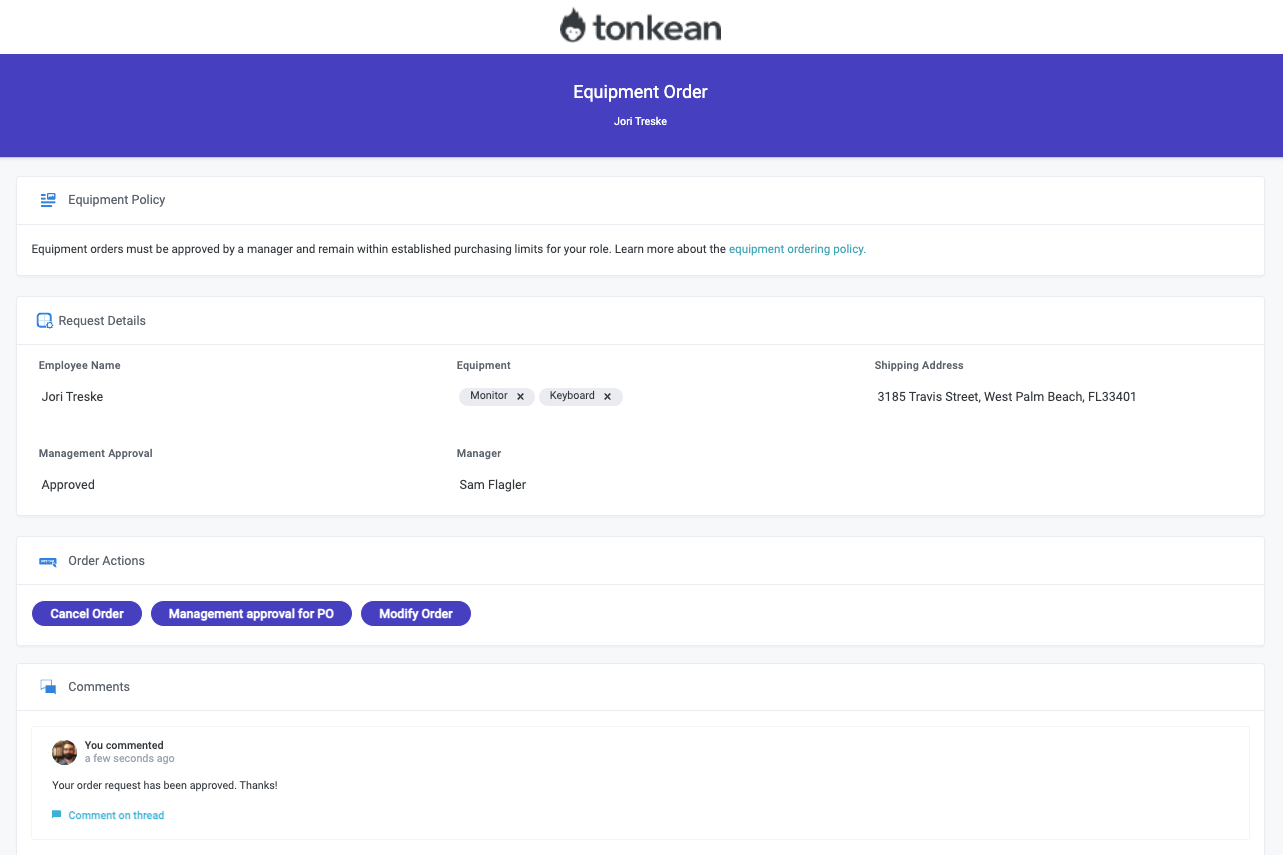
Below is the preview of the "Equipment Order" interface we created:
View the Interface
Now that we've created the custom interface, we're ready to view it live.
Publish the solution that contains the module with your new interface.
Navigate to the relevant business report and select an item in the report. The custom interface displays.