Set Up and Connect a Google Service Account
Service accounts are a special account type designed to be leveraged by another application (like Tonkean) or machine instead of a person. In place of passwords, service accounts rely on public/private RSA key pairs for authentication.
Whenever possible, we recommend you connect a Google service account to Tonkean instead of a user account when connecting a Google Workspace application like Sheets or Drive. Using a standard user account can pose security risks, cause you to bump into timeout errors due to a limit in the number of connections, and could create problems if the associated user leaves your organization.
To connect a Google Workspace application using a service account, you must create a service account in Google Cloud, then select the service account option when connecting the application in Tonkean.
Create a Service Account
If you don't already have a service account, you must create one.
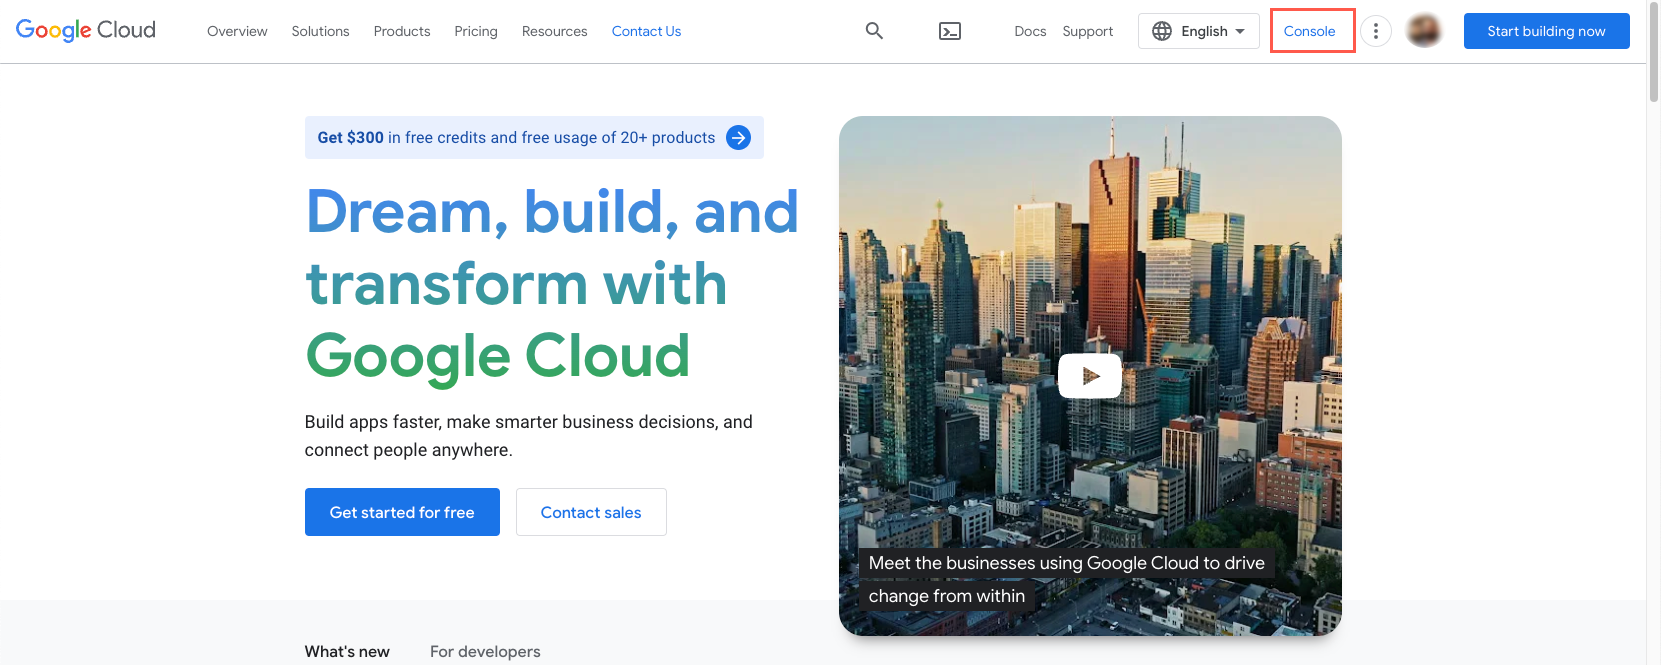
Navigate to Google Cloud and sign in to the account for your organization.
Select Console to open the Google Cloud Console.
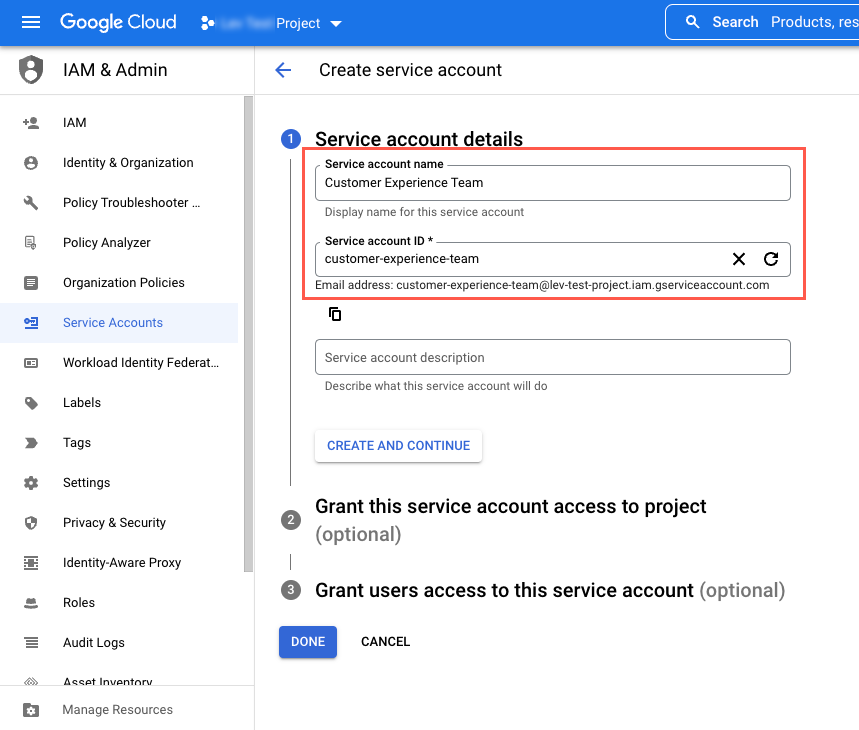
Follow the directions for creating a service account.
Note that the only required fields are Service account name and Service account ID. Sections #2 and #3 in the image below are not required by Tonkean:
Generate a Key
Once you have a service account, generate the private key you can use to connect the account to Tonkean.
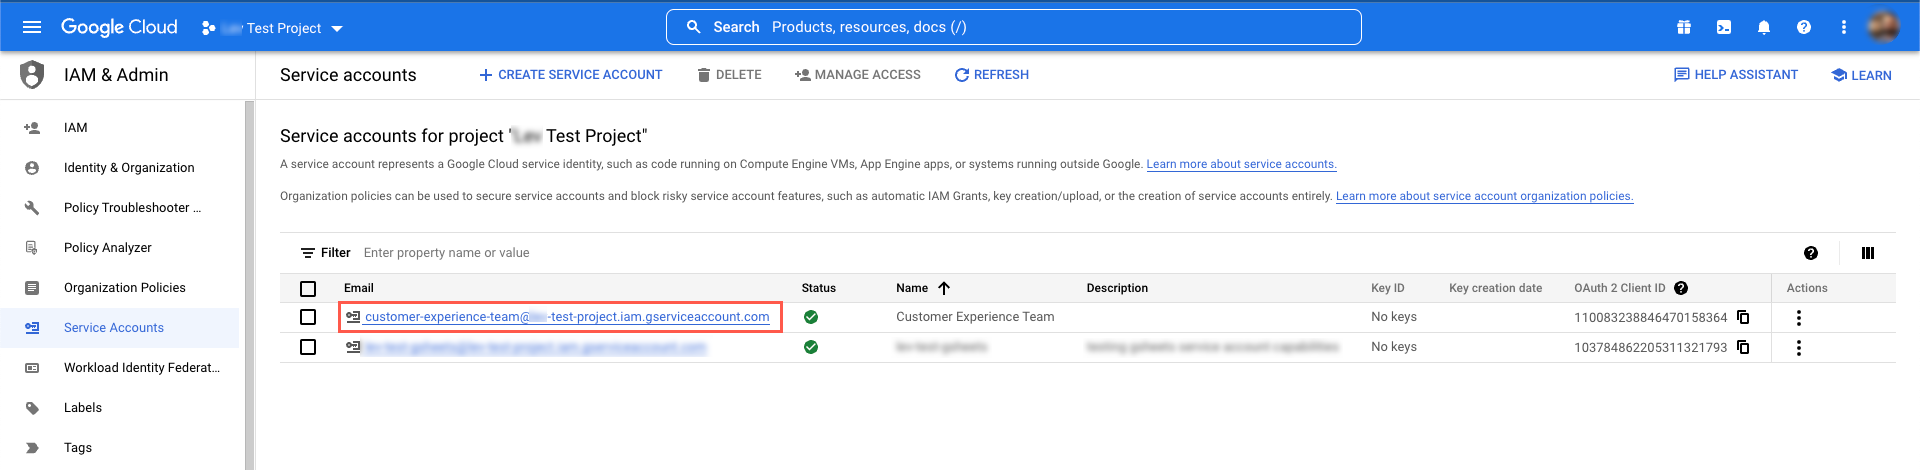
Navigate to the Service accounts screen in the Google Cloud Console.
Select the service account you want to connect to Tonkean.
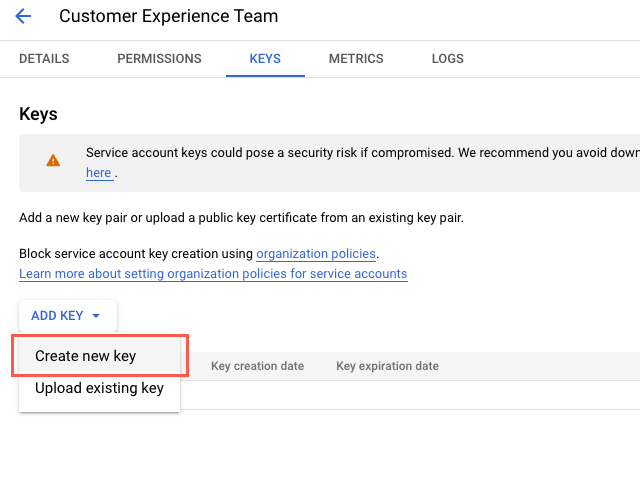
Select the Keys tab. The Keys tab displays.
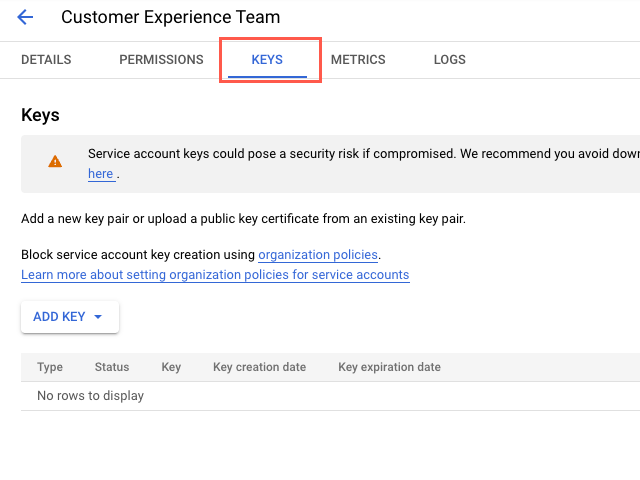
Select ADD KEY, then select Create new key. The Create private key for "{service account}" window displays.
Ensure the Key type is set to JSON and select Create. A confirmation message displays and a JSON file downloads to your computer.
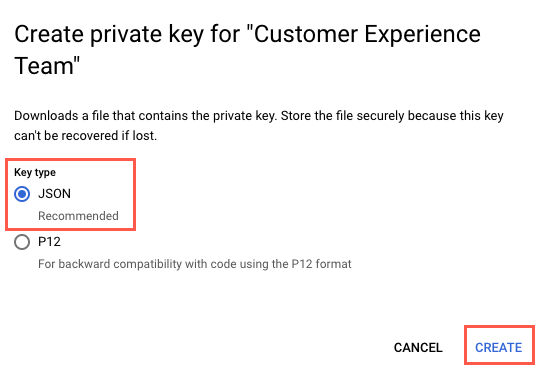
Save the JSON file somewhere you can access it later. This file contains the secret key required to authenticate with Tonkean.
You won't be able to generate this same key again.
Add a Google Workspace Application Data Source
With the dedicated service account and relevant secret key, you can add a Google Workspace application data source in Tonkean.
In Tonkean, select the main nav icon,
 , in the upper left and select Enterprise Components. The Enterprise Components screen displays.
Select + New Data Source in the upper right.

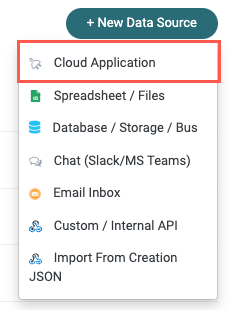
Select Cloud Application. The Add New Data Source window displays.
Enter "Google" in the search field and select the application you want to add as a data source. The New {Data Source} Connection window displays.

Select Create a new connection. The Set Up Data Source window displays.

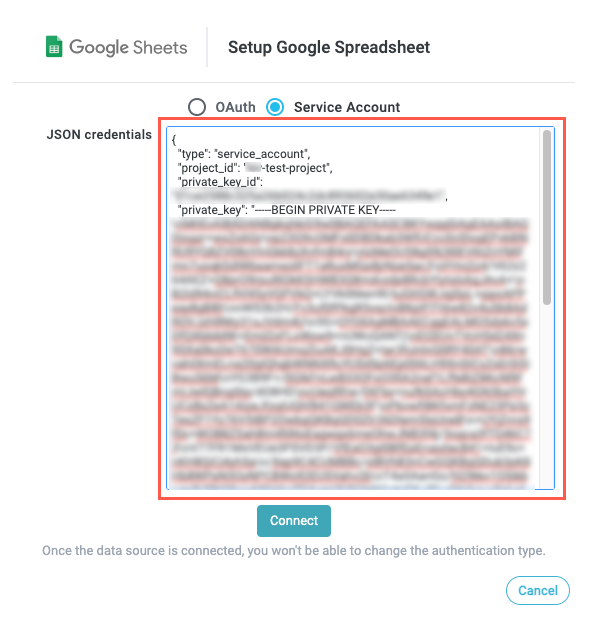
Select the Service Account option. The JSON credentials field displays.

Copy the entire JSON object in the JSON file downloaded from Google Cloud and paste it into the JSON credentials field. When finished, select Connect.
If the connection is successful, a success message displays and you can begin configuring your data source.