Create a Custom Data Source with CSV Upload
Custom data sources uploaded as a CSV are intended for users who want to maintain a data source in Tonkean. Rather than creating the data source from scratch in Tonkean, you can upload an existing data set as a CSV. Much like a manual custom data source, creating a data source using this method is best for simple data sets (an employee list, for example) that are not referenced by anything else besides Tonkean.
From any screen, select the main nav icon,
 , in the upper left and then select Enterprise Components. The Enterprise Components screen displays.
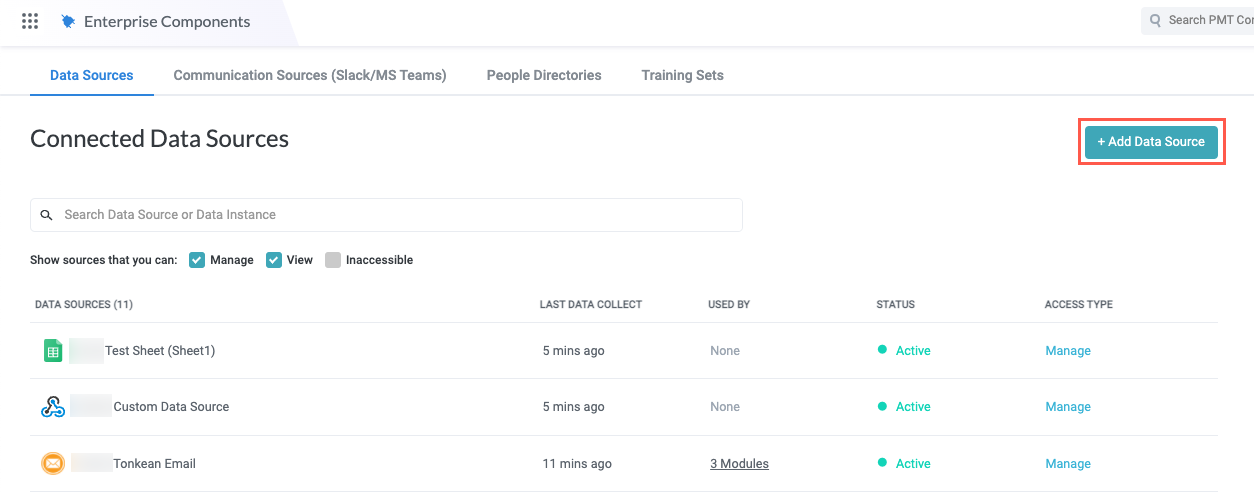
Select + Add Data Source in the upper right.
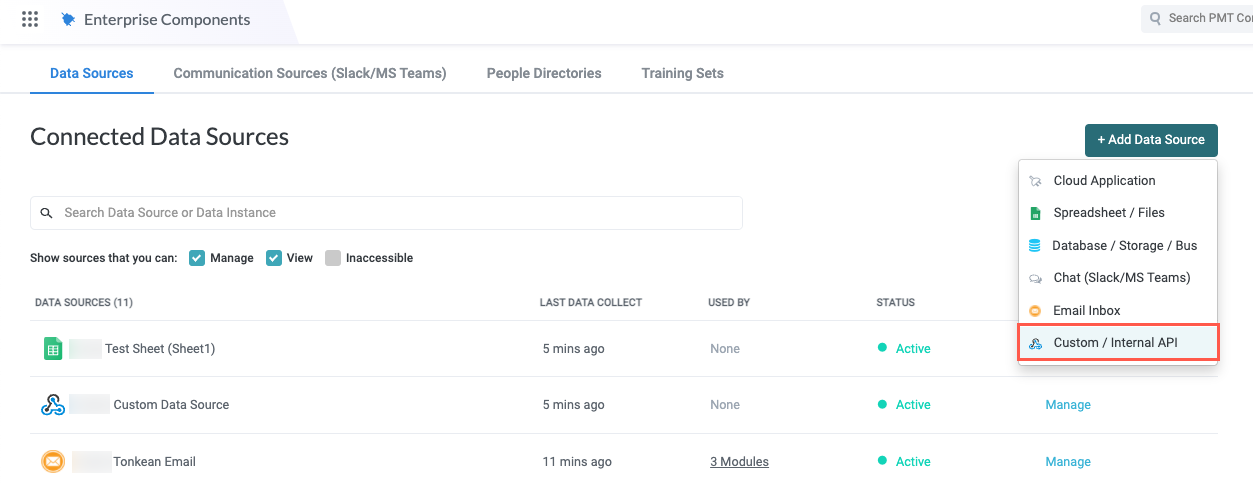
In the dropdown, select Custom / Internal API. The Add New Data Source window displays.
Select New Custom Data Source. The New Custom Data Source window displays.
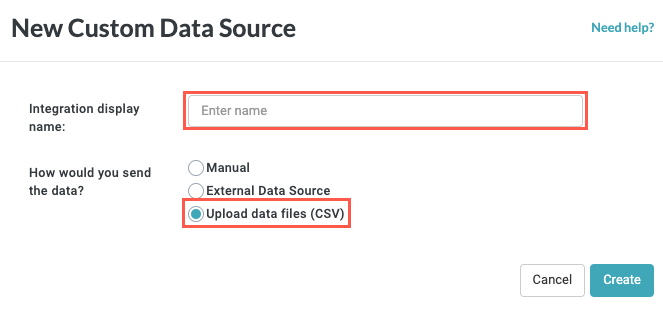
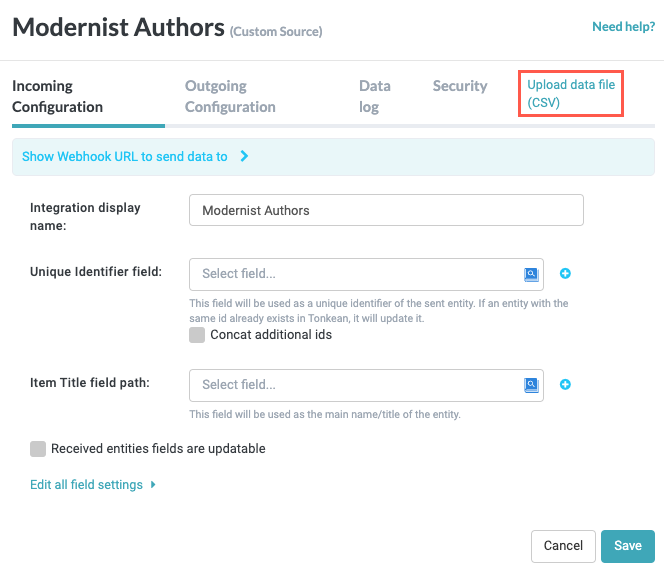
Enter a descriptive name for your custom data source in the Integration display name field and select Upload data files (CSV) in the How would you send the data? field. The name of the window updates to the name entered. When finished, select Create. The data source setup window displays.
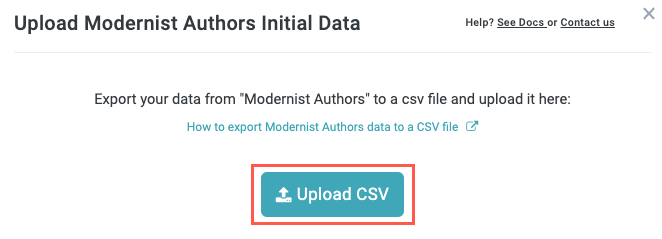
Select Upload data file (CSV). The Upload Initial Data window appears.
Select Upload CSV. A prompt displays to select a file from your system. Select the CSV file. The basic mapping fields for the data source display.
Match two fields from your CSV file:
Item Title - The name assigned to the item that the end user sees. This is also the title of the item in the related business report.
Unique Identifier - The unique identifier for the item (or row), usually an ID number, email address, or other unique value.
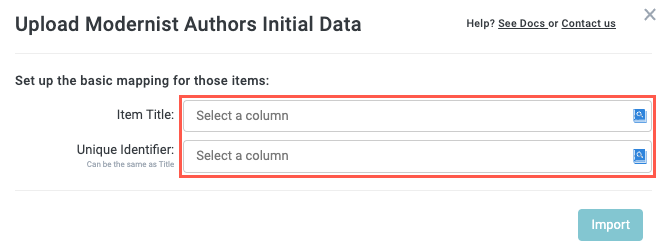
The Item Title and Unique Identifier can be the same value. When finished, select Import.
A message displays confirming the upload is complete.
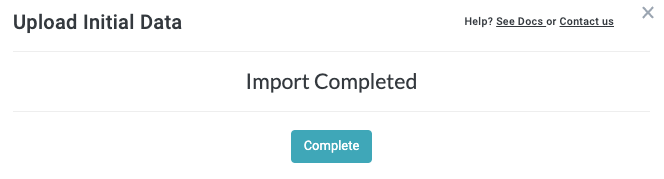
Select Complete. The data source setup window appears, with the Data log tab selected.
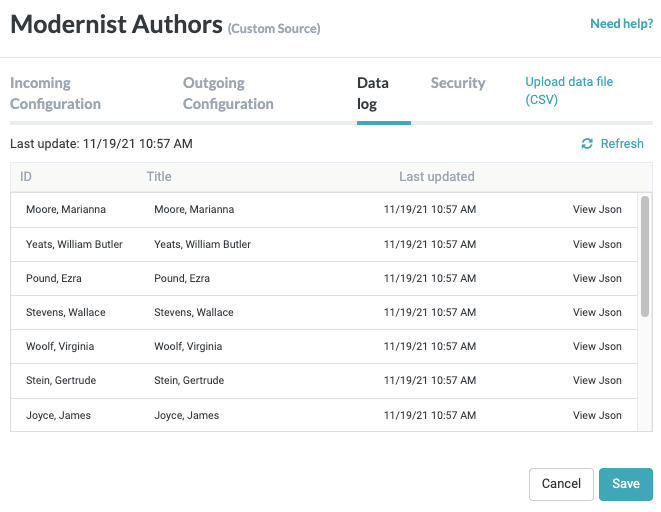
Select Save to close the data source setup window.
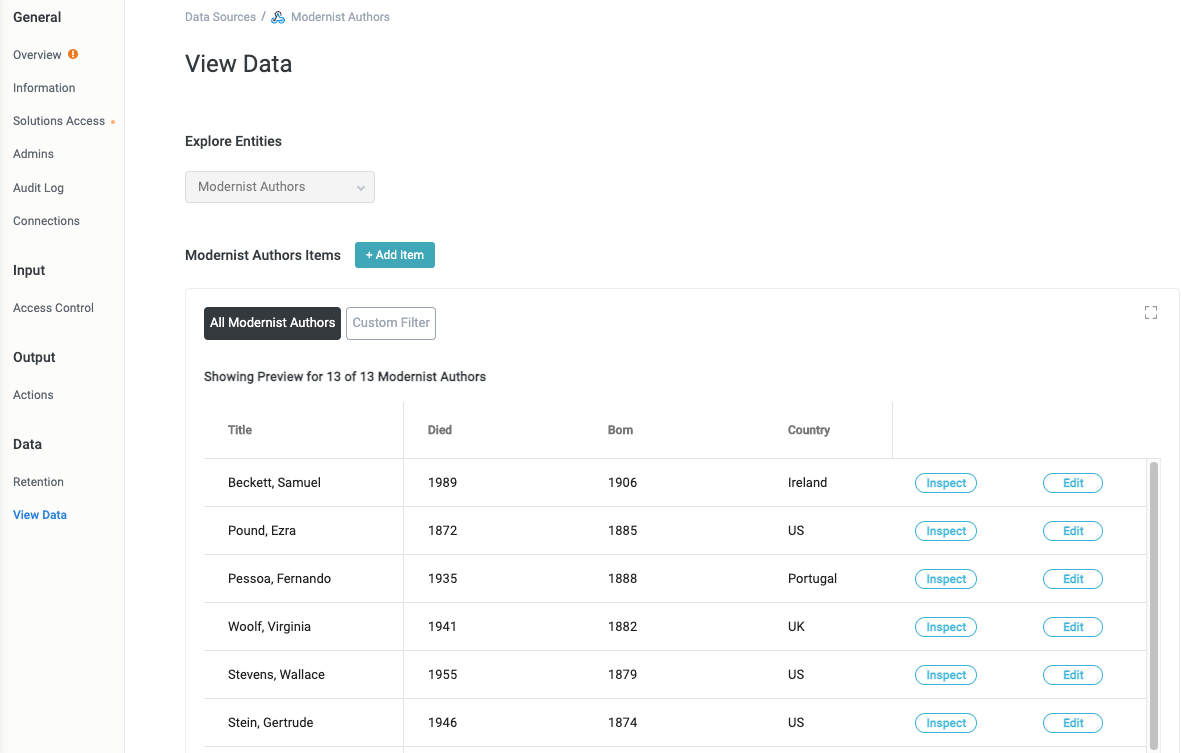
To verify that all your data has been successfully uploaded, navigate to the data source detail screen and select View Data in the data source configuration panel. The View Data screen displays.
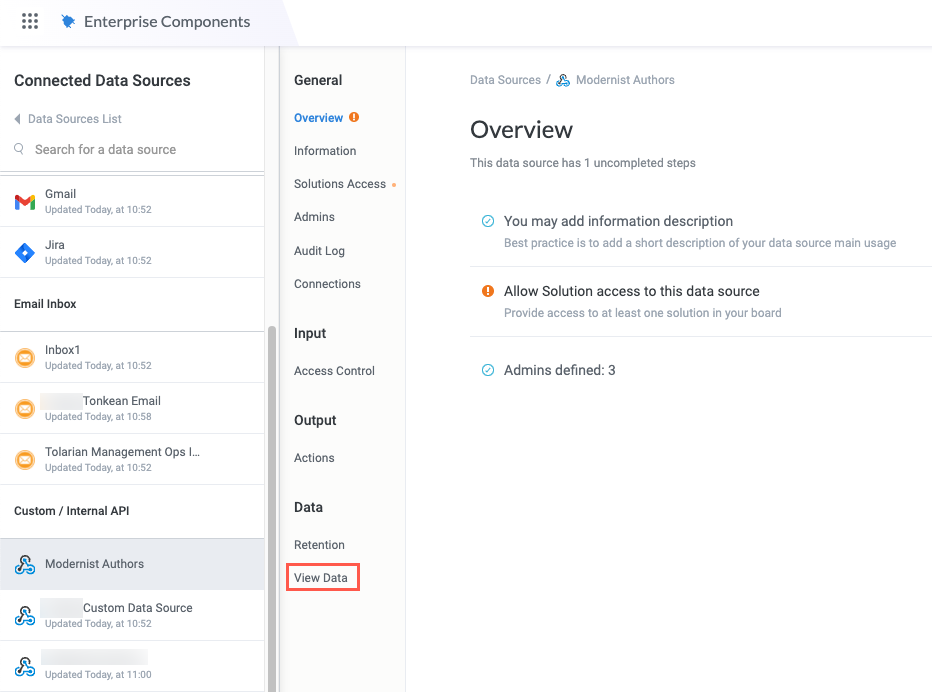
All data from the uploaded CSV displays in the Items section: