Salesforce
Salesforce provides customer relationship management (CRM) software and offers a complementary suite of enterprise applications. Their offerings are generally focused on customer service, marketing automation, analytics, as well as application development, business intelligence, and many others.
Authenticate with Salesforce
To use Salesforce in Tonkean, you must first connect it as a data source:
Select the main nav icon,
 , in the upper left and select Enterprise Components. The Enterprise Components screen displays.
Select + New Data Source in the upper right.

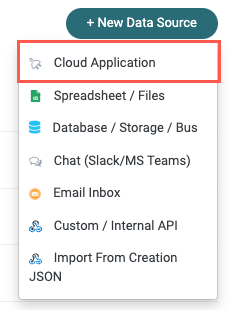
Select Cloud Application. The Add New Data Source window displays.
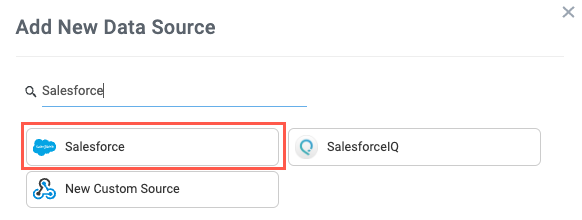
Enter "Salesforce" in the search field, then select Salesforce. The New Salesforce Connection window displays.
Select Create a new connection. The Set Up Data Source window displays.

Select Authenticate with Salesforce. A new window opens where, depending on whether you're currently logged in to your Salesforce account, you are asked to log in using oauth or asked to allow Tonkean access for your account. Select Allow.

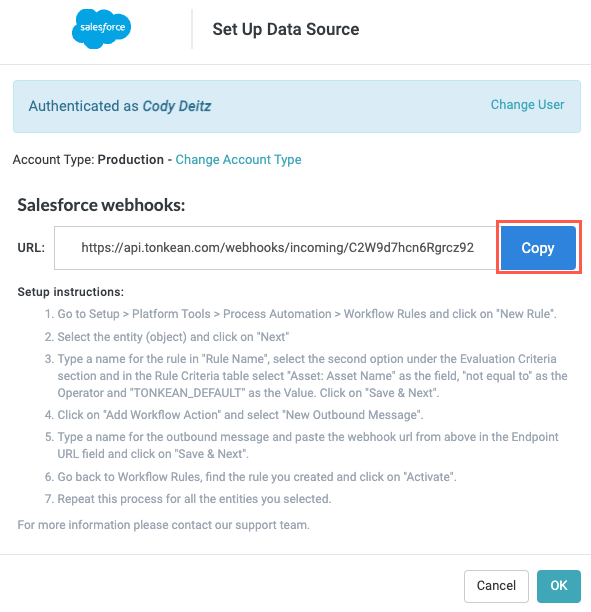
Once authentication is complete, the Set Up Data Source window displays the Salesforce webhooks field. If you don't want to configure a connection to Saleforce using a webook now, select OK.
Your Salesforce account is connected to Tonkean. Be sure to provide the relevant solutions access to this data source.
Connect Salesforce using a Webhook
For workflows in Tonkean that run as close to real-time as possible, we recommend connecting Salesforce using a webhook. A webhook connection allows Salesforce to send updates to Tonkean as they happen, so Tonkean doesn't need to send an API call at a fixed interval. This configuration generally makes solutions more responsive and less likely to encounter any API rate limits you may have.
To connect Salesforce using a webhook, follow the steps below:
Copy the webhook URL in the Set Up Data Source window.
Navigate and log in to your Salesforce account. Then, select the Setup icon in the upper right. The Setup screen displays.
In the sidenav, scroll down to the Platform Tools section. Select Process Automation > Workflow Rules. The Workflow Rules screen displays.
Select New Rule. The New Workflow Rule screen displays.
Select the Object dropdown and select the object (usually called an "entity" in Tonkean) the workflow applies to. Then, select Next.
Enter a Rule Name for the field, and, if desired, a Description of the rule.
In the Evaluation Criteria section, for the Evaluate the rule when the record is field, select created, and every time it's edited.
In the Rule Criteria section, make the following selections:
Field - Opportunity: Opportunity Name
Operator - not equal to
Value -
TONKEAN_DEFAULT
When finished, select Save & Next.
Select Add Workflow Action and New Outbound Message. The New Outbound Message screen displays.
Enter a Name and Unique Name for the outbound message.
Paste the copied webhook URL generated in Tonkean into the Endpoint URL field. When finished, select Save. The Edit Rule Name displays, and you should see the workflow action you created.
Select the Description of your new rule. The Outbound Message screen displays.
In the Workflow Rules Using This Outbound Message section, select Activate. The All Workflow Rules screen displays.
If you selected any additional objects (entities), repeat steps #4-13 for each object.
Your Salesforce account is connected to Tonkean using a webhook. The addition of or updates to the specified objects in Salesforce now update Tonkean.
Salesforce Permissions
When you connect a Salesforce account to Tonkean, it's important to note that all of the permissions in Salesforce (that is, create, edit, read-only) are mirrored in Tonkean. A user is able to create or update in Tonkean anything they are able to create or update in Salesforce.
Considering these equivalent permissions, make sure that the account you connect has the authority to perform all the actions your process requires in Tonkean while also being careful not to give Tonkean more access to Salesforce than is necessary.
You can manage user permissions in Salesforce using Profiles and Permission Sets.
Currently, you can only use a webhook to connect to Salesforce instances that are Enterprise Edition and higher. You may connect using a webhook to the Professional Edition, but only if you've required API access from your Salesforce account manager.
Monitor Salesforce as an Intake Source
Like most data sources, you can use Salesforce as the module intake source:
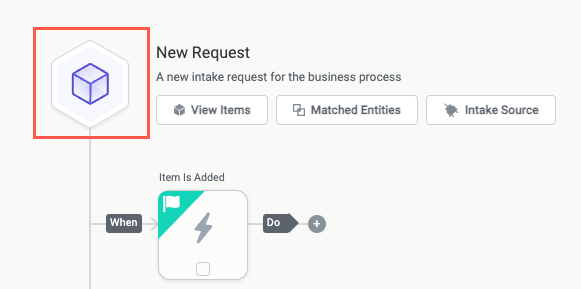
After creating a new module, select the item tile. The Item Details panel displays.
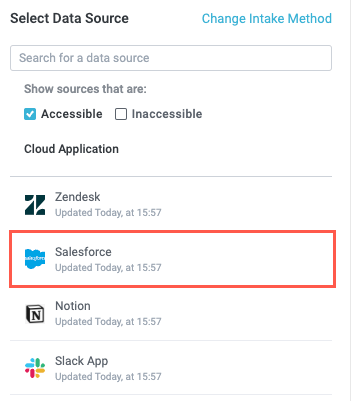
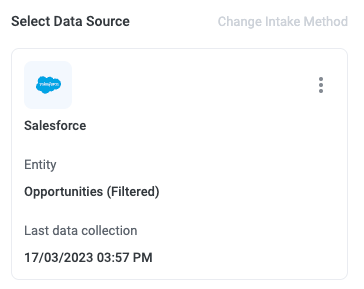
In the Select Intake Source section, select External Data Source. The Select Data Source section displays.

Select the Salesforce data source you want to connect as the intake source. The connection configuration screen displays.
Select the entity you want to collect, where relevant.
Salesforce entities include all available objects in Salesforce (for example, Accounts, Cases, and Opportunities).

By default, Tonkean collects all entities of the selected type. If you want to filter the entities the module monitors, configure the conditions for the conditions group.
When setting up a new intake source, we recommend always adding a custom filter instead of monitoring all entities of the selected type. This ensures there's a smaller amount of data to monitor and respond to. For example, you might configure the module to monitor only Opportunities in the Needs Analysis stage.

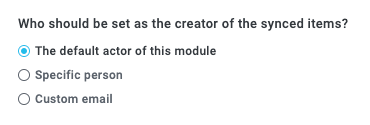
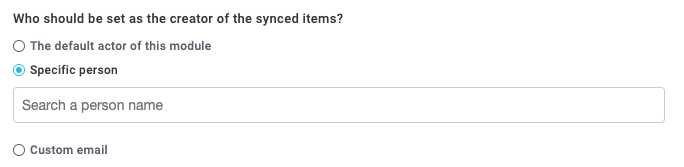
Select who to set as the creator of the items synced from the data source:
The default actor of this module - The module actor, configured in the module settings. For more information about configuring the module actor, see Configure Module Settings.
Specific person - Select a specific user from your board.
Custom email - Enter a custom email. Enter the email address manually or dynamically create the address by selecting the insert field button,
 , and using existing fields from your module.
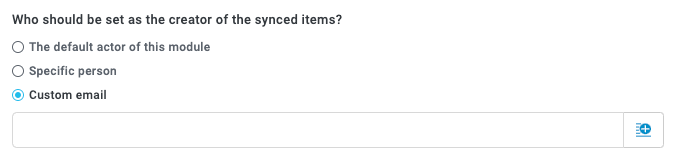
When finished, select Save in the upper right.
Your module is monitoring Salesforce as an intake source and displays in the Item Details panel.
Use Salesforce as an Action
In addition to monitoring a Salesforce instance, you can use actions to update and create new records in Salesforce based on triggers you create. To add a Salesforce action block, perform the following steps:
On the module builder screen, add an action by selecting the plus icon,
 , to the right of the Do arrow in your work flow. A new action block is created and the Action Block panel displays.
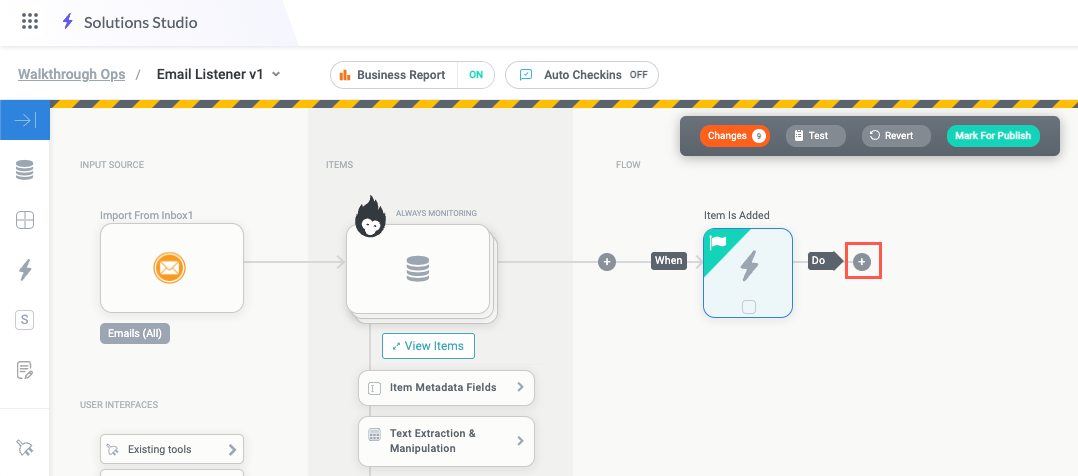
Scroll down to the Data Actions section and select the Salesforce action. The Salesforce action panel displays.
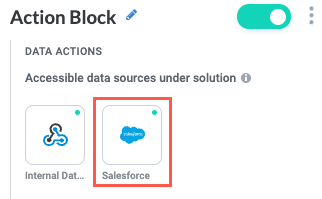
Configure the fields to perform any action relevant to your workflow, including creating or updating specified entities, updating the status of a case, or even using a custom data source action.

You're leveraging Salesforce as an integrated part of your module workflow.