Map Your Process
Provide next-level visibility into your process with a detailed, responsive map of your process end-to-end
Process maps are responsive maps of your business process. They can be detailed and expansive, covering your entire process and sub-processes end-to-end, or they can provide an overview that keeps things simple for requesters. However, you choose to map things out, a process map is a powerful tool that provides requesters and other stakeholders with much-needed visibility into their requests.
For example, the typical procurement process includes numerous steps, checks, approvals, and actions the requester must complete in order to have their request fulfilled. By providing requesters with a detailed process map, they can understand exactly what they need to do in order to move the process forward, whether it's securing three bids before making a final purchase or simply getting their manager to sign off on the request.
The process map that you, the maker, create lives in the module builder, but the Process widget enables you to share the map on any custom item interface, ensuring the map is directly accessible by the requester.
Build a Process Map
Process maps are module-specific, using the fields and status in that module. To create a process map, follow the steps below:
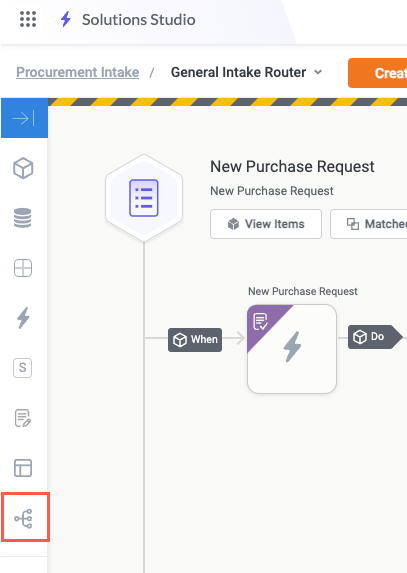
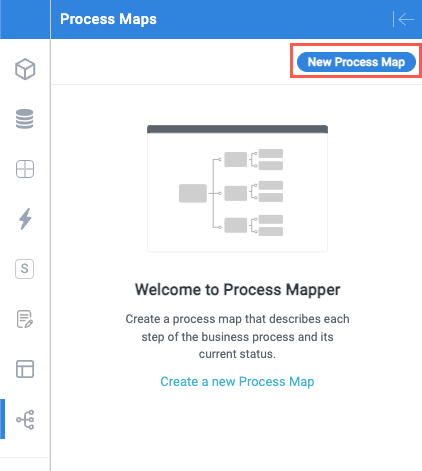
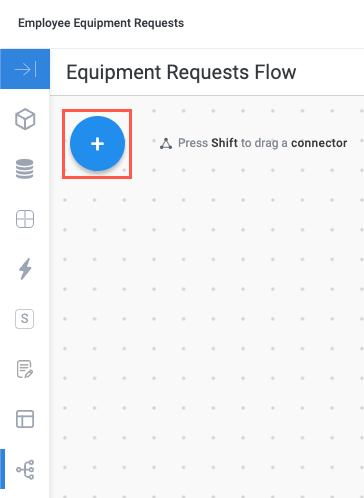
Navigate to the module you want to create a process map in and select the Process Maps button in the module builder toolbar. The Process Maps panel displays.
Select New Process Map. The Create New Process Map window displays.
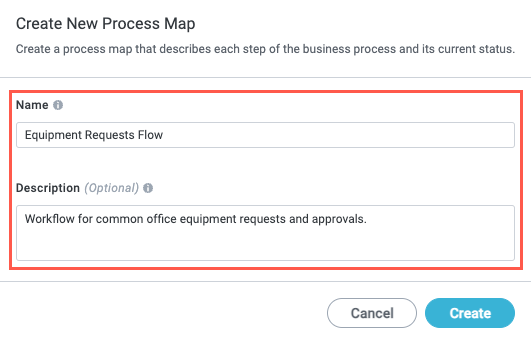
Enter a Name and, if desired, a Description for your process map, then select Create. The process map canvas displays. A new map is created and you're ready to start building.
Build a Map and Set Conditions
With the process map created, you can add the individual cards, add the connections between them, and configure the conditions that determine when each card is in a particular status.
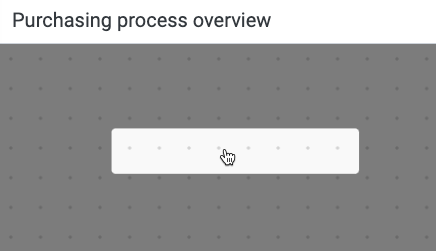
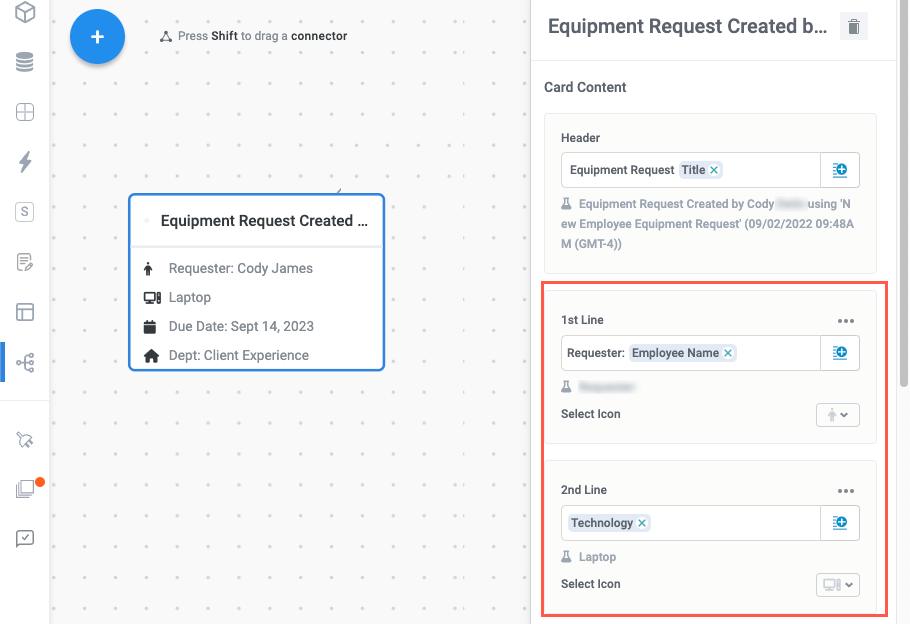
Select the Add button to add and place a new block. The card configuration panel displays.
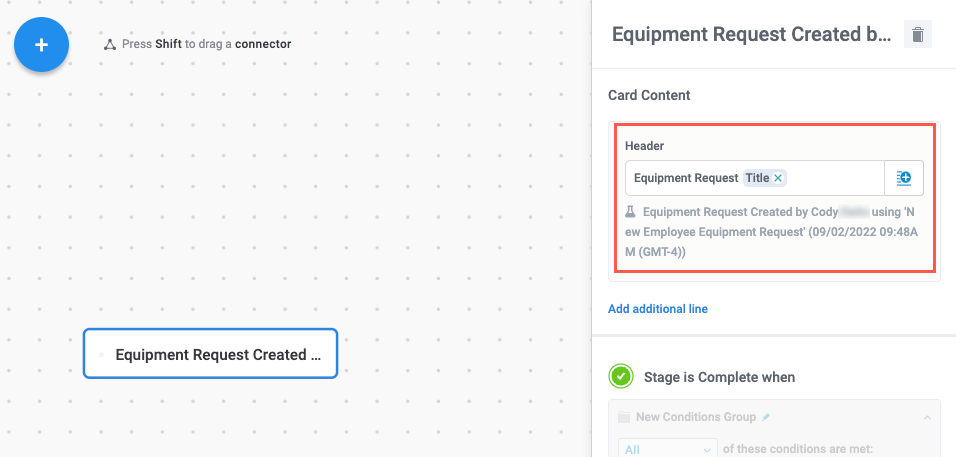
Add a Header for the card. This first card in the process map is generally the request or item that's created as the start of the process, so we recommend using the request Title for request-based workflows.
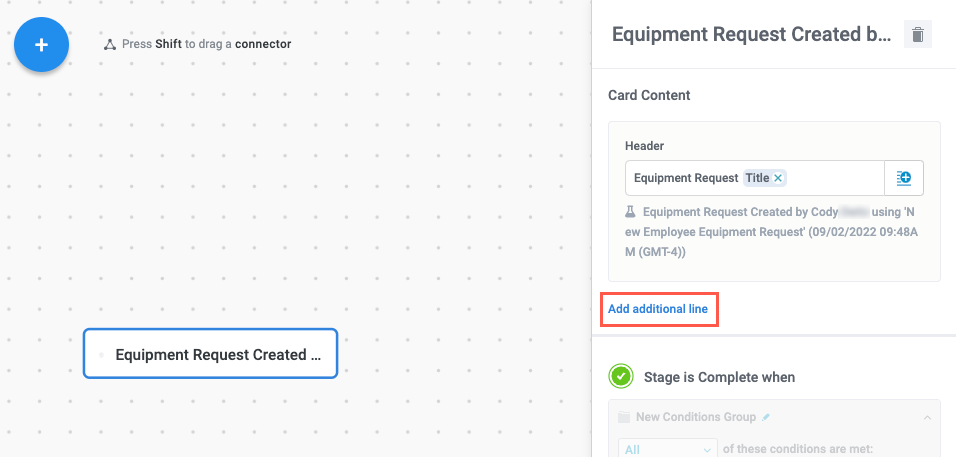
Select Add additional line to include more information. Several additional lines with the most important details about the process stage can help make your process map legible at a glance.
Configure each line, including the relevant fields or text and an icon, if desired.
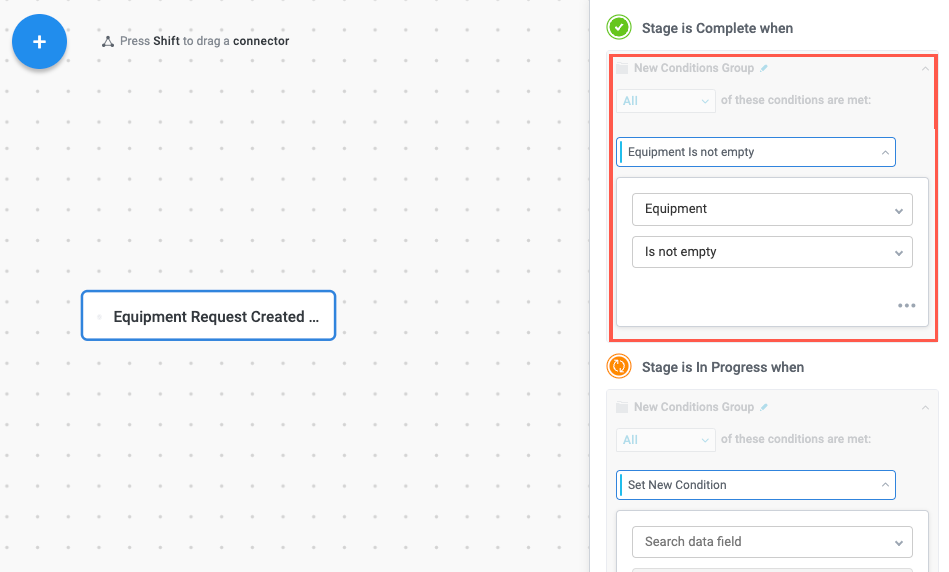
Configure the conditions that determine the status of the stage. The specific conditions you choose for each stage in your process are unique to your process, but some common practices include setting conditions that a required field is not empty or that a field has a specific value. In our example, we set this stage as Complete when the Management Approval status is equal to Approved.
Repeat this condition configuration for each condition. For more information about some of the unique ways Tonkean evaluates conditions in the process mapper compared to other areas of the platform, see Process Map Tips and Best Practices.
There are three default statuses: Complete, In Progress, and On Hold. You can edit these or add custom statuses as needed.
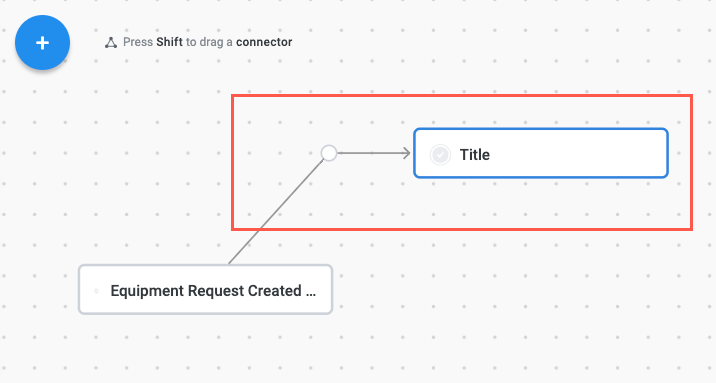
Select the Add button to create and position another card for the next stage in your process. Then, hold Shift and click and drag from the first block to the new block to add an arrow. Hover over the arrow to add a joint.
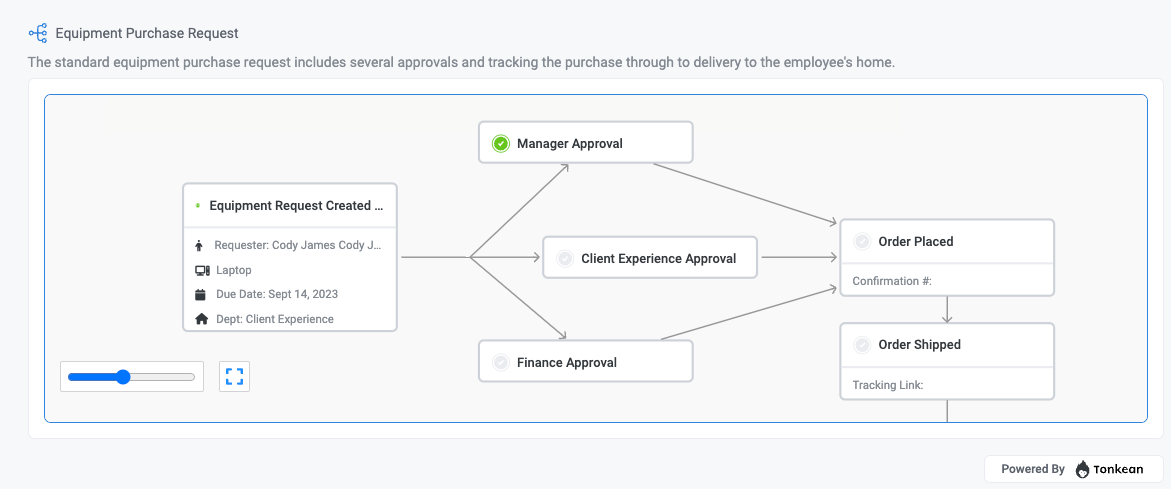
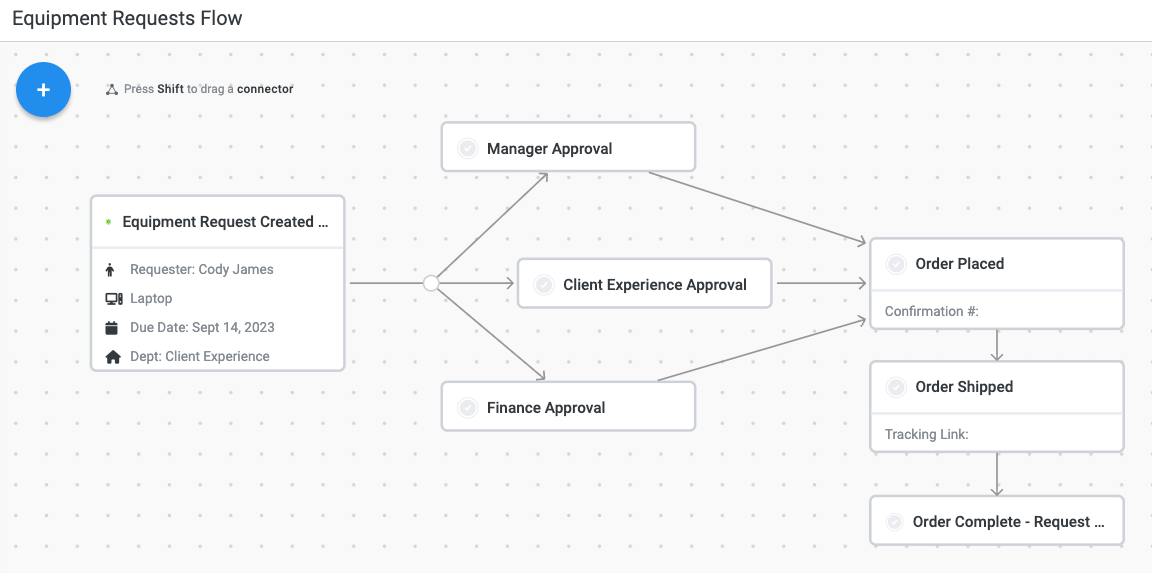
Repeat steps #1-5 to create and configure each stage in your process. Your completed process map is unique to your specific process, but a basic purchase request flow may look something like the example below:
Process Map Tips and Best Practices
Due to some of the unique features of process maps, there are important differences to understand and related best practices we recommend when creating and configuring process maps.
Set Specific Stage Conditions
As a general rule, conditions in Tonkean are evaluated to be true unless they are false. That is, an empty condition is automatically true. However, the opposite is true for stage conditions in process maps: a stage condition is by default false unless evaluated to be true. This assumption reduces the potential for overlapping conditions and prevents process stages from appearing to move forward before the necessary conditions are actually met.
With this assumption in mind, we recommend that you carefully specify conditions that set a given stage as Complete, In Progress, or whatever other conditions you configure. Ensure the condition that sets a stage to a given status is unique to that stage.
Consider the Order of Condition Evaluation
Stage conditions are evaluated from top to bottom. That is, the default conditions Complete, In Progress, and On Hold are checked by Tonkean in that order. If one condition is evaluated as false, Tonkean moves down to the next condition. Once a condition is evaluated to be true, any remaining conditions are ignored. For example, if the condition for Stage is Complete is evaluated as true, the conditions for Stage is In Progress and Stage is On Hold are ignored.
Add a Process Map to an Interface
Once you have a completed process map in a module, you can share it with process contributors on a custom item interface. To add a process map to an interface, follow the steps below:
Navigate to the relevant item interface.
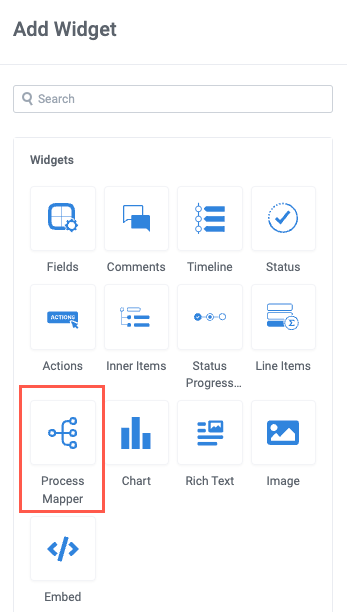
Add a new widget and select the Process Mapper widget. The Process Mapper widget is added to the interface and the Process Mapper configuration panel displays.
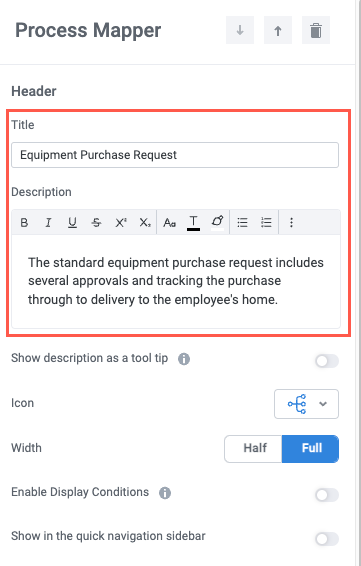
Add a Title and a Description for the process map, if desired.
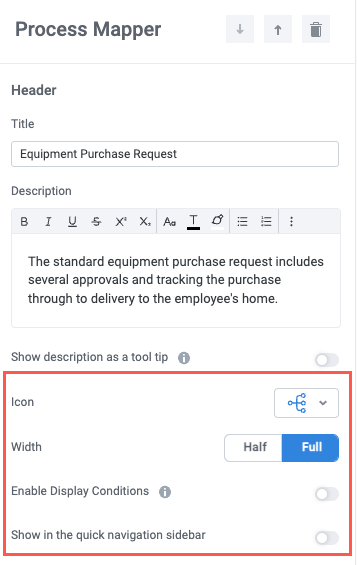
Configure the Icon, Width, and Enable Display Conditions, where relevant for your interface.
We recommend setting process maps to full width to maximize readability, especially if your process has many stages.
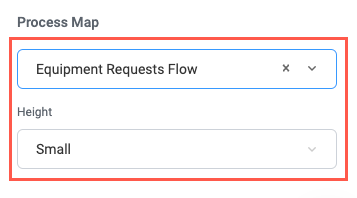
Select the Process Map to display in the widget, then select the Height (Small is the default).
Your widget is complete and ready for use on your item interface:
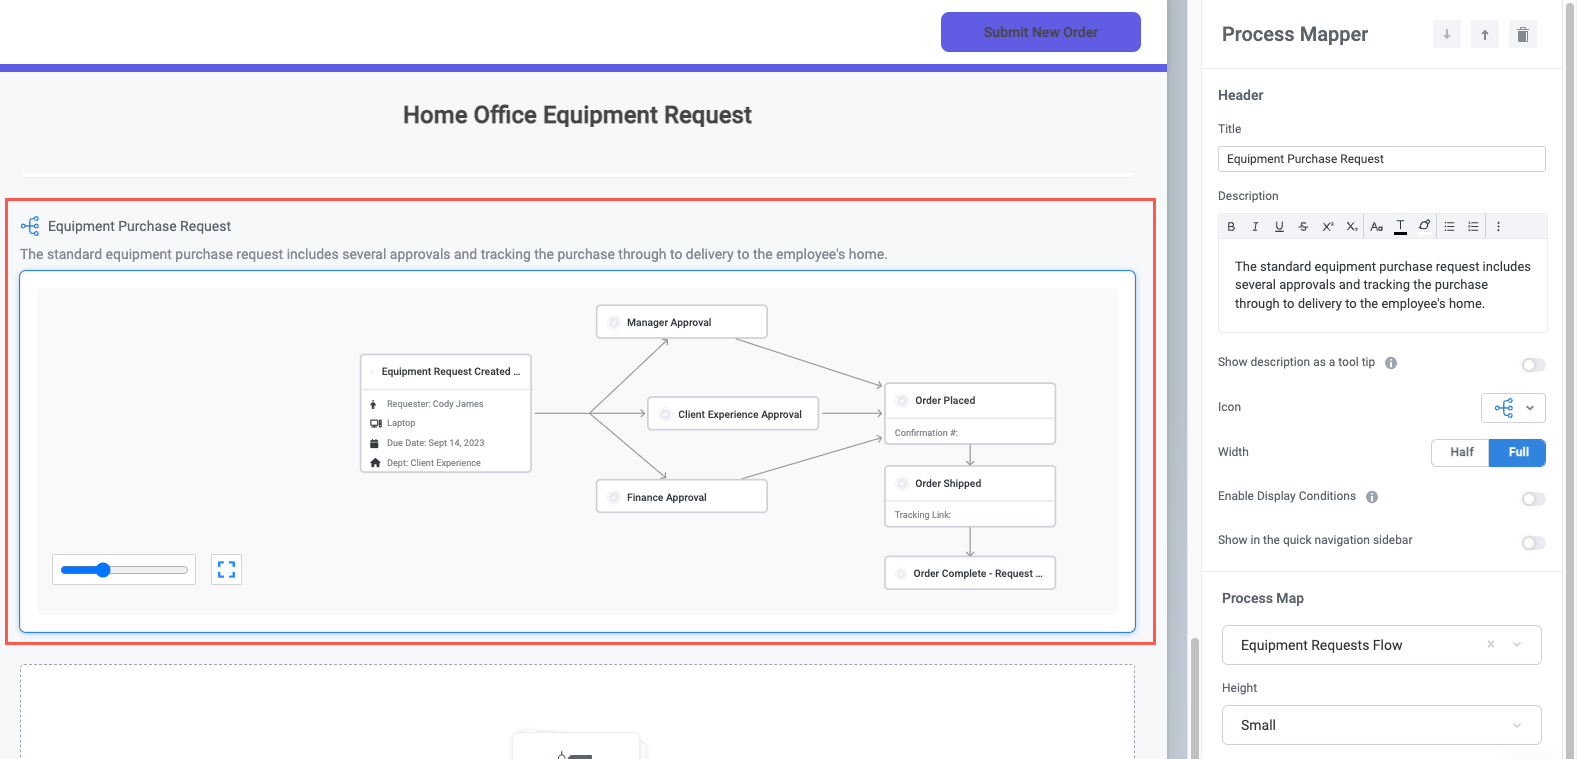
Preview your interface to test out the size and conditions. In preview mode, like a published interface you can update field values to satisfy your stage conditions and see the stage statuses respond in real-time. In our example below, we set the Manager Approval field to "Approved", and the Manager Approval stage is set to Complete.