Measure Your Process
Accurate measurement is critical to understanding your business processes. In addition to tracking your workflow at a high level by creating key metrics, it's helpful to have a more flexible option to measure the specific business processes within your workflow. For this purpose, the Process Measurement capability is ideal. Process Measurement empowers you to create organizational benchmarks that provide real insight into your business process, so you can make strategic improvements to improve that process.
Process Measurement is a proprietary data source you can add on the Enterprise Components screen or download directly from the Component Library. You can easily integrate Process Measurement into your existing module workflows to precisely measure the business processes you care about, regardless of where they fall within your larger workflow. For example, you may want to measure how long your automated contract process takes on average, or how long certain purchase requests stay in the "triaged" status. You can use Process Measurement to measure small sub-processes and also those processes that span multiple systems or even multiple modules.
Install the Process Measurement Data Source
The process of connecting the Process Measurement data source is the same as any third-party application, except there's no authentication required because it's an internal capability. There are two options for connecting the Process Measurement data source: installing from the Component Library or adding it as a data source in Enterprise Components.
Install from the Component Library
Navigate to the Process Management data source page in the Component Library.
Select Install in the upper right and follow the installation process.
Add as a Data Source in Enterprise Components
Select the main nav icon,
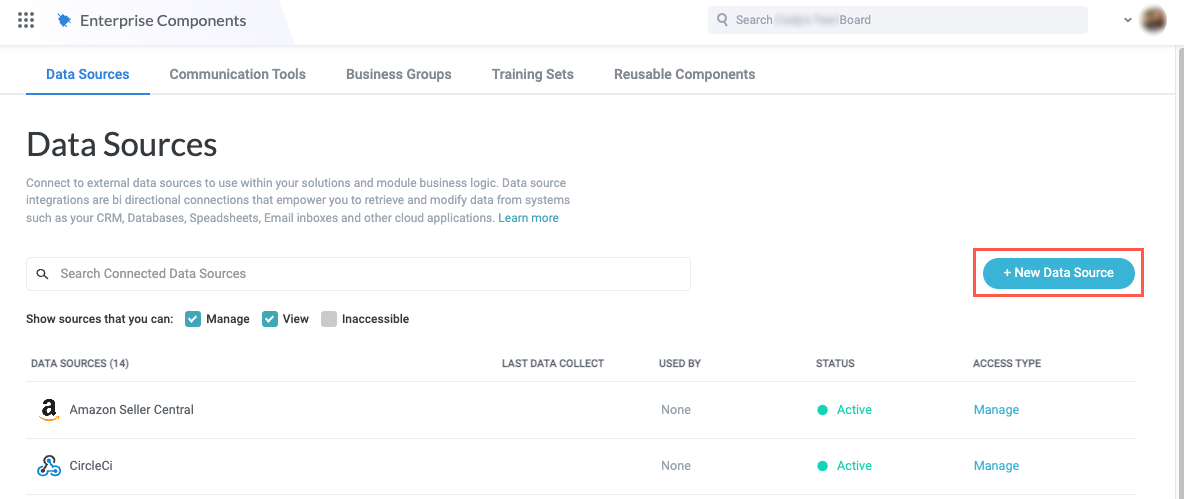
 , in the upper left and select Enterprise Components. The Enterprise Components screen displays.
Select + New Data Source in the upper right.
Select Cloud Application. The Add New Data Source window displays.

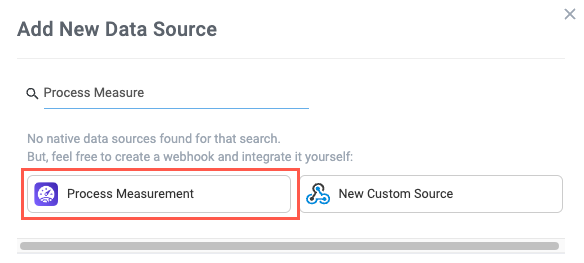
Enter "Process Measurement" in the search field, then select Process Measurement. The Set Up Integration window displays.
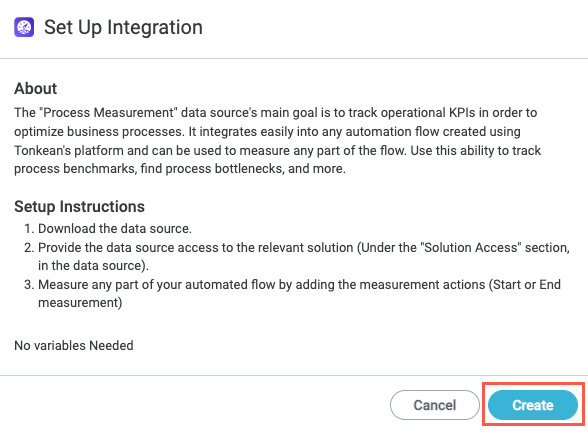
Review the setup instructions, then select Create. The Process Management data source screen displays.
On the Process Management | Overview screen, select Allow solution access to this data source. The Solution Access screen displays.

Select the toggle that corresponds with the solution you want to have access to the Process Management data source.
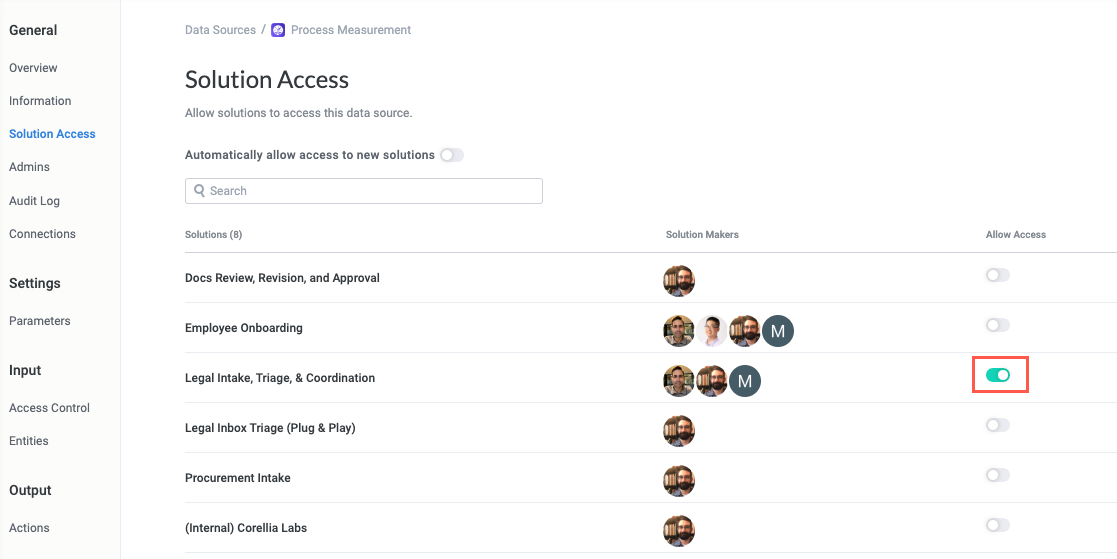
The Process Measurement data source is now installed and ready to use in your modules.
Measure a Process
The Process Measurement capability is comprised of two actions: Start Process Measurement and End Process Measurement. These actions provide the start and end points for your measurement, respectively.
Start Process Measurement and End Process Measurement do not need to be on the same branch in your workflow.
Start Process Measurement
Locate where in your module workflow you want to start the measurement and select the add block button,
 . The Action Block panel displays.
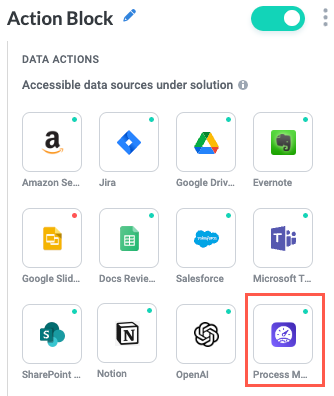
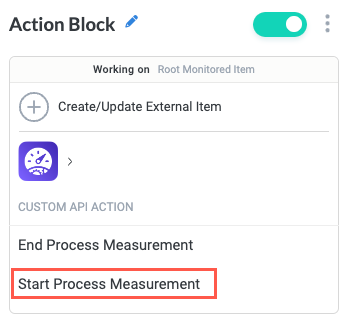
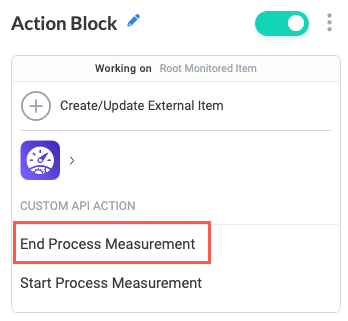
Scroll down to the Data Actions section and select the Process Measurement action. The Process Measurement actions display.
Select Start Process Measurement. The measurement Parameters display.
Select the action title or the edit icon,
 , and provide a descriptive name for the Start Measurement action. In our example, we're measuring the time it takes users to complete an NDA self-service flow, so we name the action "Start Measure NDA Self-Service".
We recommend always using a custom name for your Process Measurement actions. If you have multiple measurements in the same workflow, you can easily distinguish each one as you configure their start and end points.
Enter a descriptive Measurement Name. In our example, we set Measurement Name to "NDA Self-Service".

Set the Start Time. We recommend using the basic field Today, which is a unix timestamp of the date-time when the action is activated. To add this basic field, select the insert field button,
 , and select Today in the dropdown.
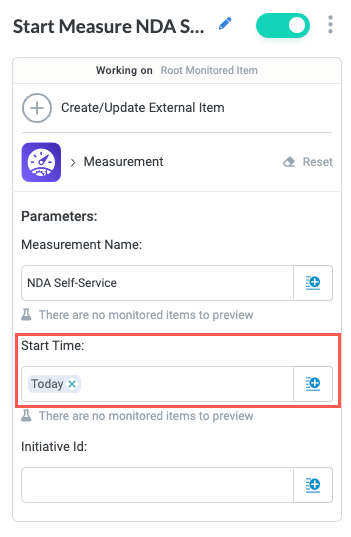
In the Initiative Id field, create a unique value that identifies the measurement. You can create this unique value using an existing field or custom formula. For most use cases, we recommend selecting the insert field button,
, and selecting the basic field Initiative Id, which is a unique identifier for the measurement object.The Initiative Id field contains the item's unique identifier, allowing Tonkean to gather the required data for the item.

Your Start Process Measurement action block is complete.
End Process Measurement
Locate where in your module workflow you want to end the measurement and select the add block button,
. The Action Block panel displays.Scroll down to the Data Actions section and select the Process Measurement action. The Process Measurement actions display.
Select End Process Measurement. Measurement configuration fields display.
Select the action title or the edit icon,
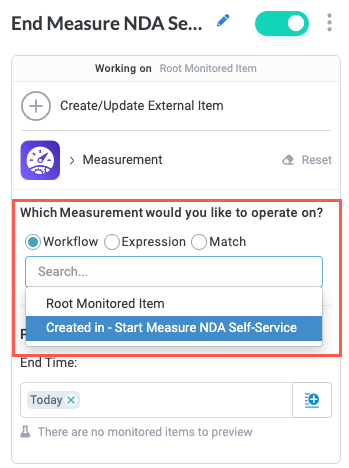
, and provide a descriptive name for the End Measurement action. In our example, we name the action "End Measure NDA Self-Service".In the Which Measurement would you like to operate on? field, you identify and select the measurement you want to complete with the End Process Measurement action, whether that measurement was started in the current module or somewhere else. Select one of the available options:
Workflow - End a measurement that's in the current module workflow. When this option is selected, the dropdown contains the Root Monitored Item and any measurements with configured Start Process Measurement actions in the current module.
For most use cases, especially when there's only one process measurement in your module, we recommend selecting the Workflow option.
Expression - Create a formula expression to dynamically identify the measurement to operate on. Select the insert field button,
, to select or create the desired field.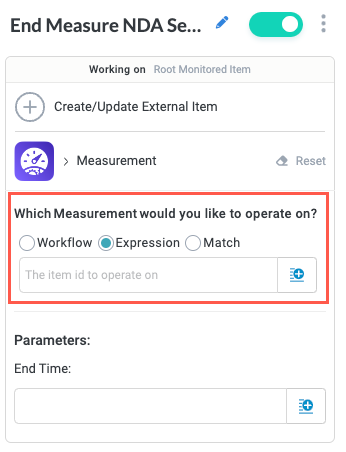
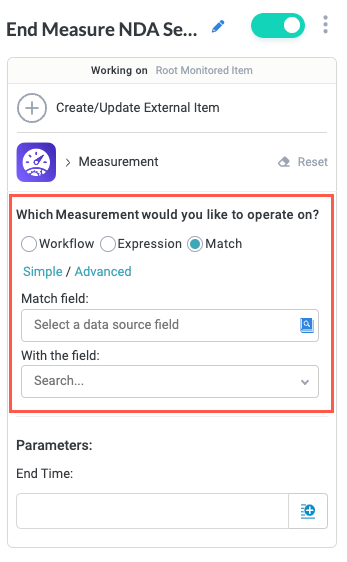
Match - Select a specific field to match to identify the measurement to end. Use this option when you have multiple measurements in the same workflow and have created custom fields as unique identifiers for those measurements.
If you have multiple fields that share values, select Advanced and create a condition group to filter for the desired field.
Set the End Time. We recommend using the basic field Today, which is a unix timestamp of the date-time when the action is initiated. To add this basic field, select the insert field button,
, and select Today in the dropdown.
Create a Process Measurement Global Field and Share
With the start and end points set, the Process Measurement data source is collecting data as items move through the module workflow. You can view this raw data by navigating to your connected data sources and selecting the Process Measurement data source.
You must have an item go through the workflow updated with the start and end measurement blocks before relevant data is usable in a global field.
To make better use of these measurements, you can create a global field that aggregates them to generate metrics like value averages or percentages that more accurately indicate the status of your measured process.
View Process Measurement Data
To view the raw data collected from items moving through the module workflow, follow the steps below:
Select the main nav icon,
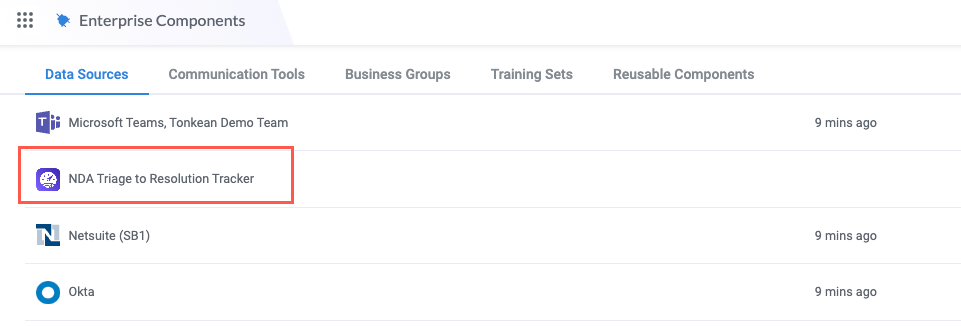
, in the upper left and select Enterprise Components. The Enterprise Components screen displays.Locate and select the relevant Process Measurement data source. The Process Measurement data source displays.
Remember that if you customized the name of the data source, that custom name is the display name.
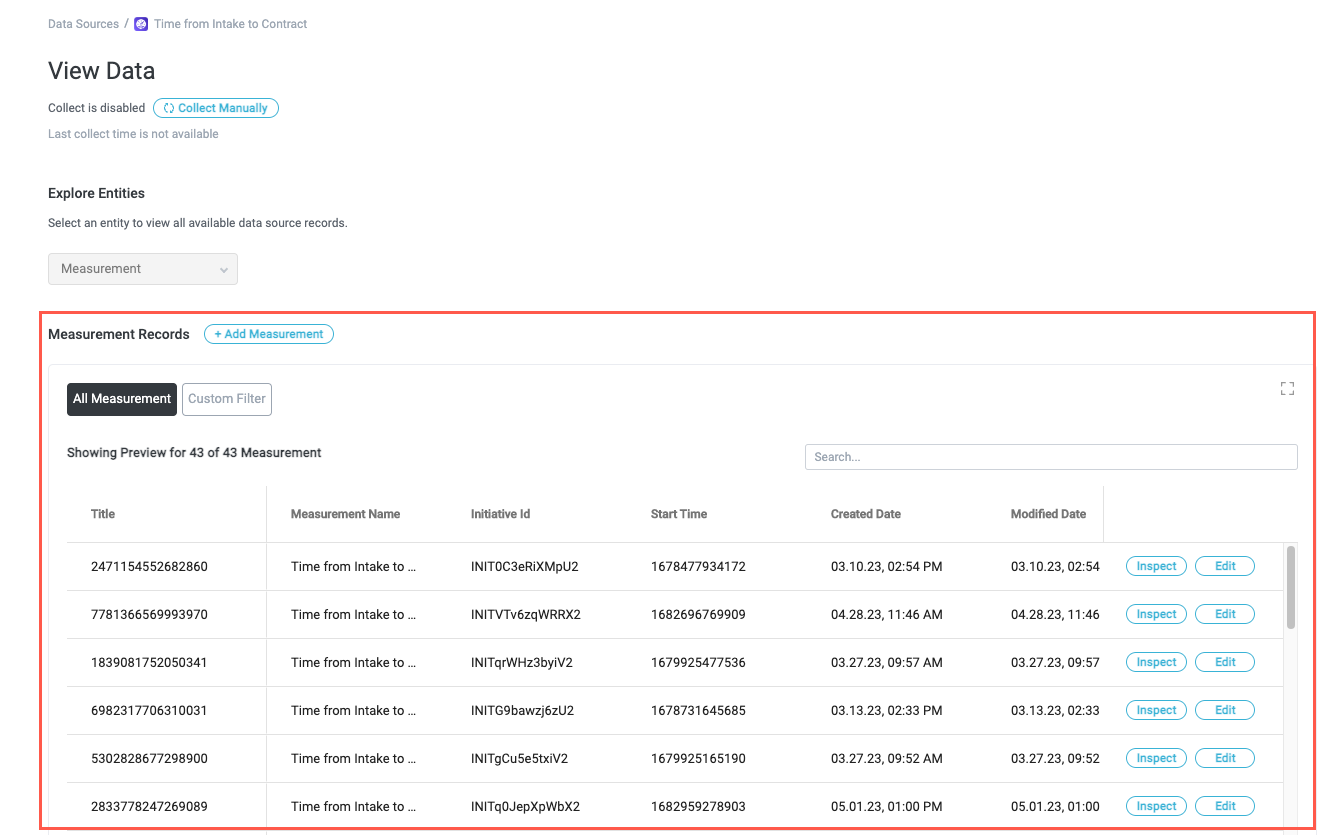
In the data source configuration panel, select View Data. The {Process Measurement} | View Data screen displays.
Scroll down to the Measurement Records section, where you can view all measurements. You can also select Custom Filter to refine the measurement data as desired.
Create a Global Field
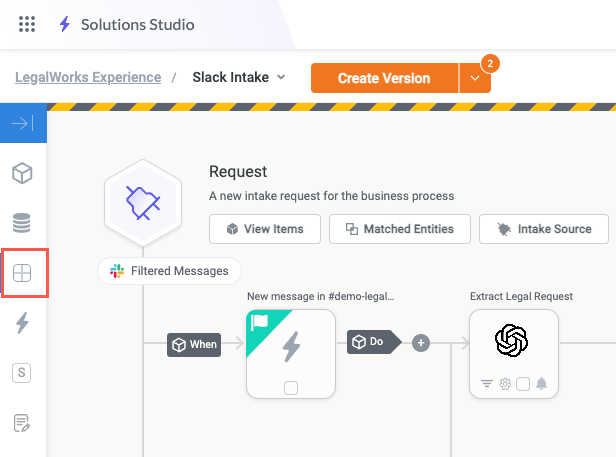
In the module builder toolbar of the desired module, select the Fields button. The Fields panel displays.
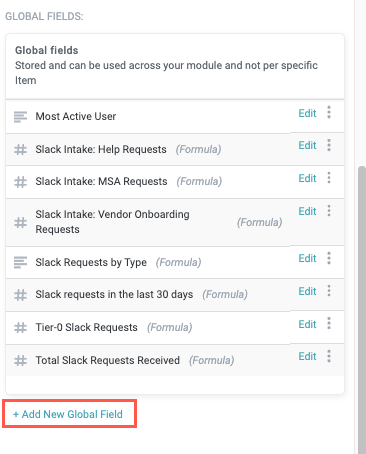
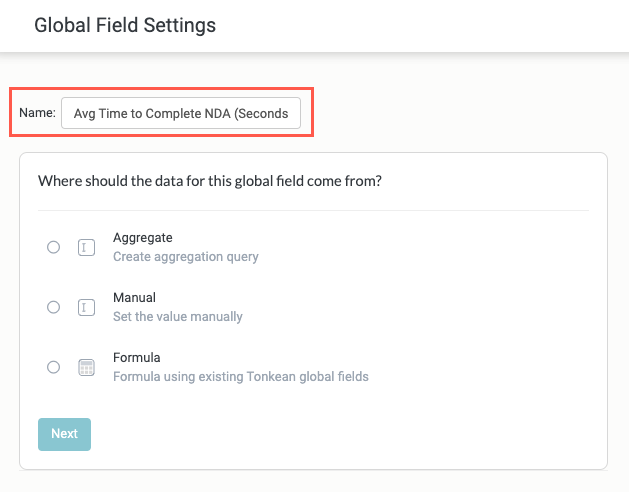
Scroll down to the Global Fields section and select + Add New Global Field. The Global Field Settings screen displays.
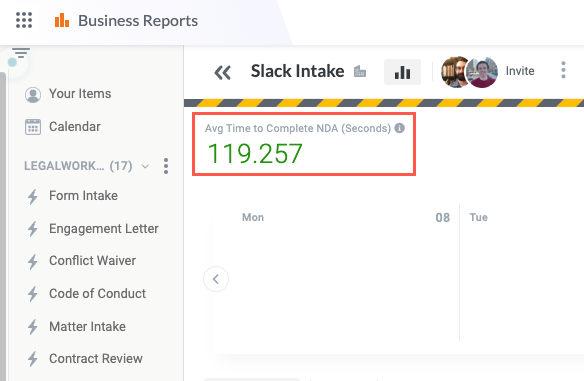
Add a descriptive Name for the field. In our example, we're measuring the time it takes users to receive a pre-populated NDA, so we name our field "Avg Time to Complete NDA (Seconds)".
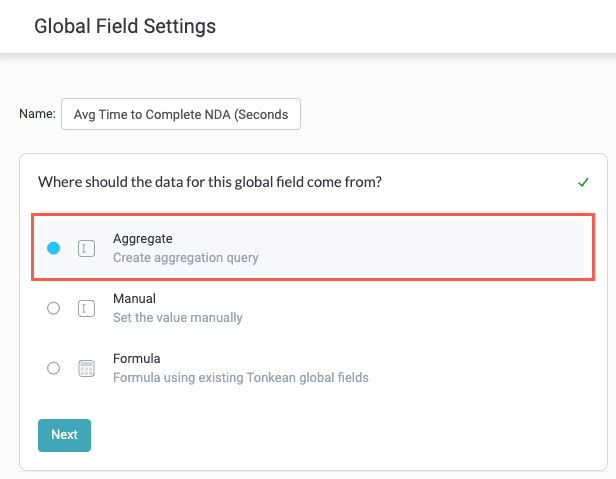
Select the Aggregate option. By aggregating all measurements of this process together, we can generate an average completion time.
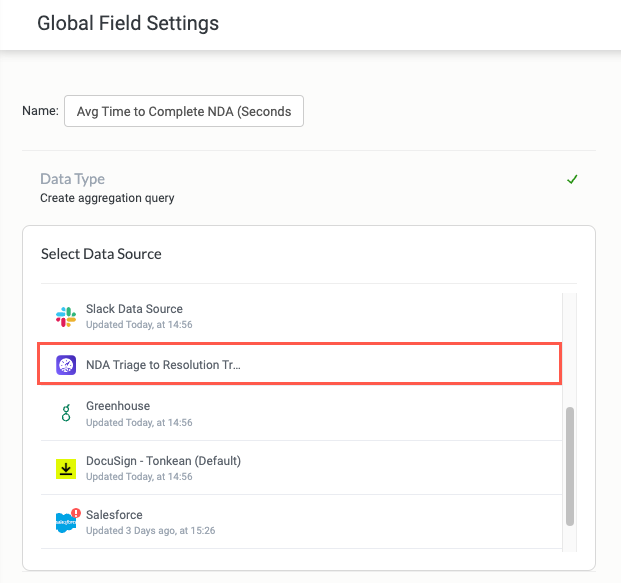
Select the relevant Process Measurement data source.
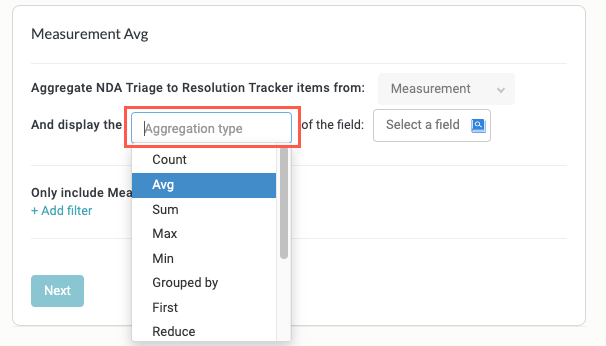
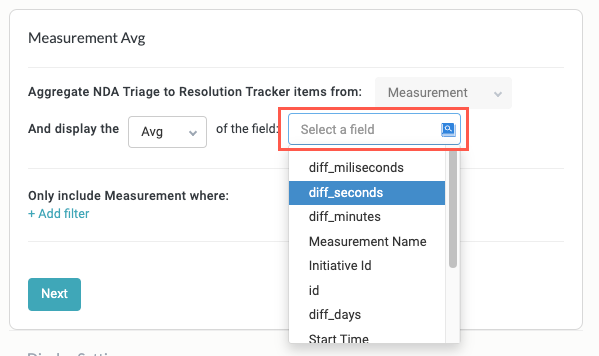
Select the provided dropdown and choose the type of aggregation to display. In our example, we choose Avg to display the mean process time. Count and Percentage are other common global field aggregation types.
Select the field whose value you want to aggregate and display. The Process Measurement data source includes several unique fields that measure the difference between the start and end points of your measurement:
diff_days - Difference in days between Start Process Measurement and End Process Measurement.
diff_milliseconds - Difference in milliseconds between Start Process Measurement and End Process Measurement.
diff_minutes - Difference in minutes between Start Process Measurement and End Process Measurement.
diff_seconds - Difference in seconds between Start Process Measurement and End Process Measurement.
In our example, we want to display the average time of process completion in seconds, so we choose diff_seconds. When finished, select Next.
Other popular metrics to aggregate are diff_minutes and diff_days. The specific process you're measuring will dictate what metric is most helpful.
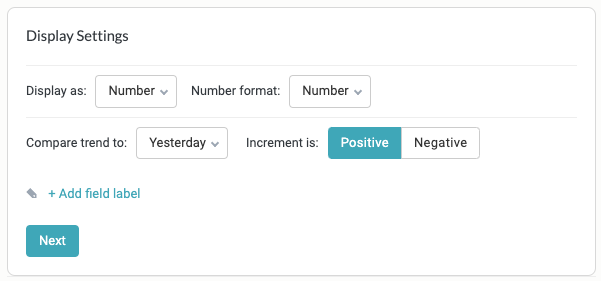
Configure the Display Settings as desired. Because our example global field is displaying an average count of seconds, we set Display as to Number and leave the other options set to their defaults. When finished, select Next.
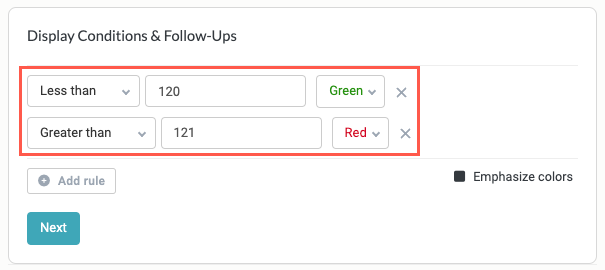
Select Add rule to configure Display Conditions & Follow-Ups as desired. We recommend leveraging color to indicate positive or concerning states of your measure, as we do in the example below where values greater than 121 seconds display in red. When finished, select Next.
In the Additional Information section, add an optional Global Field description and, where relevant, a Field group.

When finished, select Save in the upper right.
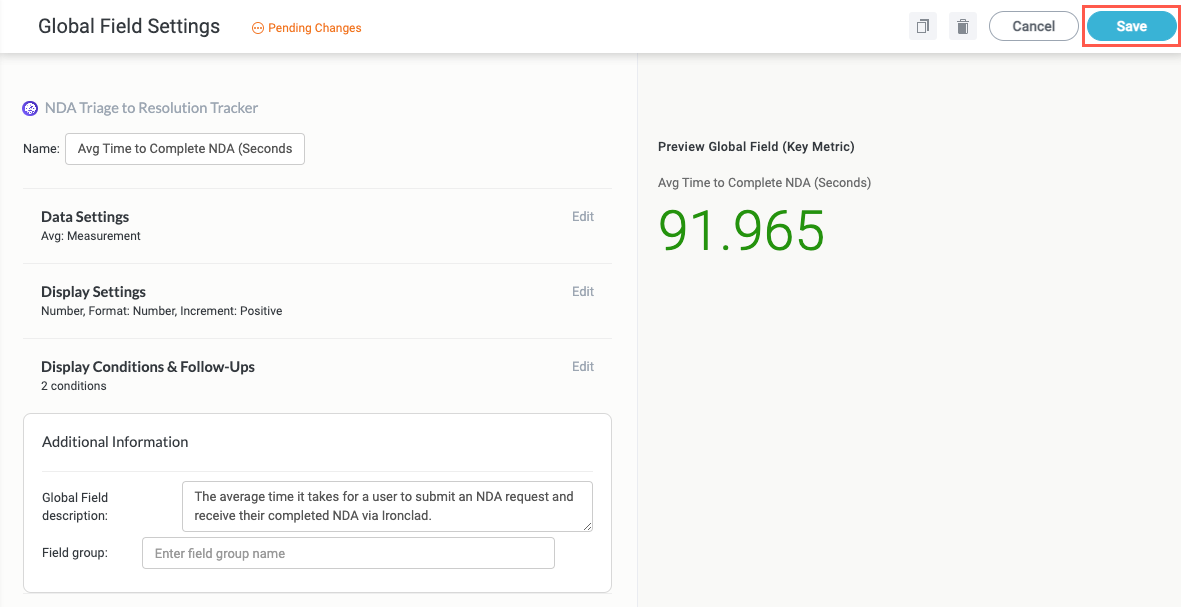
Your global field is complete. Navigate to the relevant business report to view the global field as a key metric at the top of the report.