Configure an NLP Search Training Set
Before you can use a new NLP search training set, you must configure three aspects of the training set: the NLP search models, sample training data, and any fields you want to populate when a match is found.
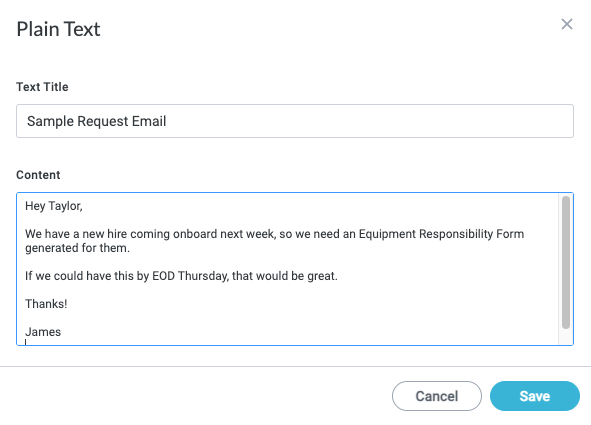
For the purpose of showing the configuration process, we're using text from a sample email message requesting a form for a new employee:
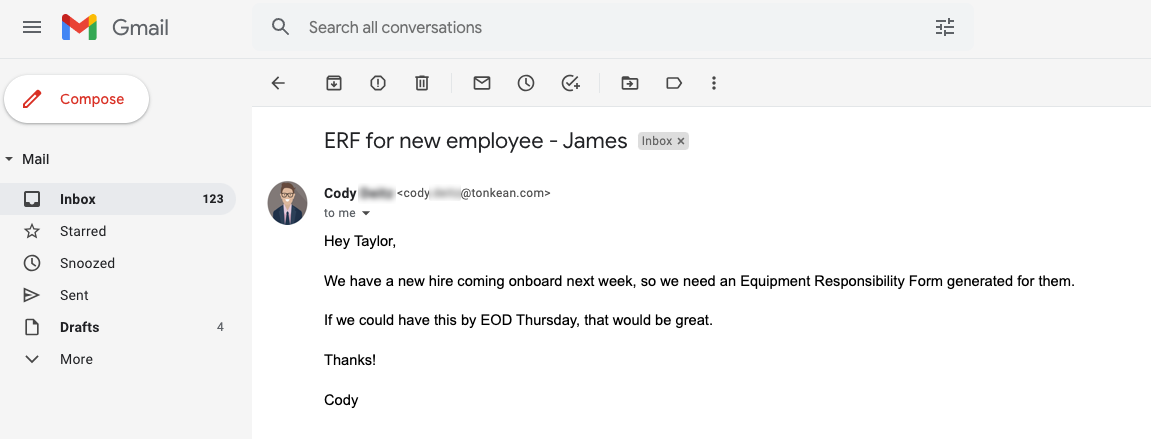
To configure each of these aspects, follow the steps in each relevant section below:
Create Models
On the Models screen, select + Create new model. The NLP search model configuration window displays.

Select the edit icon,
 , and enter a name for the model.
Scroll down and select the Sensitivity level dropdown. Choose the level of sensitivity the model uses when determining whether a given piece of text is a match:
Strict (default) - The model imposes a strict matching approach where the text must match almost one-to-one with the specified value. There is a very low tolerance for variance, though greater variance is allowed as the words and phrases become longer.
For most use cases, we recommend selecting a strict sensitivity level. If you're concerned about missing matches to variations or alternate phrases, remember that you can add multiple positive examples with these variations.
Loose - The model imposes a loose matching approach where a wider range of word and phrase variations are considered matches. Misspellings and other mistakes can exist and still be considered a match, depending on the length of the phrase (the longer the phrase, the more variation is allowed). For example, with a Loose level of matching for the value "hello", "gello" would be considered a match because it contains only one mistake, but "grllo" would not be considered a match because it represents two mistakes that comprise too large a portion of the phrase (two out of five letters).
Custom - Independently configure the word and sentence sensitivity the model imposes:
Word sensitivity - Determine how strict or loose the matches can be for each individual word. This option allows you to account for errors like typos or variations in spelling (for example, "color" or "colour"). The default value is 70%.
Sentence sensitivity - Determine how strict or loose the matches can be for each sentence. This option allows you to account for variation in word order and whether certain words are present or missing. The default value is 70%.
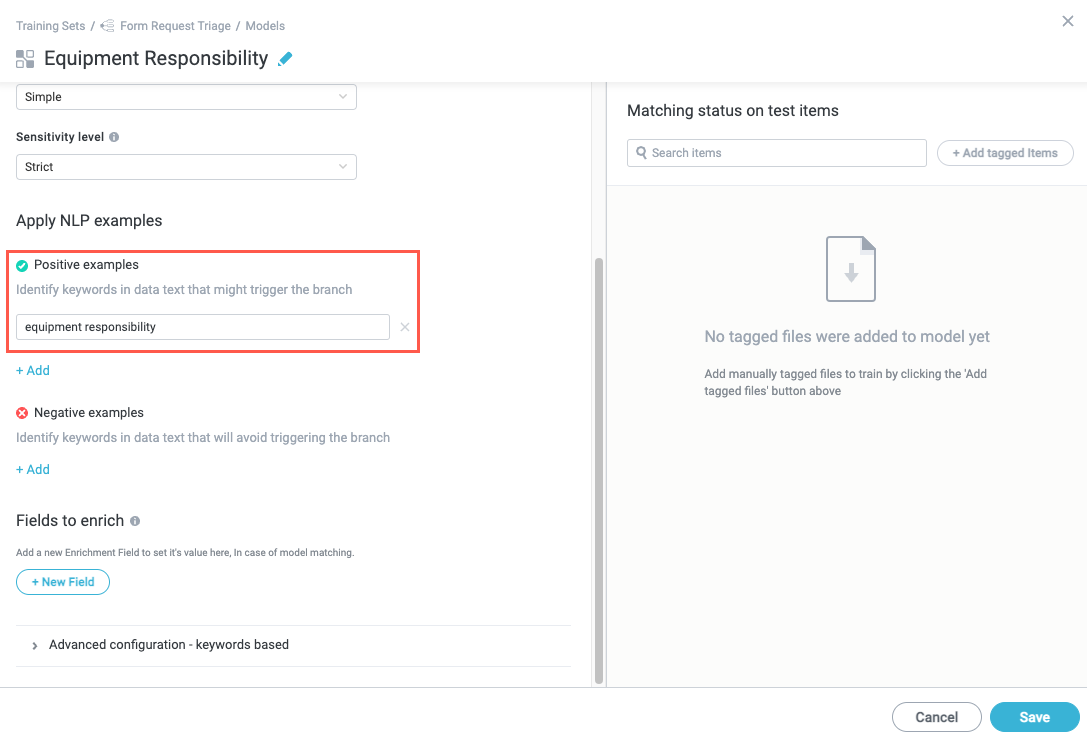
In the Apply NLP examples section, enter a keyword or phrase that you want to register as a match in the Positive examples field. For example, for our example "Equipment Responsibility" model, where we are expecting to see the words "equipment responsibility" in the message, we add those exact words as a positive example.
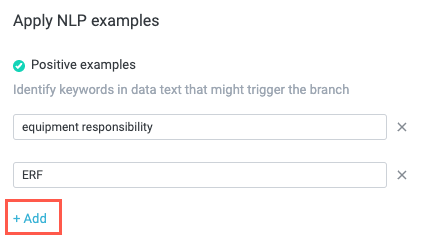
To continue adding positive examples, select + Add below last keyword field. A new keyword field displays. For our example, we also add "ERF" since that's a common abbreviation for "equipment responsibility form" we expect to see.
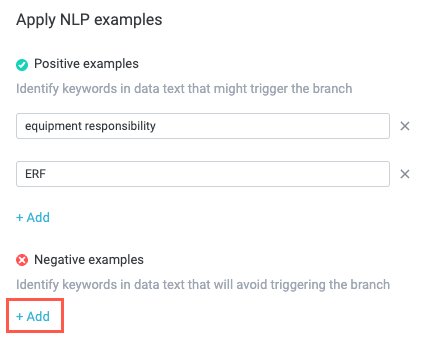
Additionally, if you want to specify keywords that are not acceptable as matches, you can select + Add beneath the Negative examples field. A keyword field displays. Enter the negative example keywords in the same way as the positive example keywords.
In the Fields to enrich section, you can select + New Field to assign specific values to the enrichment fields configured in the NLP Matched Model screen. See Enrich Fields for details about this configuration and its uses.

Finally, you can further specify conditions to match depending on whether certain keywords are or are not present in the input text:
Only match items that contain the keywords - Choose to match only with items that contain specific keywords. Additionally, select whether all specified keywords must exist or only one must exist to match. Use this option for situations where you know the text contains specific keywords and only want the model to process text containing those keywords (for example, if you're processing state-specific forms, you might add a state name as a keyword here).
Only match items that do not contain the keywords - Choose to match only with terms that do not contain specific keywords. Additionally, select whether all specified keywords must not exist or only one must not exist to allow a match. Use this option for situations where you want to specifically exclude texts that contain specific keywords.
When finished, select Save. The model configuration window closes. Notice that the newly-created model is listed on the Models screen.
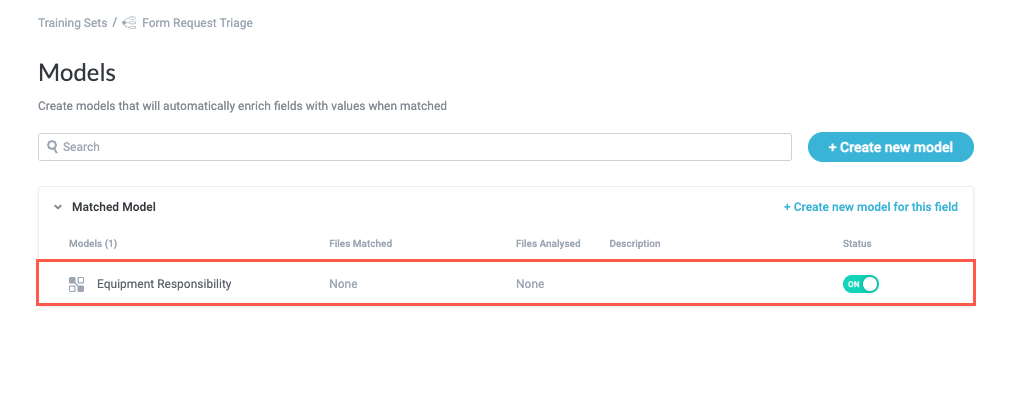
Repeat steps #1-8 for each model you want to create.
Add Training Data
With at least one model created and configured, you can add the training data and begin tagging files.
From the Training Sets configuration screen, select Training Data in the configuration panel. The Training Data screen displays.
Select + Add training data files. In the dropdown, select one of the available options:

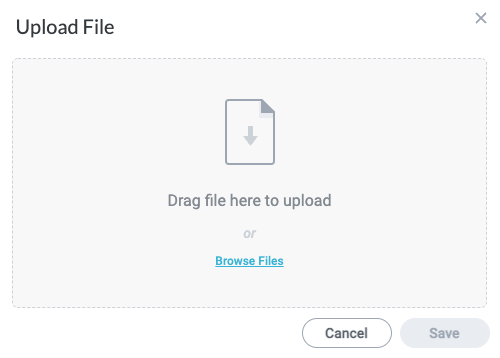
Upload Files - Upload entire files from your local machine that contain the text you want to extract fields from. This is the more common option as most users extract text from existing files (for example, PDFs). When you're leveraging the training set in a module, the vast majority of use cases involve extracting text from uploaded files.
Plain Text - Enter plain text you want to extract fields from. This option is generally used for training and configuration purposes only.
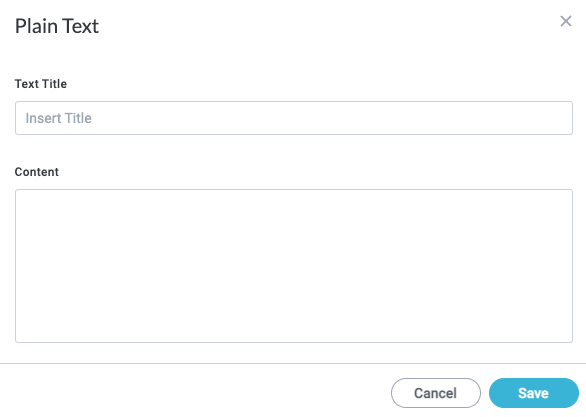
Because our example text comes from an email, we select Plain Text and paste the text directly into the training set for configuration purposes. In an actual module workflow, the text input would likely be an email body extracted as a field from the intake source.
In the Plain Text window that displays, enter a Text Title and enter the text you want to use to train the model in the Content field. When finished, select Save. The Tag Files window displays.
Select the Matched Model dropdown and choose the model you want to process this sample text with. Because this sample message contains a request for an equipment responsibility form, which is what the Equipment Responsibility model is configured to match, we choose that model.
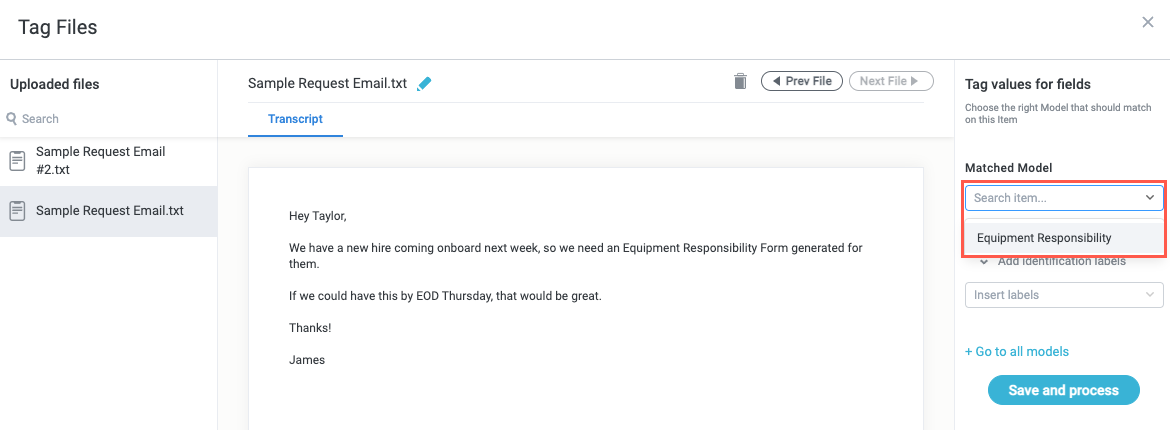
When finished, select Save and process. The Tag File window closes and the Training Data screen displays.
After a brief moment, the sample finishes processing and, if the extraction is successful (meaning a match was found), the file moves from the Files to train column to the Succeeded Extraction column.
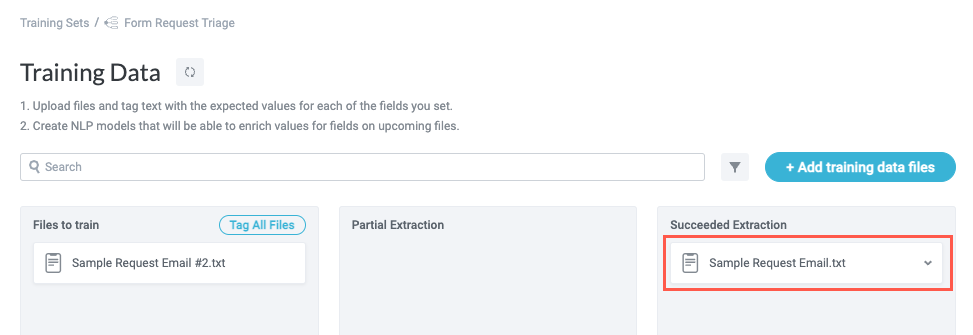
Select the file to expand the dropdown and see the specific model that matched with the sample text:
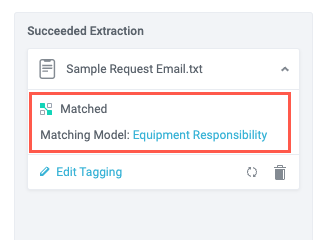
The sample training data is added and tagged, with a confirmation that the NLP search model is working as expected.
Enrich Fields
In addition to configuring the logic of the NLP search models themselves, you have the option to create fields that, when a particular model matches with an item, populate with predefined values.
For example, if you have an NLP training set that listens to a shared email inbox and works to triage out requests to various teams based on the content of the email messages, you might create a "Contact" field for the training set. In each model, you can define what values to populate in these fields when a match occurs in that model. In this example, if you receive an email that should be handled by the Client Experience team, you might set the value of "Contact" to "ashley.taylor@company.com" and then leverage that contact information in your module. In this use case, each model might assign a different contact person for each matched model that corresponds to the team the email is for.
You can then use these fields in your module as you would any other, such as using the contact email in a Send Notification action or Assign Owner action. Essentially, these training set fields allow you to easily assign specific values to a few key fields that you can then use in your module.
Create Fields to Store Enrichment Values
From the Training Sets configuration screen, select Fields in the configuration panel. The NLP Matched Model and Enrich Fields sections display.
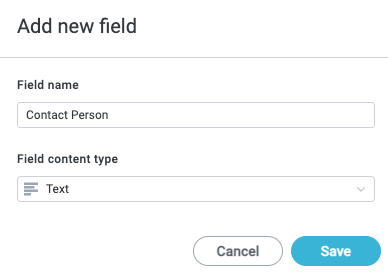
Select + New Field. The Add new field window displays.
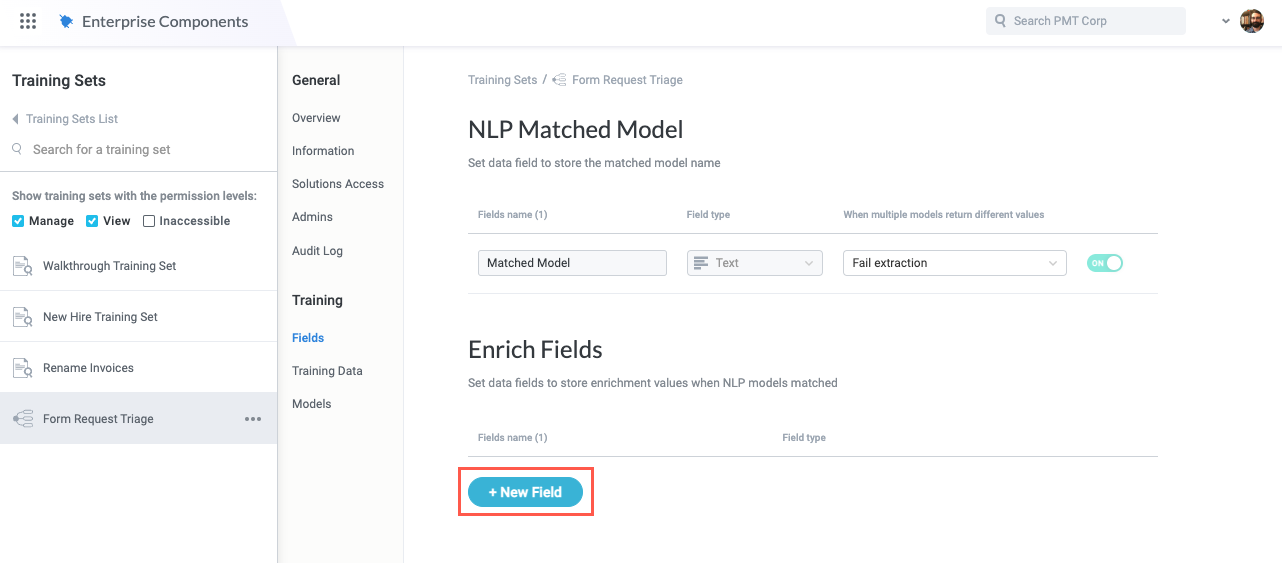
Enter a Field name and select the Field content type dropdown to choose a value type. When finished, select Save. The Add new field window closes.
Configure Fields in the Model
Navigate to the model in which you want to populate a field if a match occurs and scroll down to the Fields to enrich section. The field you added displays:
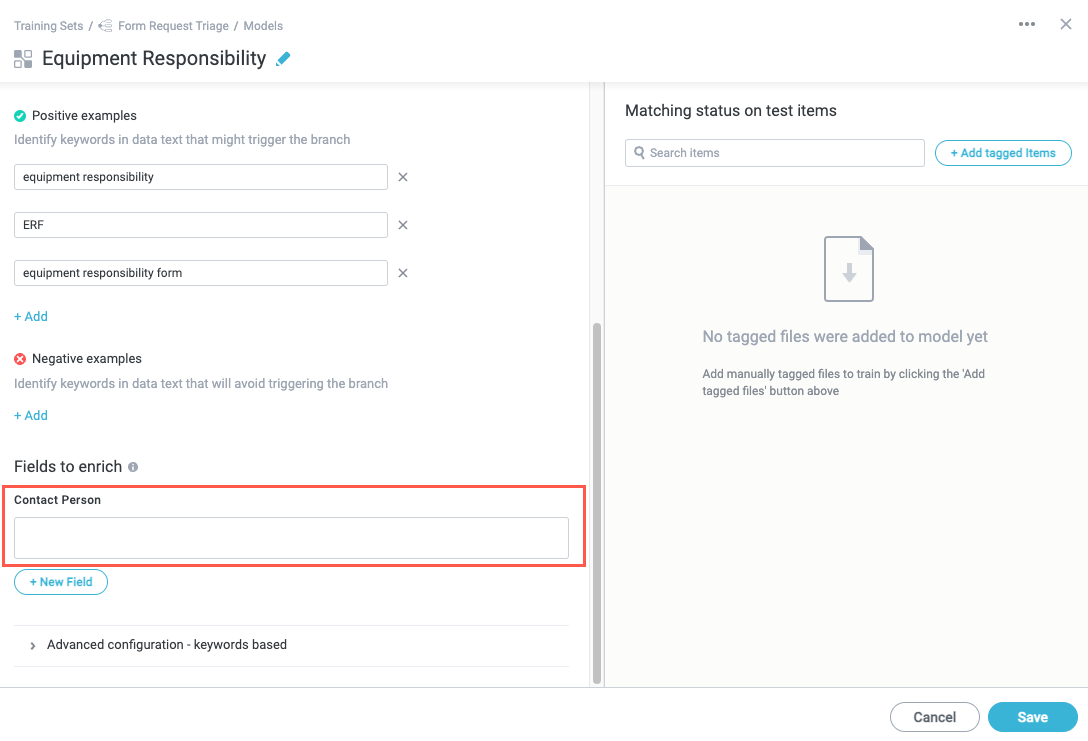
Enter the value you want to populate this field when a match occurs. For our Contact Person field, we add ashley.taylor@company.com since that is the value we want to use in our workflow when this model matches with an item.

Additionally, if you want to create another field to populate when a match occurs, select + New Field. The Add new fields window displays. Follow the same process detailed above to add a field, then define the value.

When finished, select Save. The Models screen displays.
Your enrich field is added will generate when a match occurs with that model.