Module Actions
While individual modules are flexible enough to handle complex workflows with various branches of logic, it's helpful (or even necessary) for some processes to use separate, dedicated modules. For these situations, the Module Actions action allows you to send an item from the current module to a second, separate module, running that item through the second module's workflow.
When sending an item from one module to another, a matched item is automatically created in the receiving module. Matched items enable you to leverage fields from the sending module in any receiving modules, keeping the data in these shared fields synced.
Partitioning off different parts of a complex process using multiple modules connected by the Module Actions action has several important benefits, including easier maintenance and improved clarity. Because the complex process is broken up into smaller, more specialized parts, you have less need to manage all the interdependencies that large, complicated workflows can contain and can generally be more agile in updating that complex process. As a given item moves between these various modules, matched items ensure you maintain visibility into that item and all of its fields.
Additionally, the Module Actions action offers other options for interacting with other modules, including adding/updating comments related to a specific item, or calling an Execute Action block in another module to trigger additional logic.
Common Use Cases
The Module Actions action is often used as part of complex workflows that require approval at one or more points during the process. Especially where the approval process may require some iterative changes and happens separately from the main process, it's common to partition off the approval workflow in a separate module and send the relevant item to it from the primary module using the Add Item To Module type of Module Actions action. Matched items allow you to maintain visibility across all the related modules.
Workflows that involve passing off a document or other item for translation commonly use the Module Actions action. For example, if you have a workflow that coordinates the drafting, review, and publication of marketing content, an important part of that process might be translation. Because the translation is a process separate from the creation of the content and is handled by a separate team, it's helpful to create a separate module to handle the translation workflow and send items from the main module to it as needed.
In these solutions, it's also common to find that these separate translation modules are used to handle various kinds of items—that is, the translation workflow may be leveraged by several modules with different documents and types of content being translated. Being able to send items to the translation module becomes a force multiplier across the entire solution.
Processes that include multiple points of entry but run an item through the same core process nearly always leverage the Module Actions action. For example, imagine you have a legal solution that coordinates document requests, and these requests can come through email, a Slack channel, and even a web form. Despite coming from numerous sources, you want to handle the triage and coordination of each process in the same way without duplicating that coordination logic for each entry point.
In this case, you can build a central coordination module and maintain a separate module for each entry point (email, Slack, web form, and so on) that uses the Module Actions action to pass that request to the coordination module. By organizing the modules this way, you avoid duplicating the coordination logic in multiple modules but can effectively add a module for each option users have to make a request.
Configuration
The configuration for each section in the action panel is detailed below.
Name the Action Block
Select the action title or the edit icon,  , and provide a descriptive title for the action.
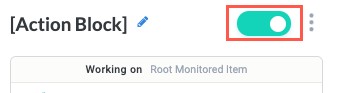
Turn Action Block On or Off
By default, action blocks are enabled and turned on. Select the toggle in the top right of the action panel to disable or turn it off.
When building a module, remember you can toggle actions on and off rather than deleting them.
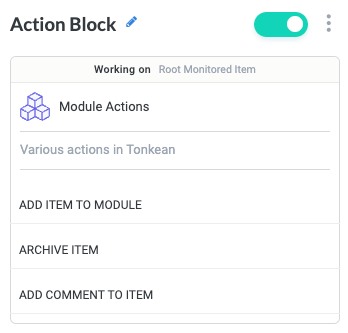
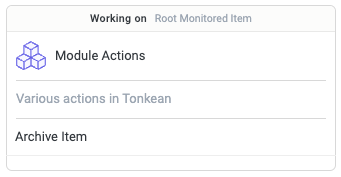
Select the Add Item to Module, Archive Item, or Add Comment to Item to configure the specific logic of the action block.
Add Item to Module
This option sends an item to another module to be run through that module's workflow, automatically creating a matched item in both the parent module and child module. The fields in matched items are synced between the multiple modules that have processed and contain the item.
To view matched items with other modules, navigate to the Fields panel and scroll down to the Matched Items section—this section displays all modules within the solution that share matched items, and the relevant fields from those items.
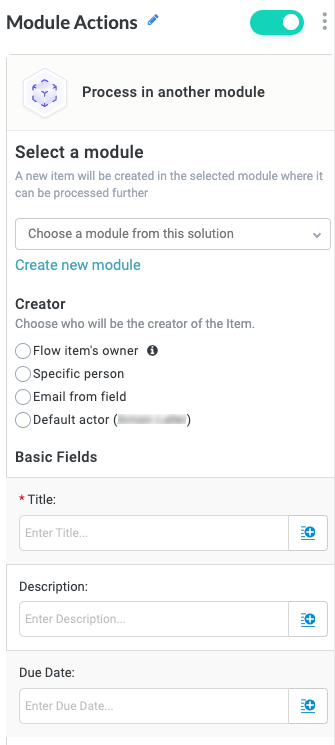
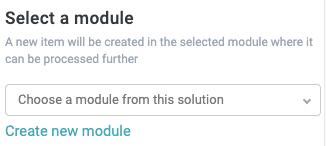
Select a module
Select the dropdown to select the module to send the data to in a new item. The dropdown contains all the modules on the current board.
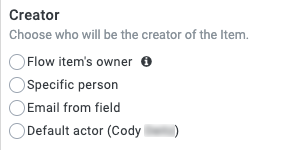
Creator
Select the user who is assigned as the item's creator.
Flow item's owner - The owner of the item in the workflow, which corresponds to the the basic field Owner. To set a value for the Owner field, add an Assign Owner action block earlier in the workflow or add a value manually by navigating to Business Reports > [Module Name], select the Owner column, and select Default Settings.
Specific person - Any person in your organization. This field allows one to many people. Select the field to see a list of available people or begin typing and the field will autofill suggestions.
Email from field - Retrieve a person from a specified data source, form field, or other locations. Begin typing and the field will autofill suggestions or select the Insert Field button,
 , to select current fields, matched entities, flow items fields, or formula fields.
Default actor - By default, the creator of the module. You can specify the default actor by selecting the module settings icon,
 , and updating the Actor field.
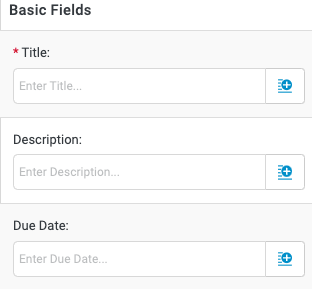
Basic Fields
Add Title, Description, and Due Date basic fields, as needed. Enter a value for each field manually or select the insert field button, , and select from available fields. Title is required.
Custom Fields
Include any custom fields that exist in the module. Select the Field Name dropdown to choose from all the available fields in the module. These fields must exist in the target module to display in this dropdown.
In the Value field, select a value option:
Value - Assign a value manually or select the insert field button,
, to choose from available fields. This can include a field from a data source, a form, or a formula field, for example.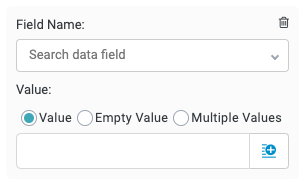
Empty Value - Remove the value from the field.

Multiple Values - Assign a value manually or select the insert field button,
, to choose from available fields. Select + Add Another Value to add subsequent values with this same process.
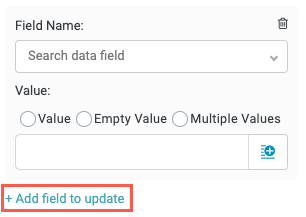
Select + Add field to update to include another field.
Tags
Add a tag or select the insert field button, , to select from available fields.
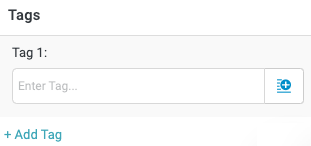
Select + Add Tag to include another tag.
Archive Item
This option archives the item, removing it from the relevant business report. If an item becomes obsolete under certain criteria, you can archive it as a of keeping your business report clean and easy to read. A common use case where archiving items is helpful is when your workflow consistently creates a large number of items (for example, hundreds of items per day) and those items are no longer important when they're given a certain status or after a specified period of item.
Add Comment to Item
This option adds a comment to the item, allowing you to capture important message threads, field values, or to simply include free text to act as a reminder at a certain point in the process.
These comments are stored on the Notes tab of the detailed item view in the relevant business report.
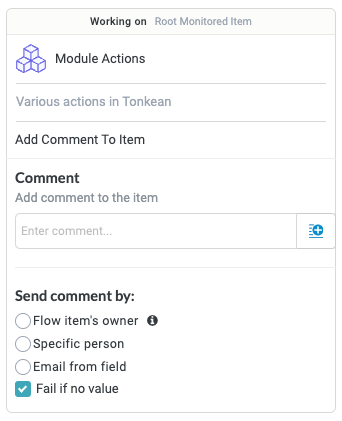
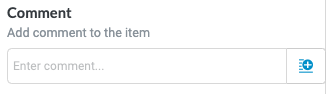
Comment
Add text manually or select the insert field button, , to choose from available fields. It can be helpful to select a dynamic field for this value, such as a field containing a status description relevant to that stage in the process.
Send comment by
Specify the user that displays as the comment provider.
Flow item's owner - The owner of the item in the workflow, which corresponds to the the basic field Owner. To set a value for the Owner field, add an Assign Owner action block earlier in the workflow or add a value manually by navigating to Business Reports > [Module Name], select the Owner column, and select Default Settings.
Specific person - Any person in your organization. This field allows one to many people. Select the field to see a list of available people or begin typing and the field will autofill suggestions.
Email from field - Retrieve a person from a specified data source, form field, or other locations. Begin typing and the field will autofill suggestions or select the Insert Field button,
, to select current fields, matched entities, flow items fields, or formula fields.
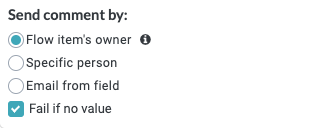
Select Fail if no value to configure the module to not add a comment if there is no content to include. This option is selected by default.