Add and Configure an App Page
A workspace app is composed of pages, individual screens that serve a particular purpose within the larger app. For example, you might have an Intake and Triage workspace app designed for the Legal Operations team that includes a page for Matter Intake, a page for Matter Triage, a page for Employee Feedback, and so on. Each page serves a singular purpose but contributes to the overall functionality of the app.
Building a workspace app consists primarily of adding and configuring the individual pages that app contains, including adding widgets and customizing how each widget displays and functions.
To add and configure a new workspace app page, follow the steps below:
Navigate to the solution you want to create the workspace app for.
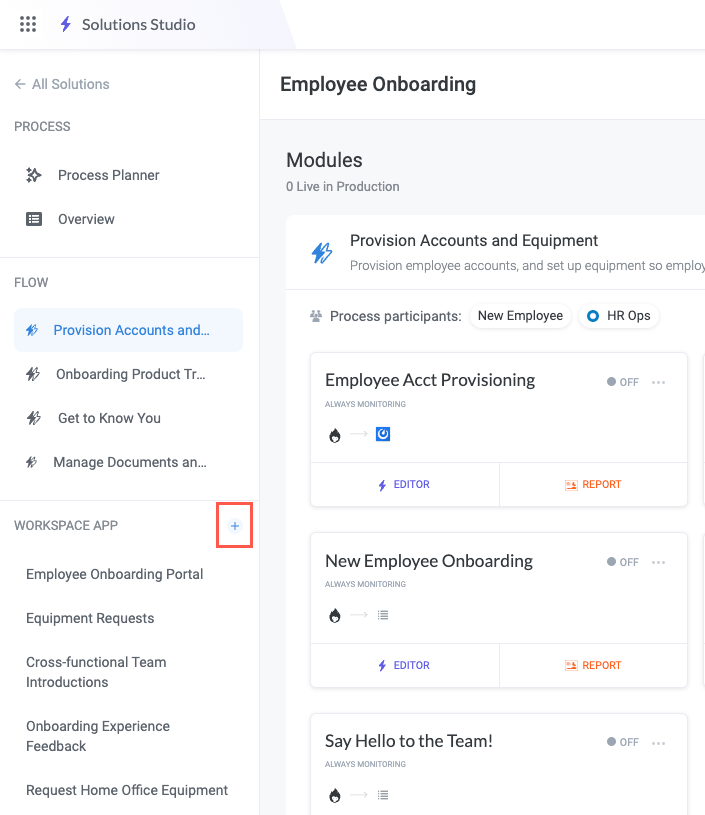
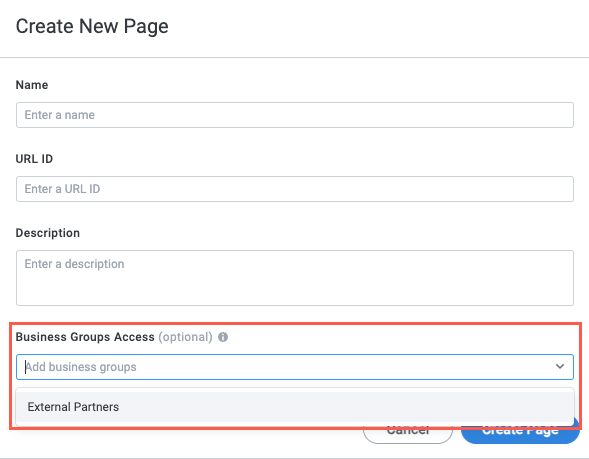
In the Workspace App section, select the + icon, or select Workspace App and select + Add Page. The Create New Page window displays.
Enter the following information in the appropriate field:
Name - The title of the page. This name displays as the page title and on the page tab in the left panel of the workspace app
Include in Quicklinks - Define whether the page displays in the Quicklinks section of the homepage by providing a formula field or expression that equates to
trueorfalse. If the expression equates totrue, the page displays; iffalse, the page doesn't display. You can also entertrueorfalseto manually control this option.Include in AI Front Door - Define whether the page displays in the AI Front Door dropdown menu on the homepage by providing a formula field or expression that equates to
trueorfalse. If the expression equates totrue, the page displays; iffalse, the page doesn't display. You can also entertrueorfalseto manually control this option.Hide Page - Define whether the page displays in the workspace app by providing a formula field or expression that equates to
trueorfalse. If the expression equates totrue, the page displays; iffalse, the page doesn't display. You can also entertrueorfalseto manually control this option.Select Icon - Select an icon to display for the page on the workspace app side menu.
URL ID - The URL ID is the last part of the page URL, which is used by all makers and process contributors to view the page. For example, in the URL
https://library.tonkean.com/blueprint/b2b-customer-onboarding/, the ID is/b2b-customer-onboarding.Description - A brief description of the page.
Business Groups Access - Select a business group to restrict access to the page to. By default, workspace app pages are visible to all users, but selecting a specific business group hides the page for all users except those in the selected group.
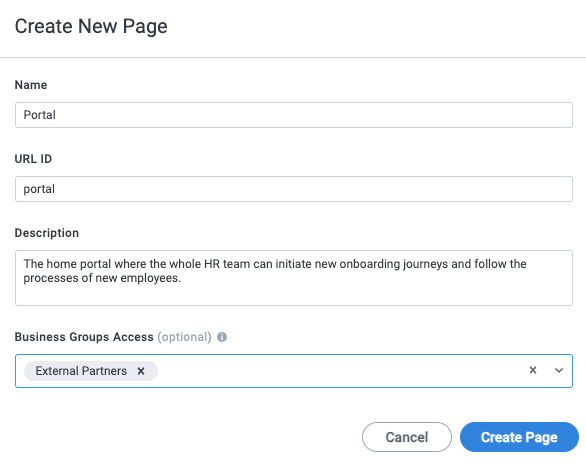
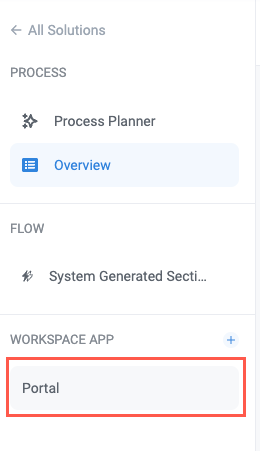
When finished, select Create Page. The new page displays in the Workspace App section.
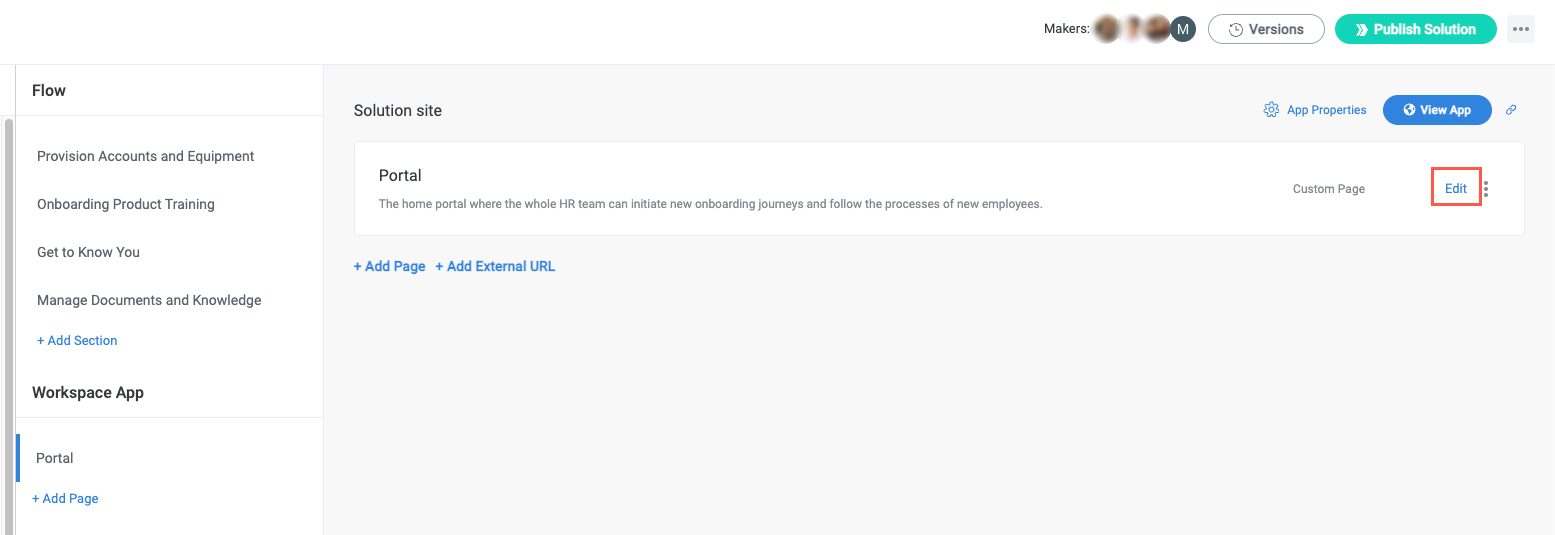
Select the page in the Workspace App section. The Solution site panel displays.
Select Edit on the page tile. The page builder displays.
Add and Configure Widgets
Widgets are pre-built, self-contained units that serve a specific function on your page. In many cases, this function is to display a particular group of fields, but widgets can also enable users to activate actions or leave comments using the page.
See Workspace App Widgets for a list of all available widgets and their functions.
In the right portion of the page builder, locate the widget panel.
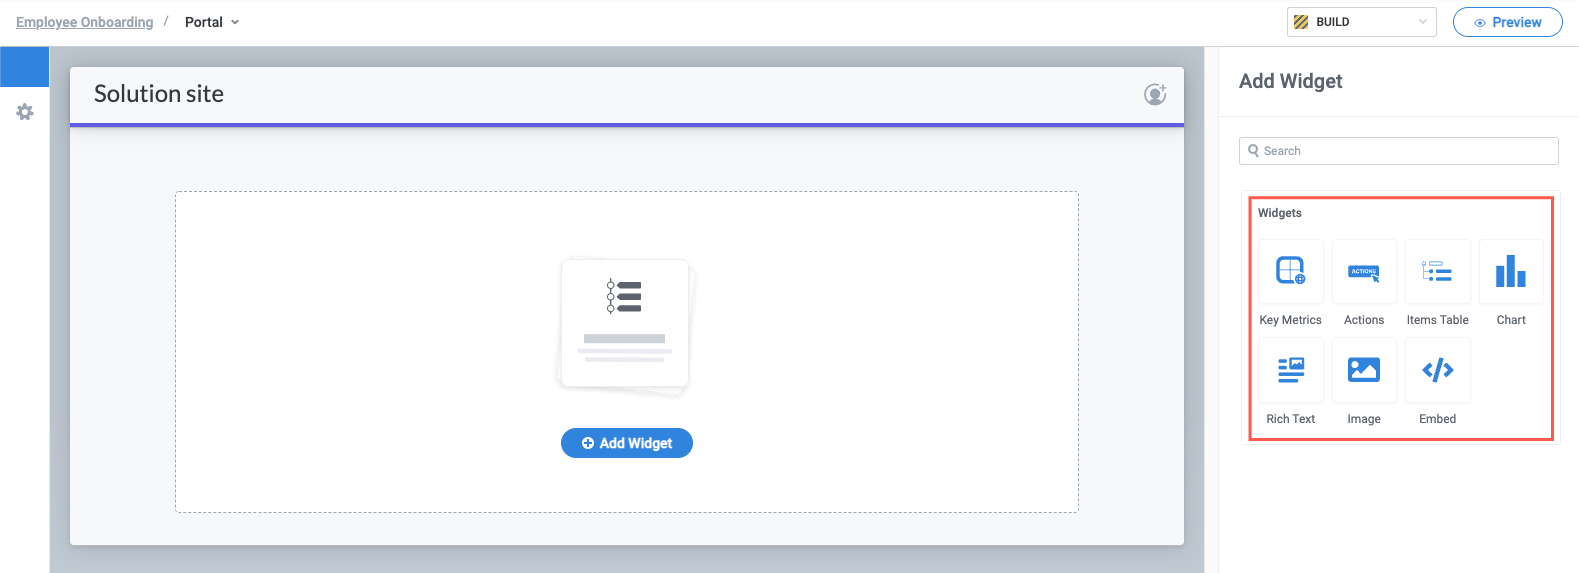
Select the widget you want to add to the page. The widget is added to the page and displays in the page builder, along with the widget property panel.
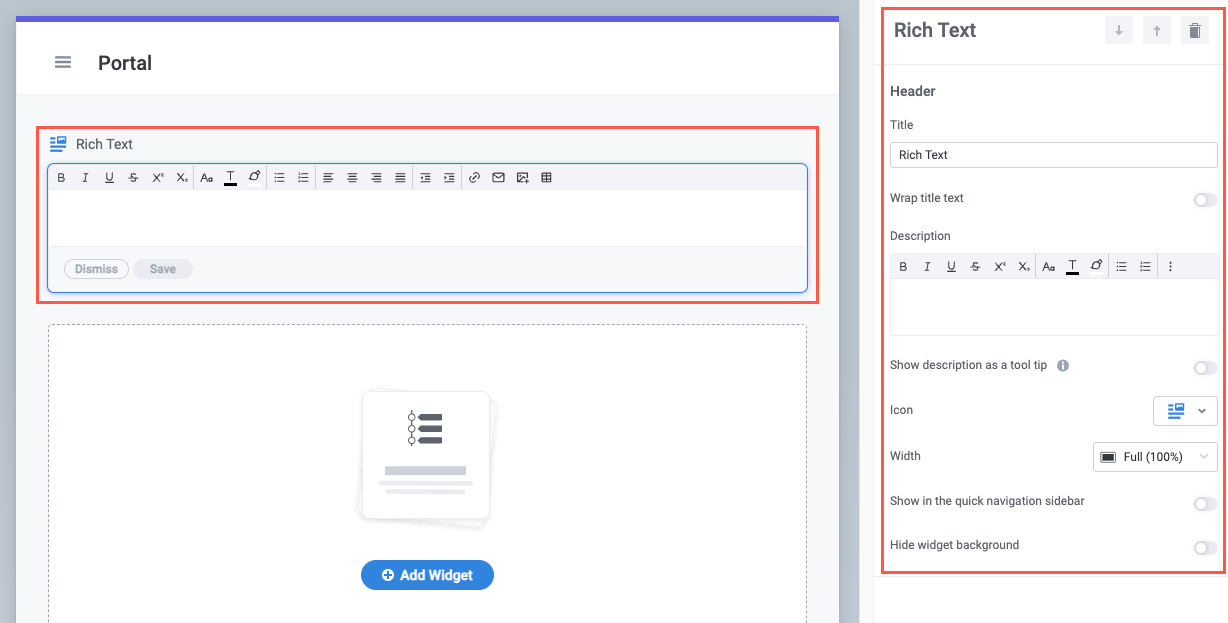
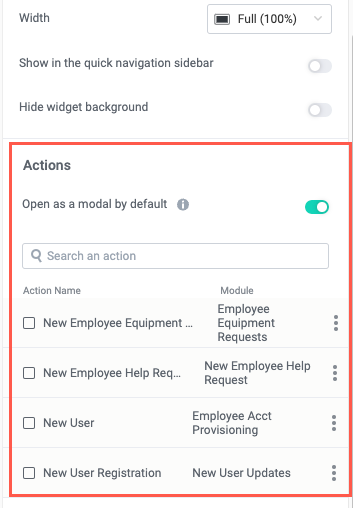
In the Header section of the widget panel, select the Title and Description for the widget.

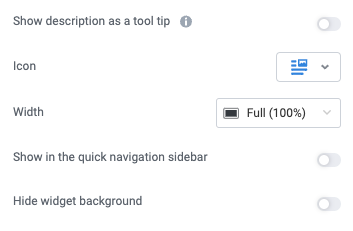
Customize the Icon, set the display Width, and determine whether the widget displays in the quick navigation.
Widgets automatically adjust to display side-by-side with other widgets that fit in the same row. For example, if three consecutive widgets are set to 1/3 width, they'll all display in the same row.
Below the Header section is a widget-specific section that contains the relevant content for the specific widget you're configuring. For example, in the Actions widget, this section is titled "Actions" and displays a list of available actions that you can select to include in the widget. For another widget, like Key Metrics, this section contains the various fields you may want to display.
The Header section is shared by all widgets, but not all widgets have an additional widget-specific section. The Rich Text widget, for example, only has a Header section because it doesn't require any specific configuration.
Configure the widget-specific action as desired.
By default, the page is configured to enable users to open form-based actions on a new tab using a keyboard shortcut (Cmd + select the action on Mac or Ctrl + select the action on Windows). Turn off the Open as a modal by default toggle to disable this feature.
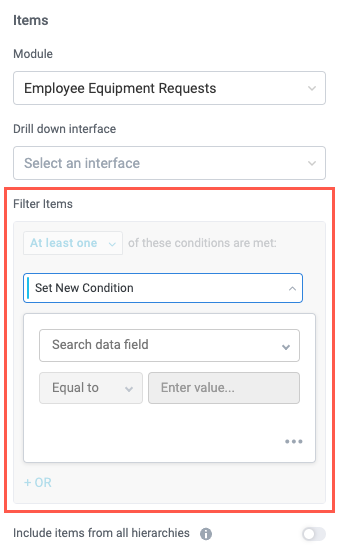
For some widgets, like the Items Table, filter the items that display on the page by configuring a condition group.
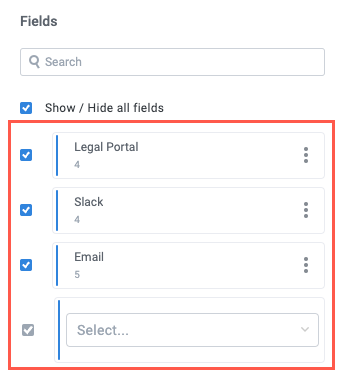
Where relevant, choose the fields you want to display on the page by selecting the relevant field checkbox.
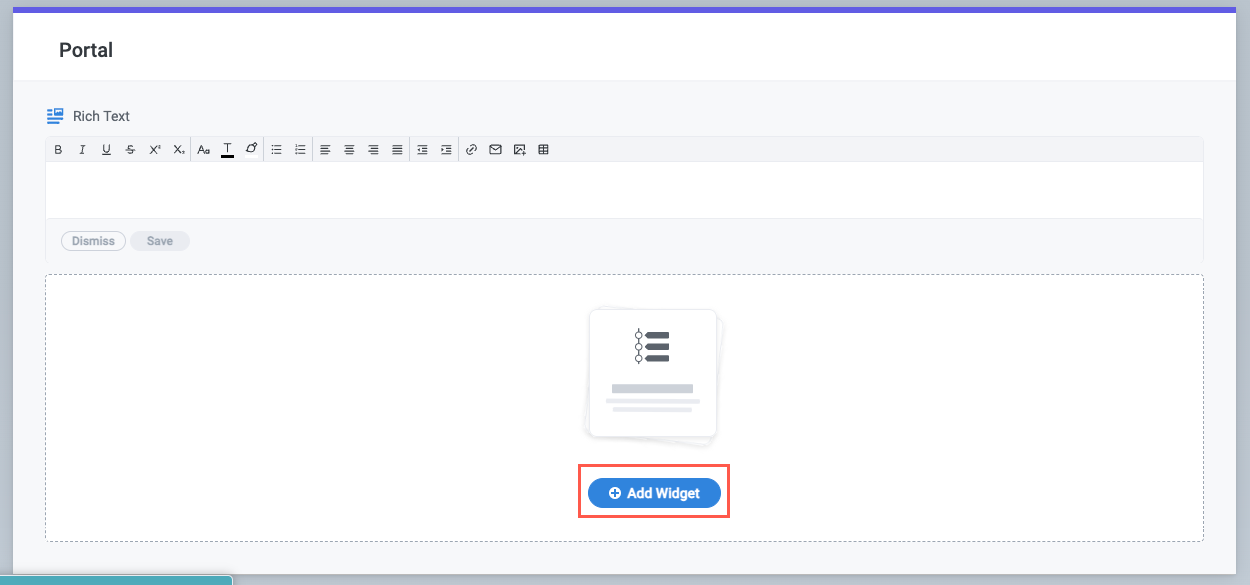
To add another widget, select Add Widget below the existing widgets.
Restrict Access to a Page
By default, workspace app pages are visible to all users, but you can restrict access to a workspace app page to specific business groups. This option is useful if certain pages contain sensitive information, but we also recommend restricting access to pages that are irrelevant to certain users or groups.
You must have created and configured business groups to make this option available. See Create and Manage Business Groups to create a business group.
To restrict access to a workspace app page, follow the steps below:
Restrict Access When Creating a New Page
When creating a new workspace app page, you have the option to restrict access to the page to specific business groups:
Select the + icon on the Solutions Studio screen, or select Workspace App to display all workspace app pages, then select + Add Page. The Create New Page window displays.
In Business Groups Access, select the business groups you want to have access to the page.
Restrict Access on an Existing Page
If you want to restrict access to a workspace app page that already exists, you can configure that option in the page configuration panel:
Adding a business group to or removing a business group from an app page does not require publishing the solution.
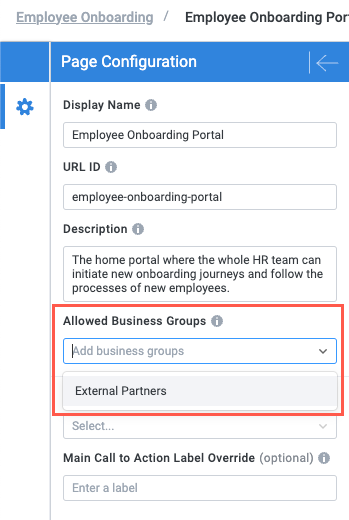
Navigate to the page you want to restrict access to, then select the Page Configuration icon,
 . The Page Configuration panel displays.
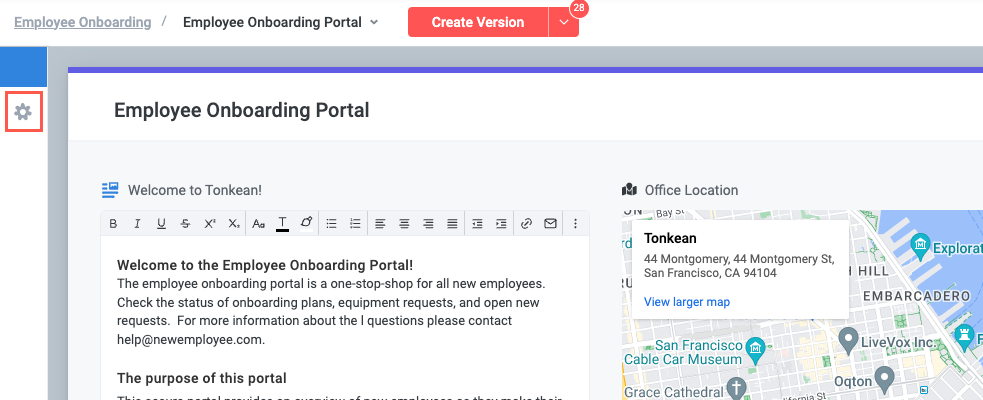
In Allowed Business Groups, enter the names of the business groups you want to have access to the page. If entering multiple business groups, provide them in a comma-separated list.
You can also select the insert field button,
 , to enter a dynamic value or use a value from Solution Preferences.