Create a Manual Custom Data Source
Manual data sources are intended for users who want to create and maintain a data source in Tonkean. A simple data set (an employee list, for example) that's not referenced by anything else besides Tonkean would be a good candidate for a manual data source.
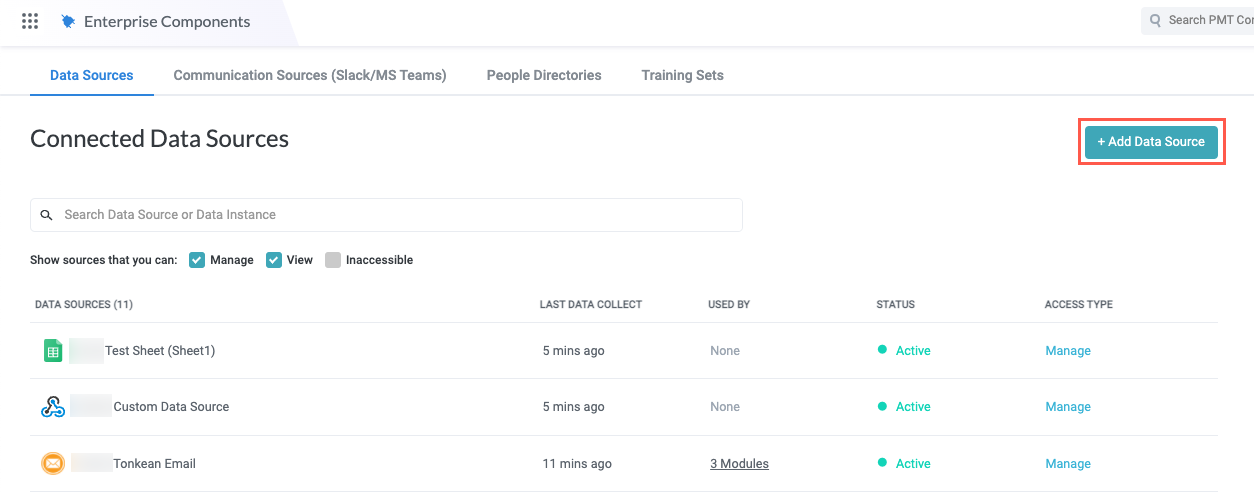
From any screen, select the main nav icon,
 , in the upper left and select Enterprise Components. The Enterprise Components screen displays.
Select + Add Data Source in the upper right.
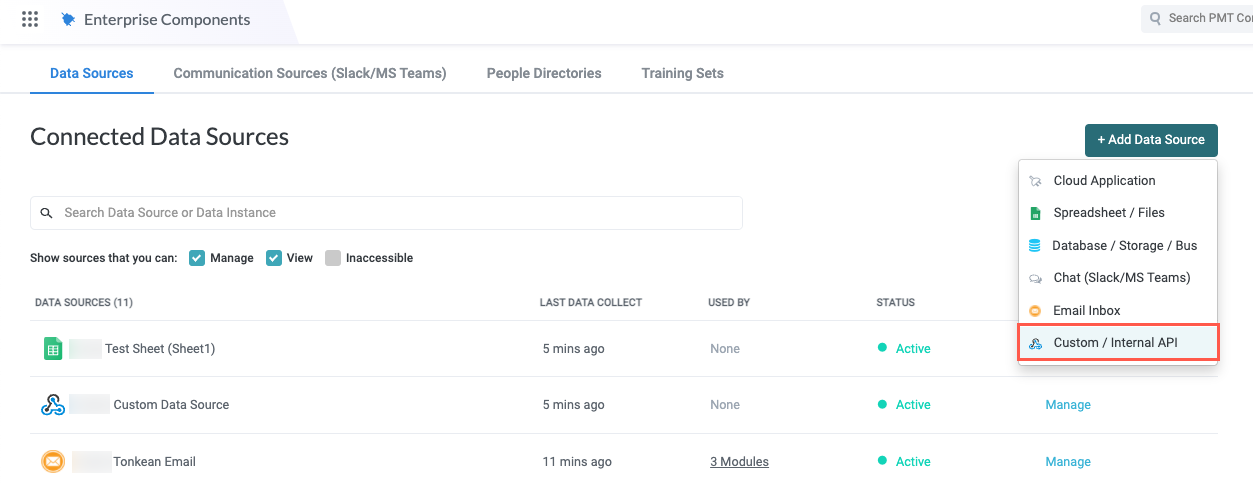
In the dropdown, select Custom / Internal API. The Add New Data Source window displays.
Select New Custom Data Source. The New Custom Data Source window displays.
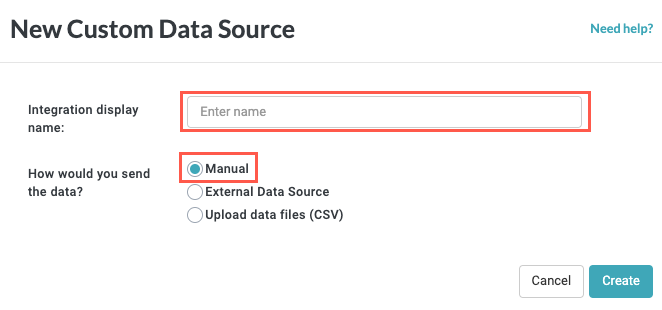
Enter a descriptive name for your custom data source in the Integration display name field and select Manual in the How would you send the data? field. The name of the window updates to the name entered. When finished, select Create. The data source detail screen displays.
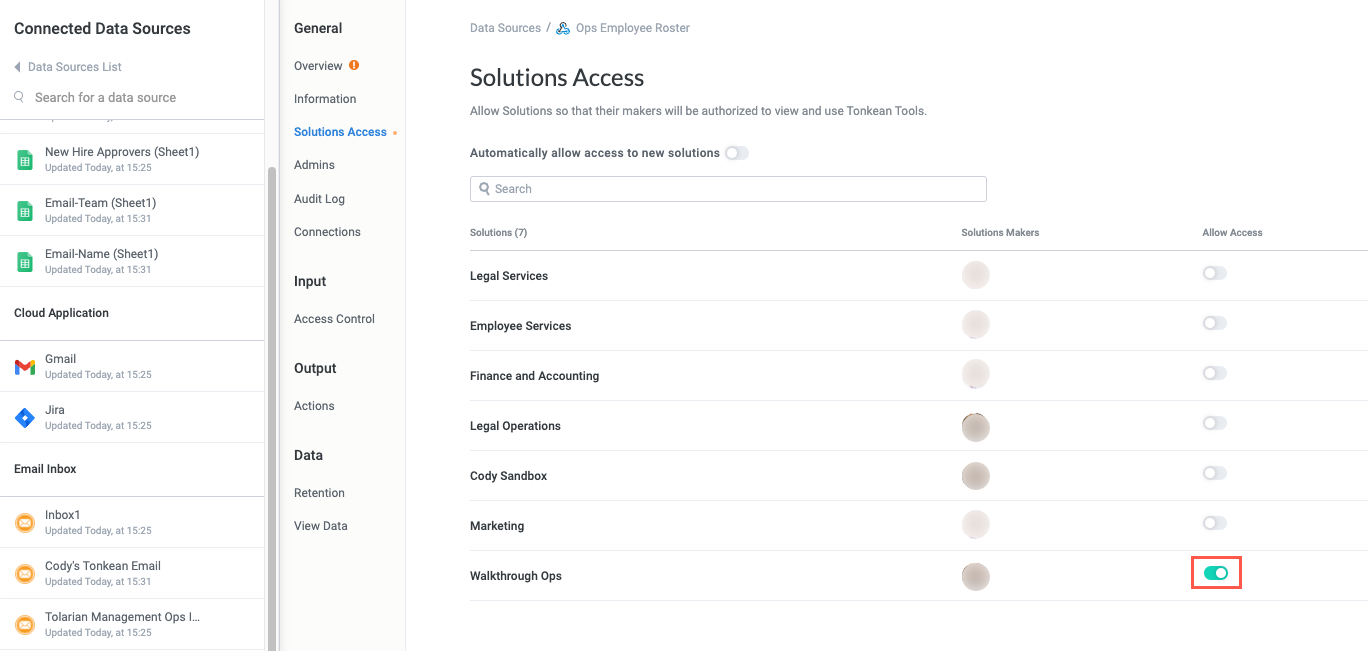
On the data source detail screen, select Solutions Access in the data source configuration panel to allow a solution access to your new custom data source. The Solutions Access screen displays.
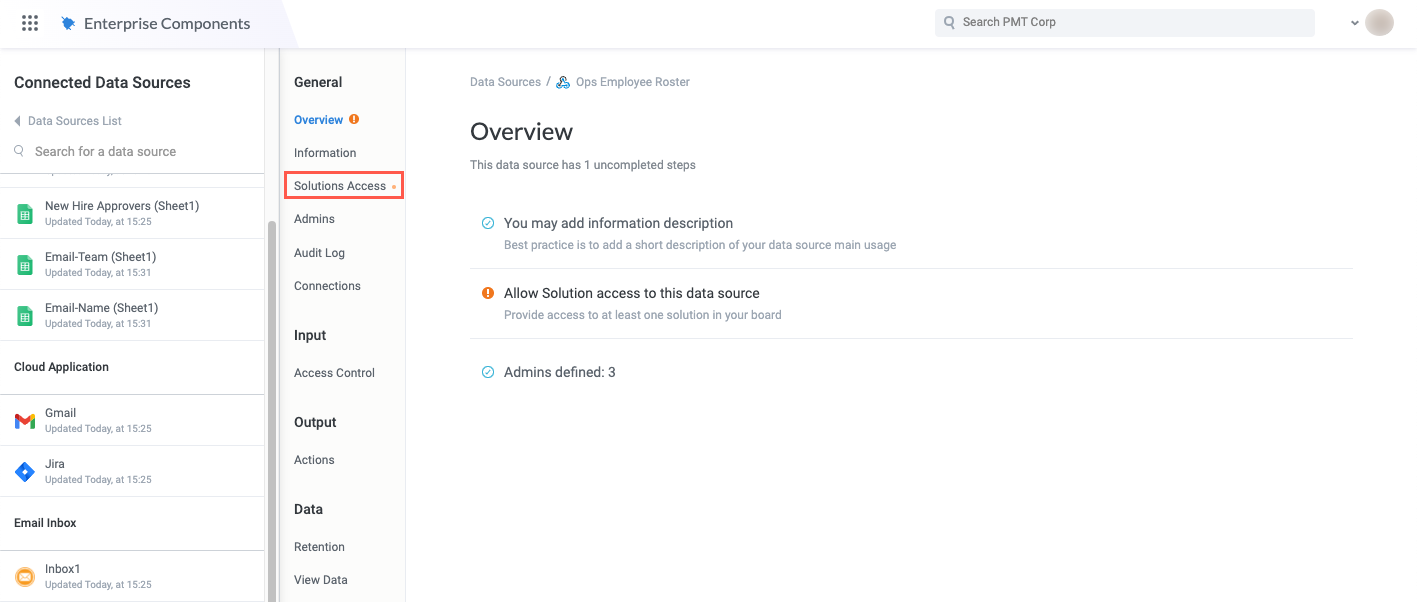
Select the toggle that corresponds with the solution that contains the module you want to give access to.
Now, your custom data source is ready to populate with data:
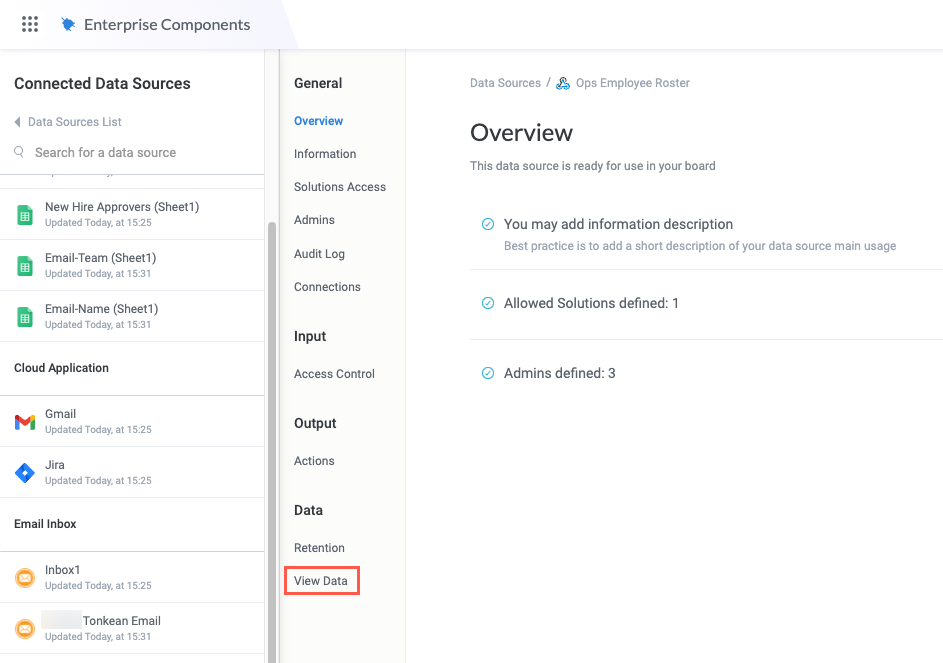
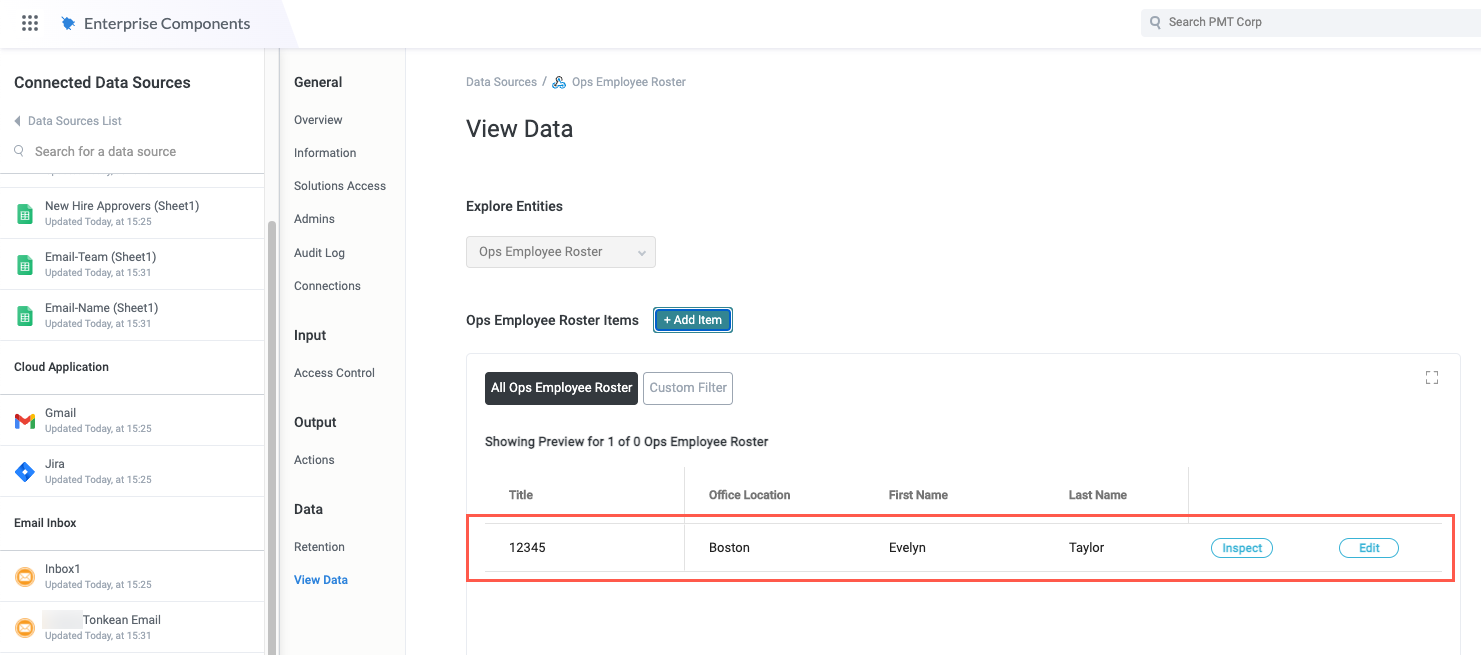
To add data to your custom data source, select View Data in the data source configuration panel. The View Data screen displays.
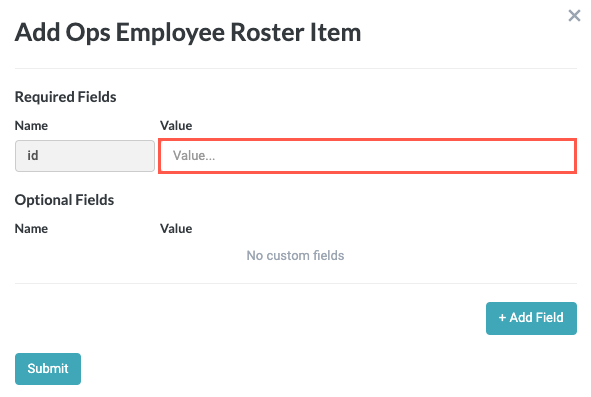
Select + Add Item. The Add Item window displays.

Each item must have a unique ID, but you can have anyu number of optional fields for each item:
Enter a unique ID for the item.
Select + Add Field to add any number of fields, then enter the field Name and Value for each field.
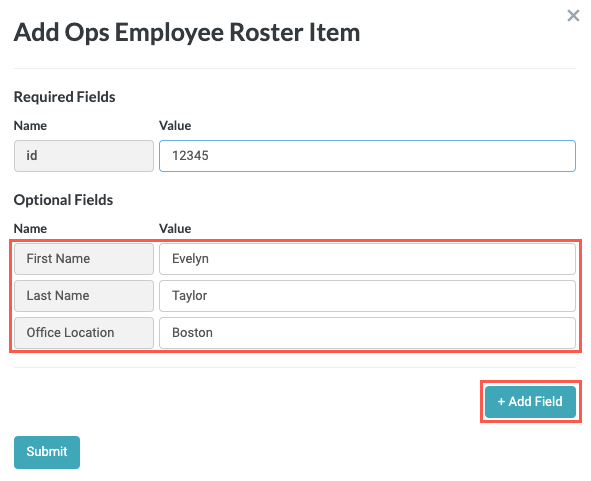
When finished, select Submit.
The added item displays in the Items section:
Select Edit for the corresponding item to open the Edit Item window and update information as needed.
Add any additional items following the same process. Ensure each item has a unique ID.
You now have a manual data source that is ready to use.