Set Up a Webhook
Webhooks provide near-real-time data updates in response to events in an external application, allowing your solutions to stay up to date without the need to continually poll the data source. For applications that rely on real-time updates and responsiveness, a webhook is the best connection method. For example, Tonkean connections with chat and support applications must be immediate to allow the workflows to respond appropriately to new messages.
To set up a webhook as part of a no-code data source, the application must enable you to create and configure outgoing webhooks. Most popular enterprise applications support outgoing webhooks, but there may be limitations in the specific entities or events that prompt webhook calls. Refer to the relevant documentation for your application to confirm webhook support, especially for the entities you're targeting.
In the Entities Settings panel, select Live Stream. The Live Stream screen displays.
Locate and copy the Webhook URL. This is the callback URL you include in the application, allowing it to make a POST request to Tonkean.

In the application you're creating a data source for, follow the steps as outlined in their documentation to create an outgoing webhook. This process varies from one application to another, but generally follows the process below:
Identify and navigate to the admin or developer settings.
Create a new webhook or webhook connection.
Provide the callback URL (the one you copied in Tonkean).
Specify which events in the application should initiate an API call.
When the outgoing webhook is configured and ready for use, perform an action that activates the webhook. For example, if a webhook in Mattermost is monitoring the creation of new posts, write and submit a post. Activating the outgoing webhook sends a payload to Tonkean where you can select the particular entity you want to capture.
In Tonkean, view the Webhook Payload tab and confirm you received the payload from the webhook event. The presence of a JSON object in the Webhook Payload tab confirms Tonkean has received the webhook event successfully.
Make sure the
content-typefor the outgoing webhook is set toapplication/json.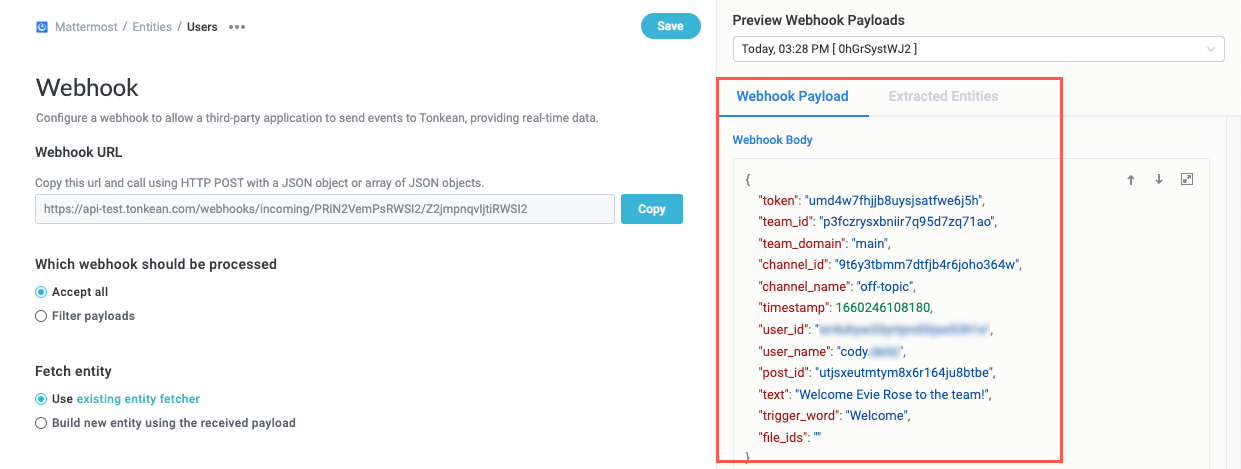
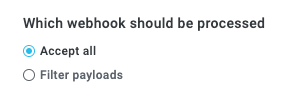
In the Which webhook should be processed field, choose whether to process all webhook events or to filter incoming events from the application:
Accept all - Process all webhook events from the application.
Filter payloads - Configure a condition group to process only specific events. Choose this option when the webhook event for different entities features the same structure but contains an identifying value. For example, the payload may contain a field like
event_typeand you could configure the filter to process only events with the valueuser.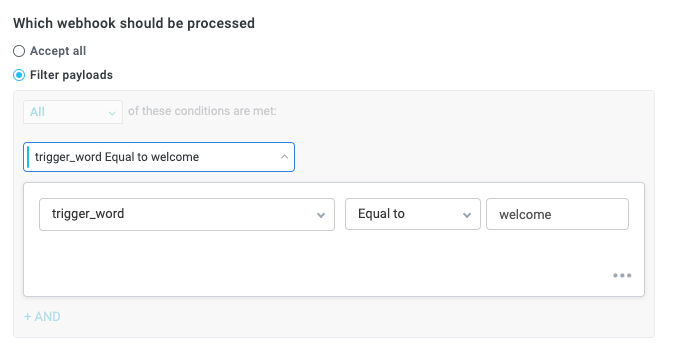
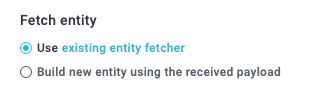
In the Fetch entity field, choose whether to use the existing entity fetcher to update the entity or to create a new entity:
Use existing entity fetcher - Use the already-configured entity fetcher to update the entity. Use this option for use cases where the webhook payload includes an ID the entity fetcher can use to update. This ID is required to update the entity.
To use this option, the entity in the webhook and entity fetcher must be the same type.
Build new entity using the received payload - Use the webhook payload to create the entity and add it to the data source. Use this option when the webhook payload contains the entirety of the entity object.
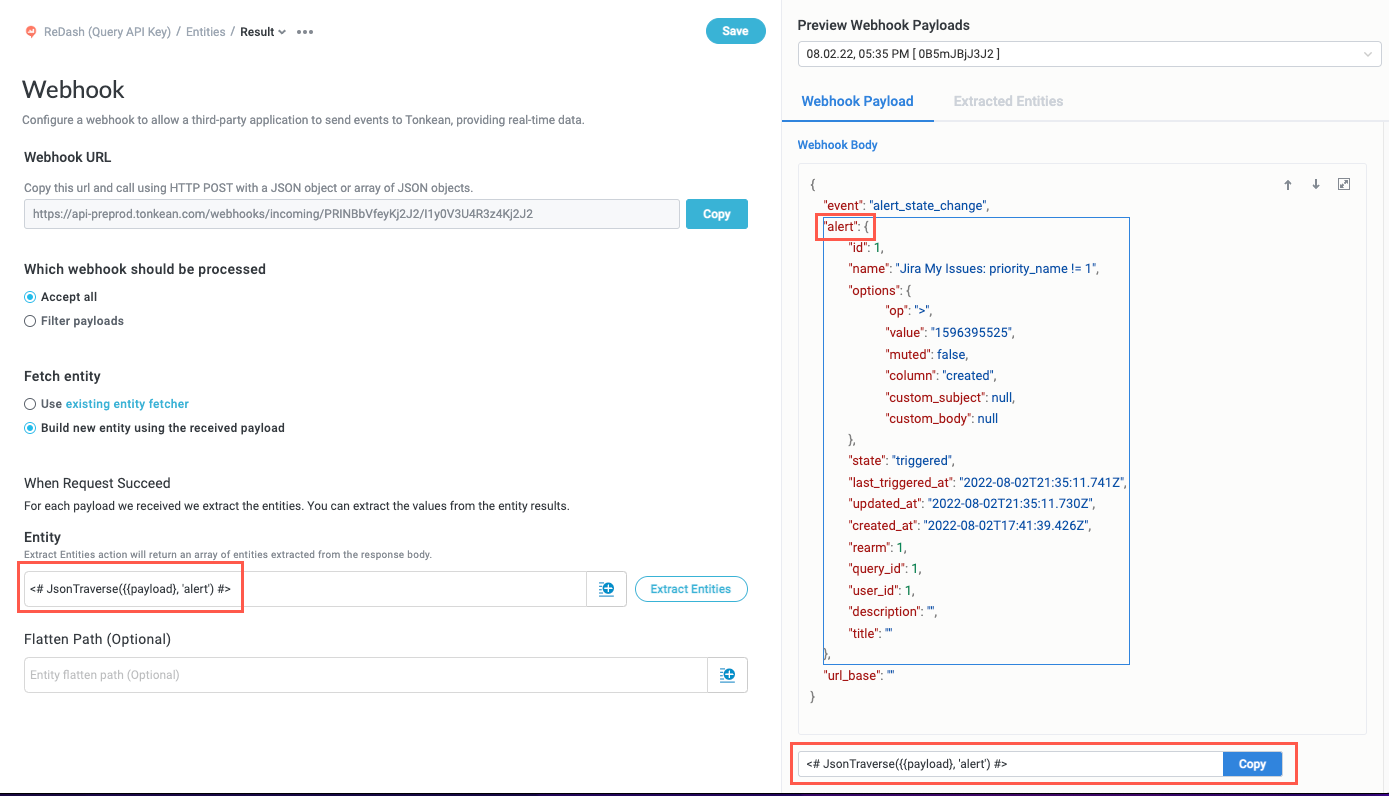
Select the Entity to extract from the webhook payload. There are two options to extract the entity:
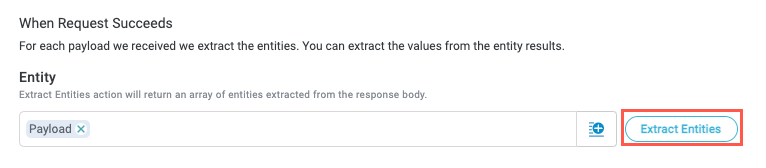
Use the default "Payload" field, which extracts the entire object of the payload body. This field is included in the Entity field by default and does not require any further configuration.

Select the relevant field in the payload, copy the JsonTaverse path, and paste it into the Entity field. Use this option when the target entity is contained within parent object in the webhook payload.
When you've selected the entity, select Extract Entities. The Entity Unique Identifier field displays.
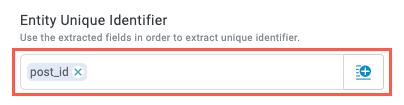
In the Entity Unique Identifier field, select the insert field button,
 , and choose the unique ID for the entity.
This unique ID should be the same field used in the entity fetcher.
When finished, select Save.
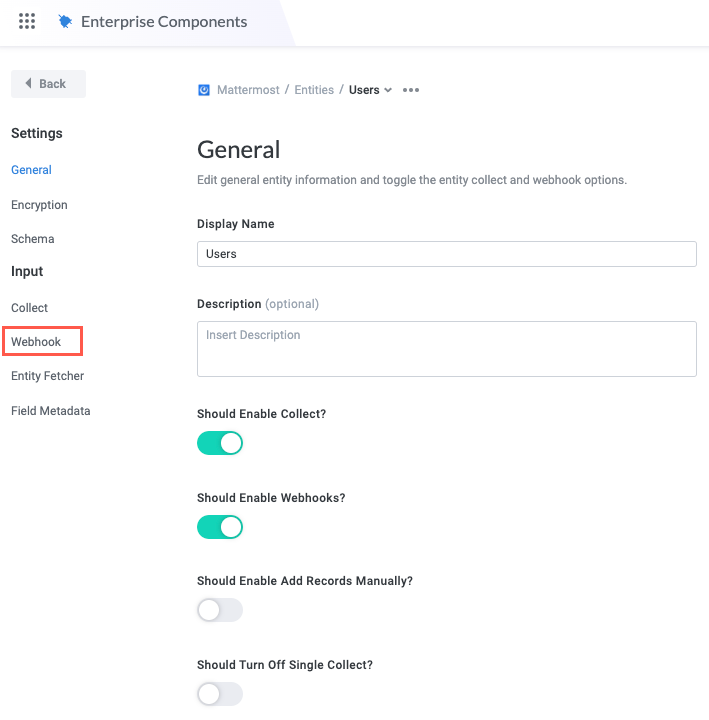
Navigate to the General screen and turn on the Should Enable Live Stream? toggle.

The webhook is configured.