Configure Entity Collect
Entity collection is the process in which Tonkean sends an API request to an application to get or update all entities of a specified type. For example, entity collection might request all Messages or Channels for a Slack data source.
To enable entity collection, you must provide the required information to successfully send a request to the relevant endpoint, then determine how to handle the response. Once you configure the collect, you gain access to all the relevant data records for the entity (based on your permissions).
Configure the Collect Request
To ensure entities are collected as expected, you must configure the API request, including defining the path and query parameters, header, and body, where necessary. To locate the information needed to configure the request, refer to the relevant API documentation for your application.
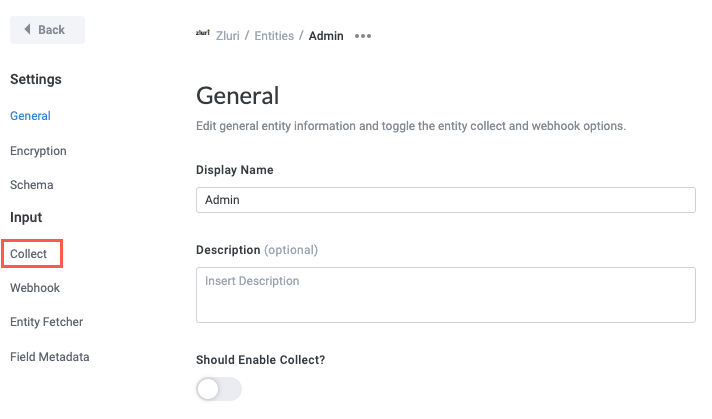
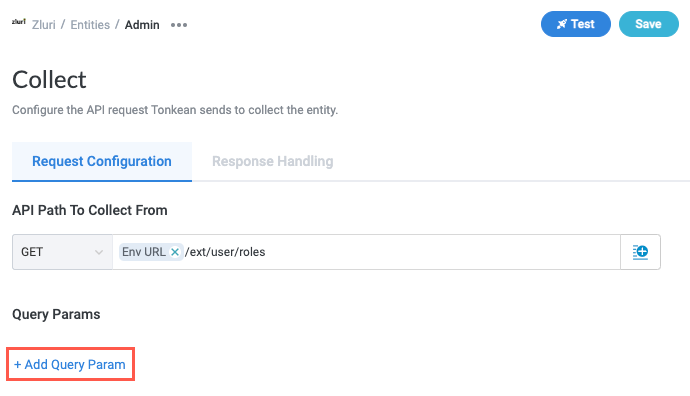
In the Entities Settings panel, select Collect. The Collect screen displays.
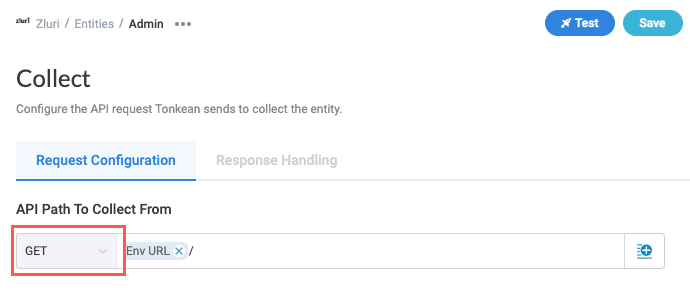
In the API Path To Collect From field, select the method dropdown and choose the API method for the request.
Referring to the relevant documentation for your application, locate the request path and enter it into the API Path to Collect From field. If you created a parameter to provide a value for a path variable, select the insert field button,
 , to add the parameter.
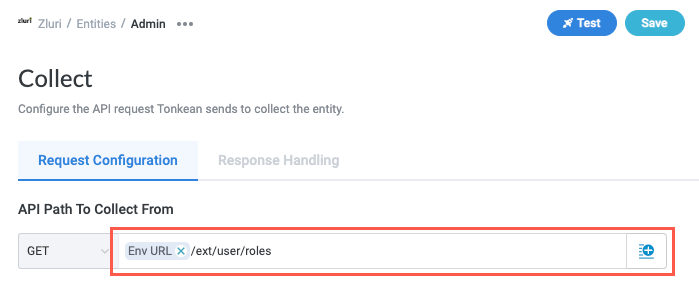
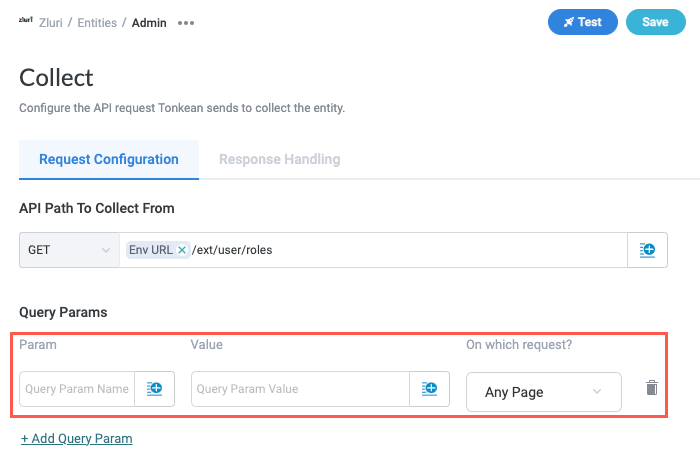
To add a query param, select + Add Query Param. A set of param configuration fields display: Param, Value, and On which request?.
Param - The query param name, sourced from the application's API documentation.
Value - The assigned query param value.
On which request - Define when to send the param. That is, Only First Page, Any Page, or After First Page. Use this field to specify when to send the param relative to the response pagination. For example, some APIs require the use of a token to retrieve additional pages in the response. This token is not used for the first page but is required for all the following pages.
Enter the Param and Value, then select the On which request? dropdown to choose when to pass in the param value.
The params available for the request are specific to your application, but most applications share similar params for querying specific data or handling the pagination of the response, for example. Below is an example of two query params, one for
page, which specifies which page to select, and one forper_page, which specifies the number of results to return on each page.Note that the value for
pageleverages a formula field to convert the param value to a zero-index and transform it into an integer (without the period and tenth-place decimal value).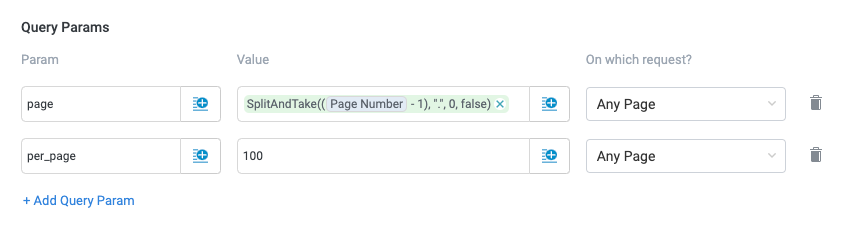
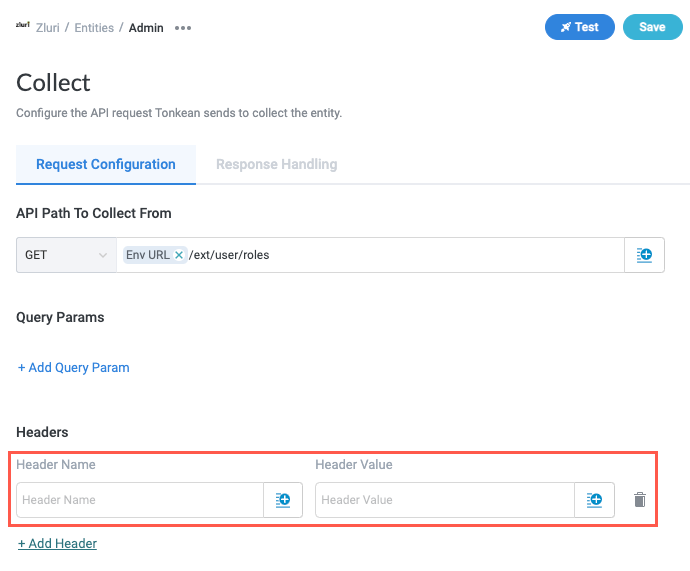
Where relevant, select + Add Header to add any header values to the request. Header Name and Header Value fields display.
It's rare to include header values with the entity fetcher. Header values are often used for authentication and configured on the Authentication screen. Refer to the application's relevant documentation to determine if you need to include header values.
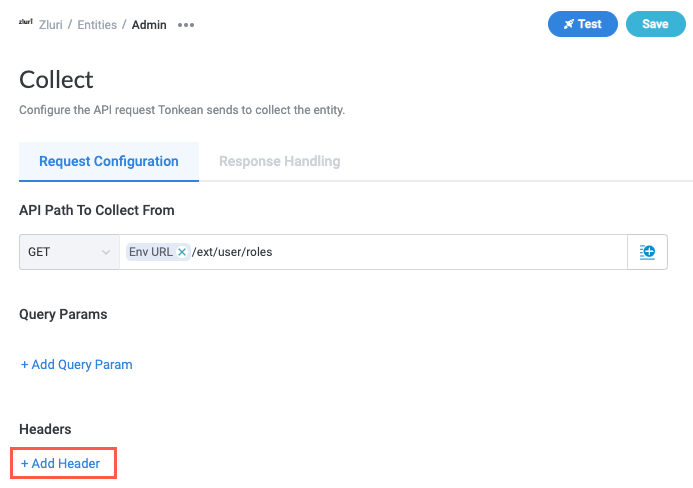
Enter the Header Name and Header Value for each header value you include.
Set Advanced Request Options
The Advanced section features several options for more complex use cases. Select the relevant checkbox to enable any of these options:
Ignore untrusted certificates - Ignore warnings generated by SSL or TLS certificates your browser has marked as untrusted.
Disable auto charset - Disable automatic assignment of the character set. Enable this option if you want to set the charset for your request by manually setting a value for
Content-Type(for example,Content-Type: text/html; charset=utf-8).Disable follow redirects - Disable automatic browser redirection.
Keep trailing forward slash - Maintain the trailing forward slash, "/" in the request path. Generally, the presence of a trailing slash indicates the resource is a directory as opposed to a file, which doesn't usually have a trailing slash.
Remove keys with empty values - Remove any keys without a corresponding value.
Support file download - Enable file download. Select this option only for APIs with built-in file storage and download capability (such as downloading a file from DocuSign).
Configure Pagination
Configuring pagination is an important part of configuring the entity collect as a whole. While the specific requirements vary from application to application, it's common for an API to return multiple pages, especially for GET requests.
To enable pagination, select the Pagination toggle. The Stop Criteria field and Collect Params section display.
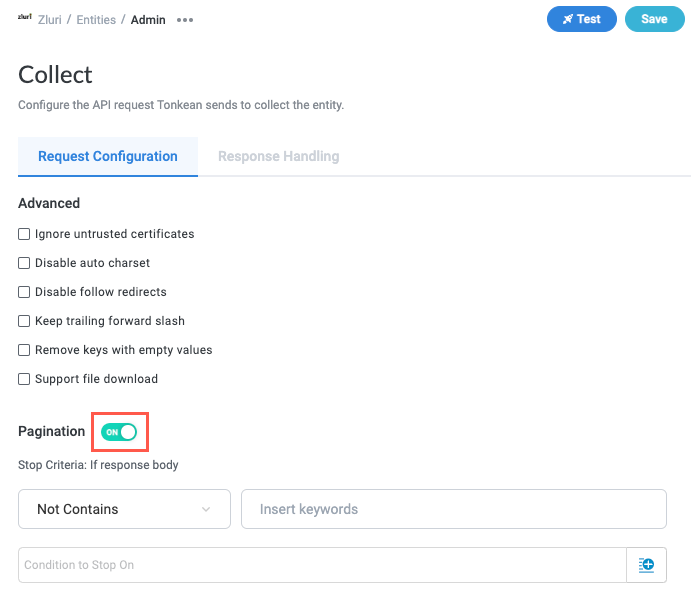
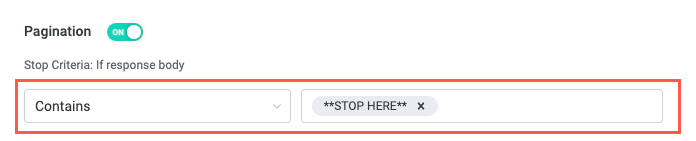
The Stop Criteria field enables you to specify the conditions under which Tonkean stops requesting additional pages. To configure the stop criteria, select the dropdown and choose either Contains or Not Contains, then enter keywords in the adjacent field.
By default, pagination will stop when the API returns an empty object. However, with some applications, requesting this empty object may generate an error and cause the entity collect to fail. For these use cases, it's important to specify stop criteria.
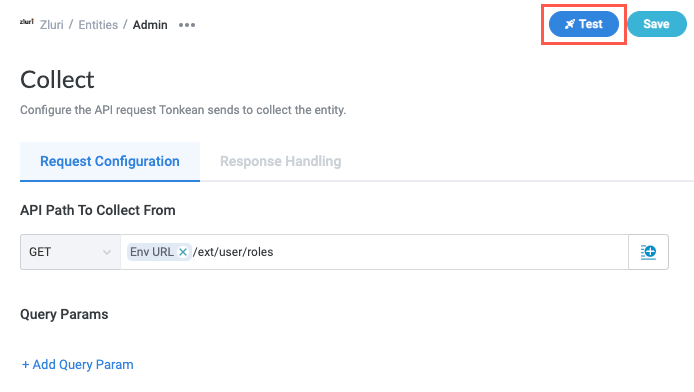
Test the Collect Request
After you have configured the request, you can test it to make sure it's working as expected.
Before beginning your first test collect, ensure you provide values for any required parameters (for example, a subdomain param). To manually add values to parameters, navigate to the data source configuration panel and select Connections. The Connections screen displays. Select Edit, then enter values for any required parameters.
Select Test. The Run Test window displays.
Select whether to retrieve a specified number of pages or a specific page:
Retrieve first - Retrieve the first number of pages specified in the dropdown.
The Retrieve first option is only available is the Pagination toggle is turned on.
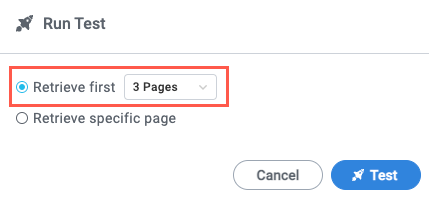
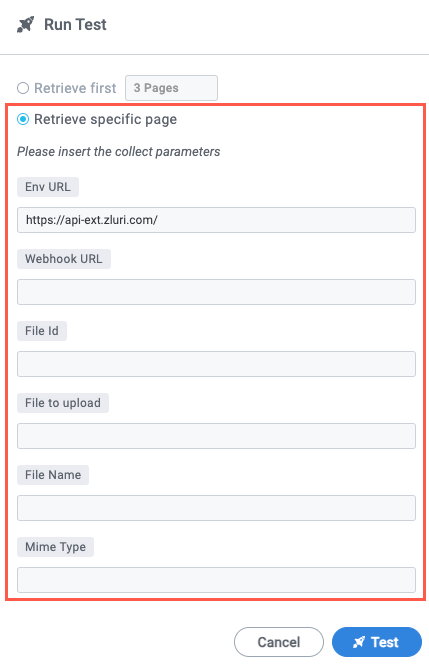
Retrieve specific page - Retrieve a specific page based on the collect parameters.
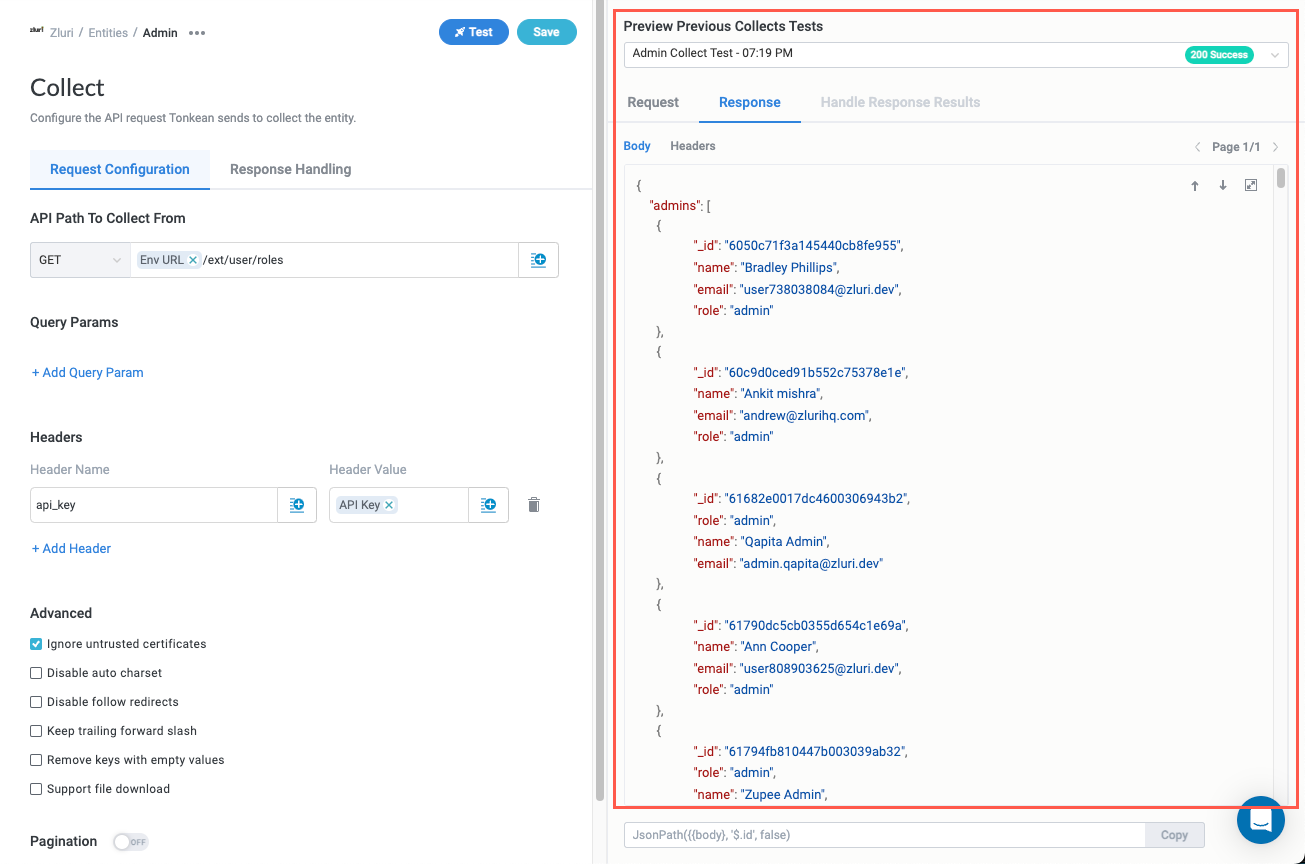
When finished, select Test. If the test is successful, the Run Test window closes and the response displays in the right panel:
If you don't receive the expected response, or your test request fails, close the Run Test window and return to the Collect screen to troubleshoot the problem.
The HTTP response code you receive in the test can be a helpful starting point for diagnosing potential problems, but we recommend first checking each of the fields in the Path, Query Params, Body, and Headers sections, where relevant. Additionally, check your request against the documentation for the application to ensure it's formed properly and contains the required values.
Once you've identified the cause of the error, return to the Run Test window and run the test again.
If the test is successful, select Save.
Handle the Collect Response
With the request complete and successfully tested, you can select the field in the response you want to extract to ensure Tonkean collects the specific entity you're targeting.
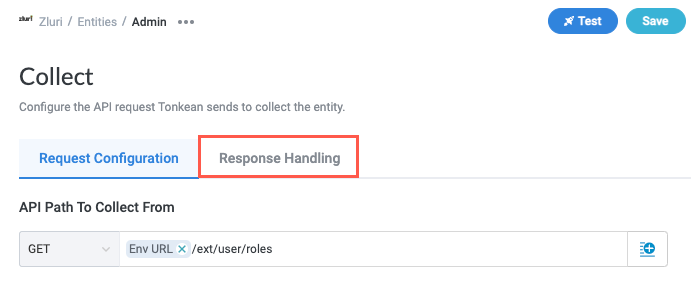
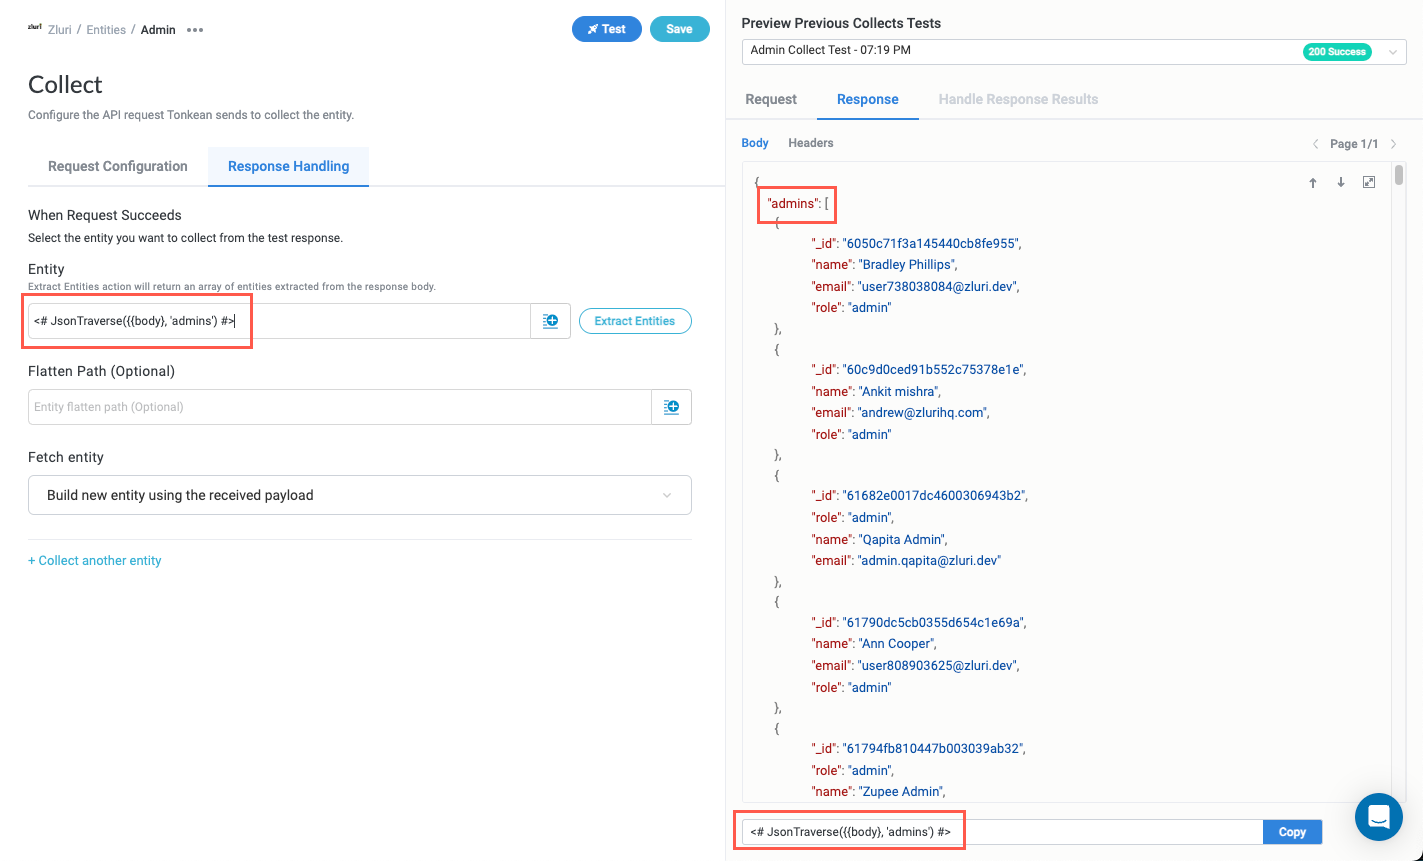
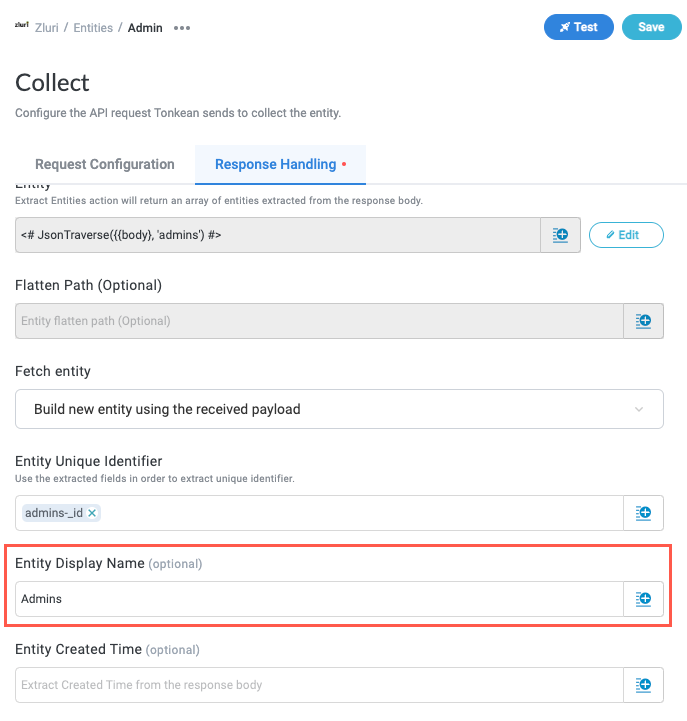
Select Response Handling. The Response Handling tab displays.
In the response you received from the previous test, select the relevant object for the entity you want to collect.
Where this object is located varies based on the structure of the response, but many APIs use a parent element for a given object type, as in the example below where
adminsis the desired entity: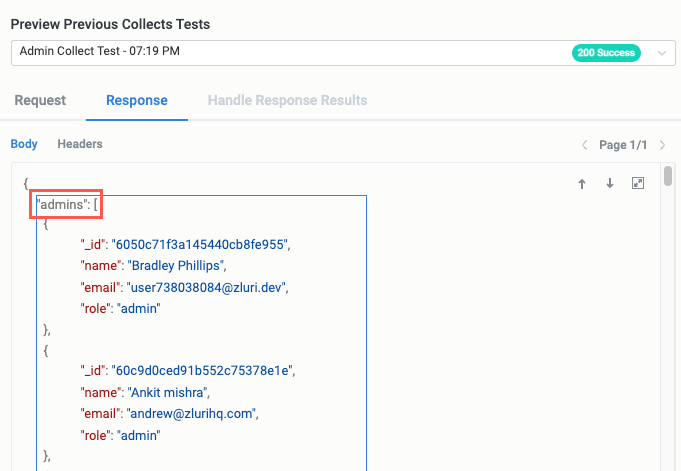
If the response contains a parent element for the desired entity, select that parent element. The JsonTraverse path displays in the Entity field.
Alternatively, some APIs may return an array that contains the entity you want to collect, except without a parent element. In the example below, the response contains array of "user" objects without a parent element you can select:
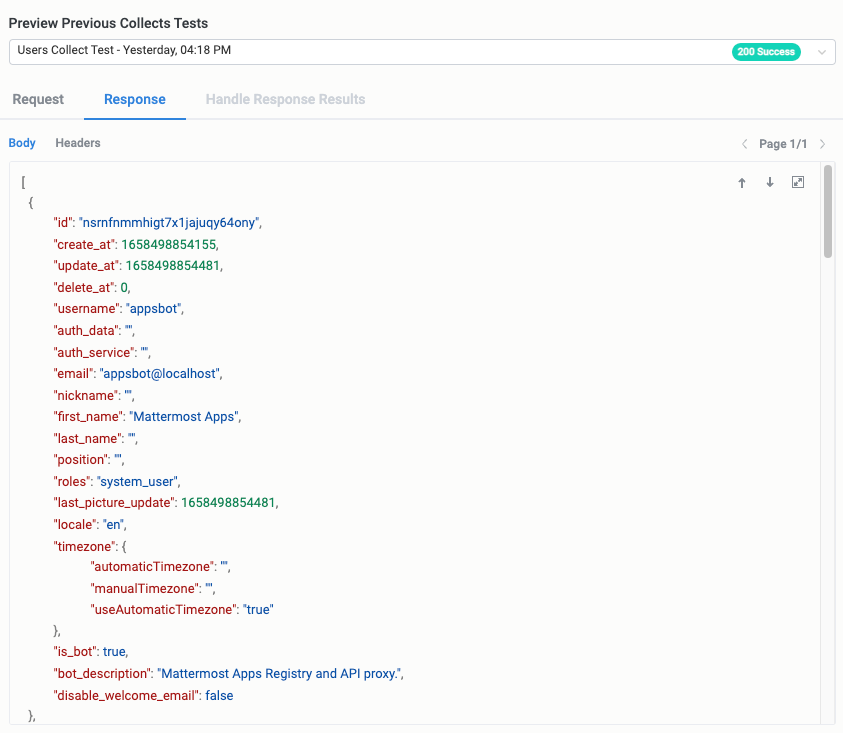
If the response doesn't contain a parent element, select the insert field button,
, in the Entity field and select the Body response param. Inserting this param allows you to extract the entire array in the response body.
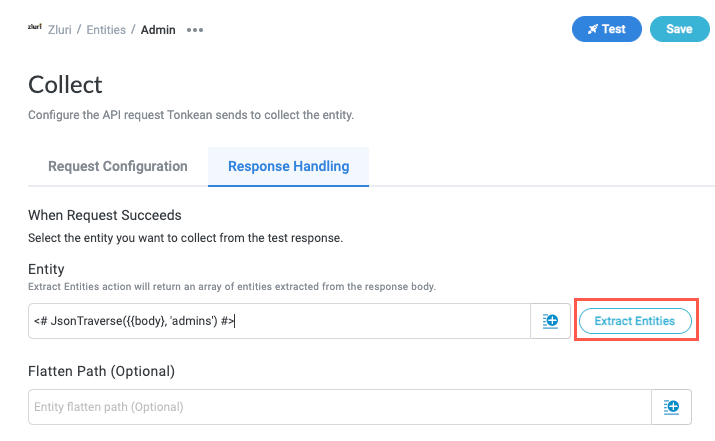
After selecting the entity you want to collect, select Extract Entities. After processing, several new entity fields display on the Response Handling tab.
In the Entity Unique Identifier field, select the insert field button,
, and select the field that acts as the unique identifier for each entity object.
Enter an Entity Display Name. This is the name that displays for other users who connect to the data source—it displays on the Data screen and on the relevant business report. We recommend using a clear, title-case name. For example, "Admins" instead of "admins".
For each remaining field, enter a value manually or select the insert field button,
, and select the corresponding field from the response, if desired.When finished, select Save.
Entity collect is configured.
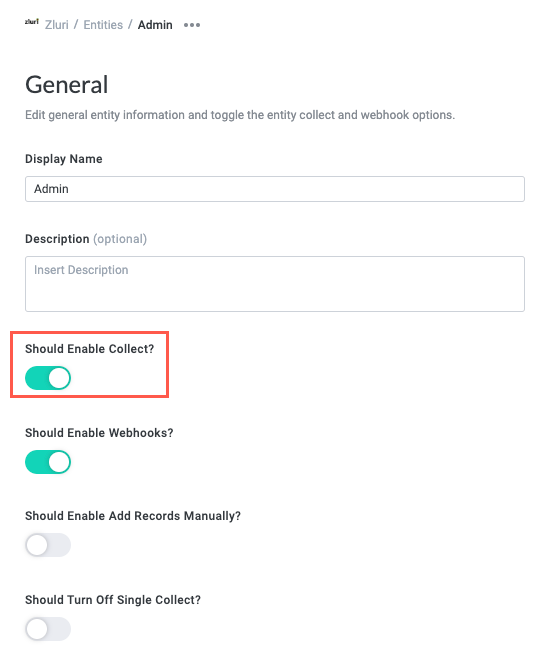
To begin running the collect for the configured entity, navigate to the General screen and select the Should Enable Collect? toggle. Tonkean will begin sending API requests to the relevant endpoint immediately after this toggle is turned on.