Optimize Content for the AI Front Door
The AI Front Door is a powerful tool and can quickly locate relevant information in response to user input, but there are additional steps you can take to make the AI Front Door's job easier and improve the speed and quality of its results—in turn improving the experience for requesters. In general, the most helpful steps you can take include limiting the overlap between similar resources and adding descriptive context to the data the AI Front Door has access to.
See the relevant sections below for more information about optimizing data sources, interfaces, and forms for the AI Front Door.
Optimize Data Sources for the AI Front Door
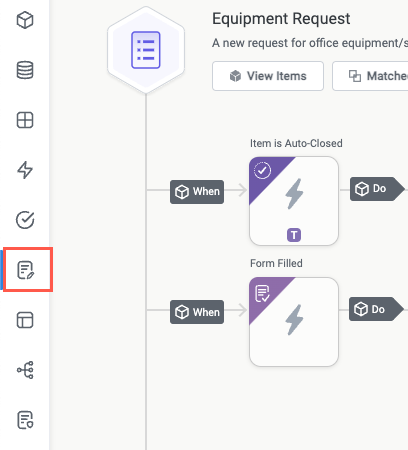
Your data sources are one of the most important resources for the AI Front Door. Data sources are where the AI Front Door can access your connected applications and systems, understanding the current state of key elements of your business process. It can, for example, check the current status of a contract in your CLM or see what catalog items may be within budget in your procurement tool.
Follow the recommendations below to optimize your data sources for the AI Front Door:
Limit the scope of connected knowledge bases and document repositories - While it's tempting to connect a large existing knowledge base containing all of your internal policies or a large Google Drive folder containing every legal document, this approach can result in lower-quality output from the AI Front Door. Especially if there are multiple pieces of content or files with similar or overlapping content (such as multiple versions or revisions of an employee manual), the AI Front Door can have difficulty determining the correct result to return. In this way, more is not always better.
Instead, create a smaller, specialized version of a larger knowledge base or repository that contains a subset of key documents or pages. For example, if you have a large Google Drive folder of procurement policies but the information that's relevant to requesters is limited to only a few files, create a dedicated folder that contains only those files—limiting the possibility of hallucination and ensuring the information is relevant to your audience.
To help determine which files or resources are best to include, take some time to understand your audience's needs and the most common or important information they're likely to need. That is, all the information in the employee purchasing guide and purchasing policy may be helpful, while the new vendor onboarding guide intended for the procurement team may just clutter up AI Front Door results.
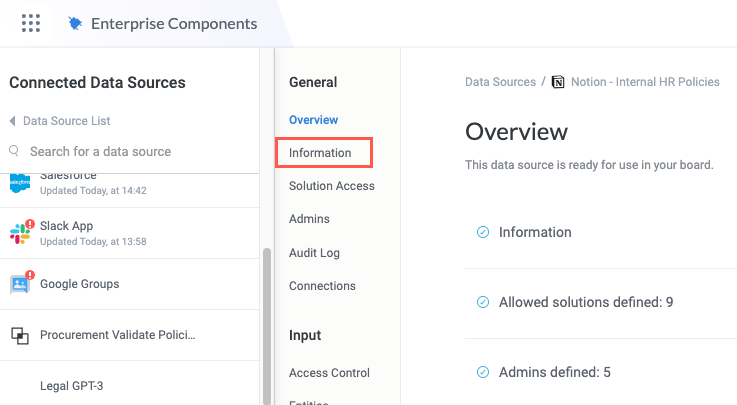
Enrich data source information and metadata - In addition to having high-quality data source records (that is, descriptive field names and accurate data), you can improve the quality of AI Front Door responses by including helpful data source metadata. Follow the steps below to add data source metadata:
In the relevant data source, select Information in the data source configuration panel. The Information screen displays.
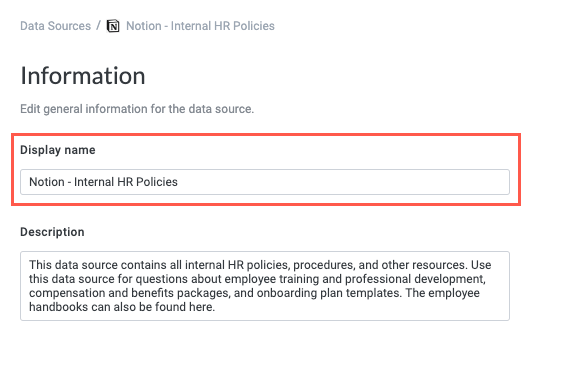
Enter a descriptive Display name. The display name should include not just the data source type (for example, "Notion"), but also the kind of content contained in the data source (that is, "Notion - Internal HR Policies").
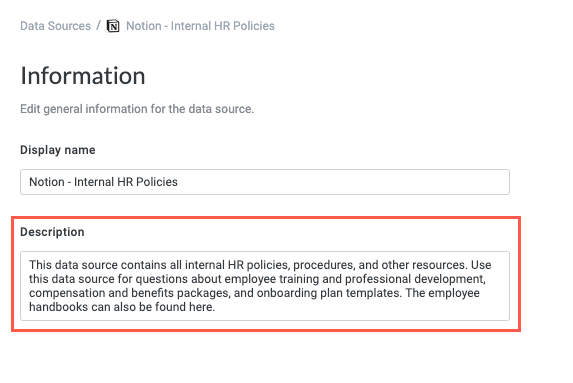
Enter a detailed Description. Include specific details about what is stored in the data source, especially for data sources that contain various types of content, such as knowledge bases or policy repositories.
Optimize Interfaces and Forms for the AI Front Door
In much the same way that adding metadata for data sources is helpful, enriching your custom item interfaces and create forms with detailed questions, field labels, and descriptions improves the accuracy of the AI Front Door. Adding and enriching metadata, such as descriptions and submission guidelines, is also helpful—and follows a similar process for both interfaces and forms.
Add Metadata to Interfaces
To add or enrich metadata on interfaces, follow the steps below:
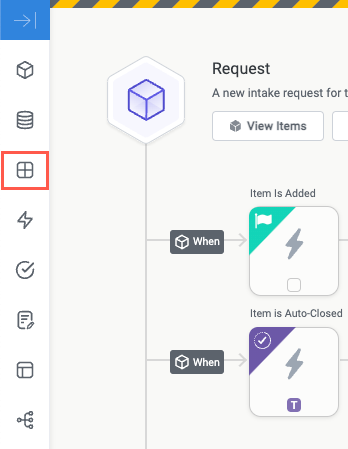
Navigate to the module that contains the interface you want to enrich, then select the Interfaces button in the module builder toolbar. The Interfaces panel displays.
Locate the relevant interface and select the three dots icon,
 , then select Edit Details. The Edit {Interface Name} Interface window displays.
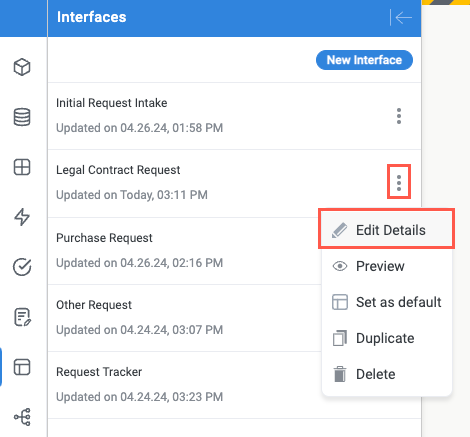
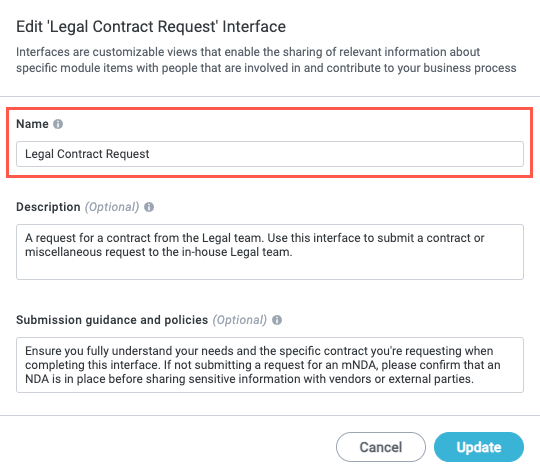
Ensure the Name is descriptive. "Legal Contract Request" is better than "Contract Request", for example.
Remember the name is external and should be clear to end users.
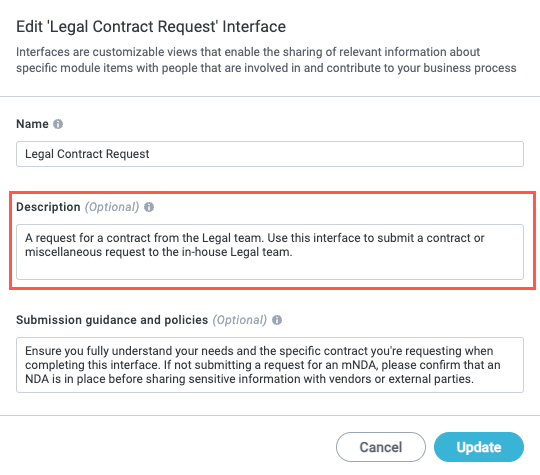
Add a Description that explains who the interface is intended for and how to use it. Simple interfaces may have simple descriptions, but the more specific information you can include here, the better the AI Front Door will understand when it should be used.
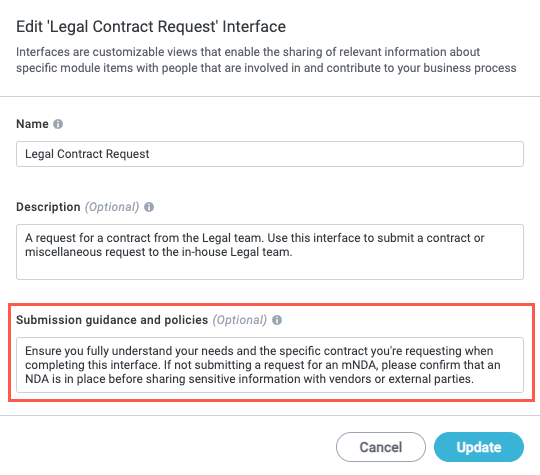
Add Submission guidance and policies, if relevant. While this field may not be applicable to all interfaces, include submission guidance and policies whenever applicable. This information can help the AI Front Door determine when it's appropriate to return the interface in a given situation.
Submission guidance and policies is also the primary location where the AI Concierge looks for content to assist users. We recommend providing comprehensive policy information here, including general recommendations, specific policies, and FAQs.
When finished, select Update. The interface metadata is updated.
Lastly, this is a good opportunity to review the field labels, widget titles, and widget descriptions in your interface to ensure they're adequately detailed. The more specific and detailed these fields are, the more precise the AI Front Door can be.
Add Metadata to Forms
To add or enrich metadata on create forms, follow the steps below:
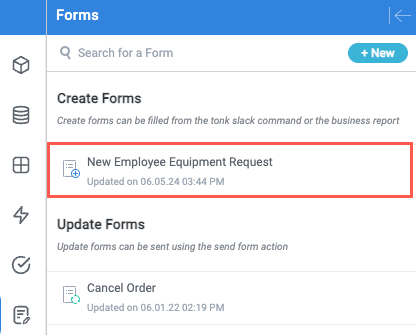
From the module builder screen, select the Forms button on the module builder toolbar. The Forms panel displays.
Select the create form you want to enrich. The Create Form screen displays.
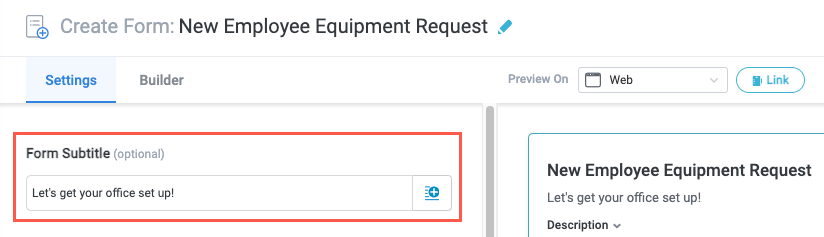
Ensure the form title is descriptive. "New Employee Equipment Request" is better than "Request Equipment", for example. To update the form title, select the edit icon,
 .
.
Enter a Subtitle, if relevant, to further distinguish the form. The subtitle can also add some personality to the form, as in the example below.
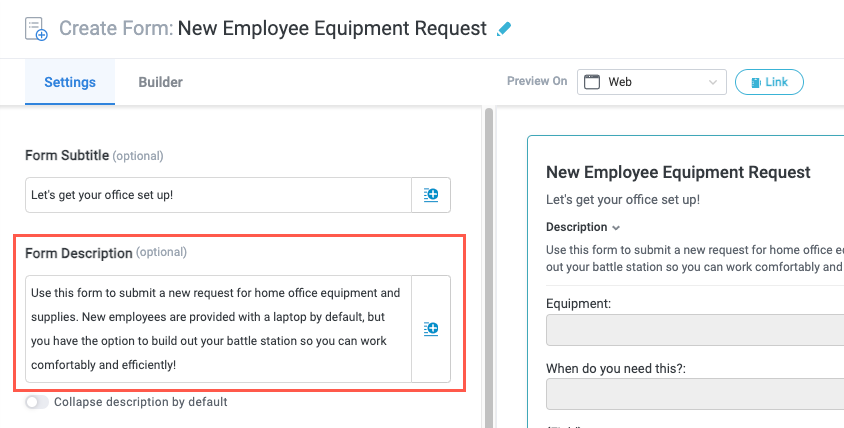
Enter a detailed Form Description that explains who the form is intended for and how to use it.
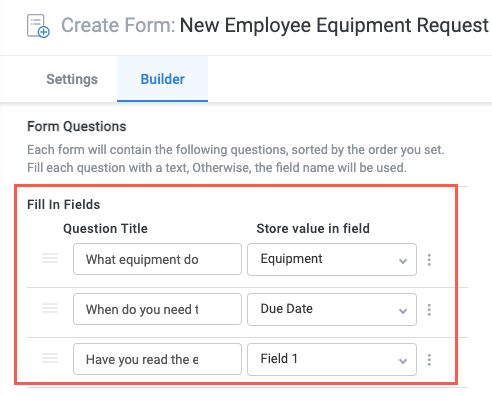
Lastly, when adding or enriching form metadata, we recommend taking the opportunity to review the form questions and ensure they're specific and adequately detailed. In addition to being helpful for requesters, the AI Front Door also benefits from clear question titles.
Select the Builder tab and review the Question Title fields.
Optimize Fields for the AI Front Door and AI Concierge
Adding metadata to individual fields in your module gives Tonkean AI more information about each field, enabling it to provide more accurate results. Excluding basic fields, you can add metadata to any field: manual, aggregation, formula, matched entity, and global fields.
To add metadata to a field, follow the steps below:
Navigate to the module that contains the field you want to enrich with metadata. The module builder screen displays.
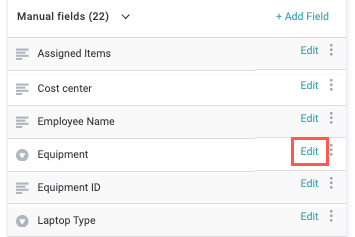
From the module builder screen, select the Fields button on the module builder toolbar. The Fields panel displays.
Locate the field you want to add metadata to and select Edit. The Field Settings screen displays.
Scroll to the bottom of the Field Settings screen and select Additional Information. the Additional Information section displays.
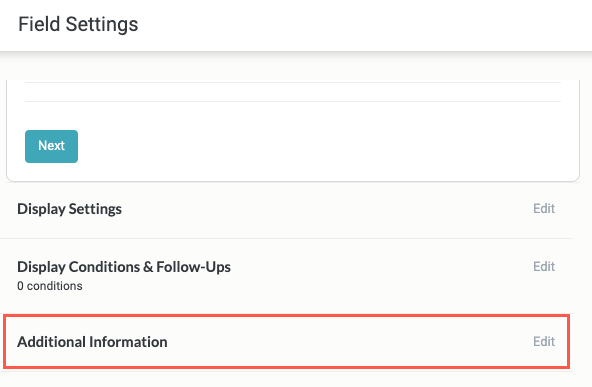
Enter a detailed Field description for the field that can optionally display below the field label on an interface or form where the field is included. For the purposes of Tonkean AI, consider adding recommendations about what to include in the field, who the field is intended for, or alternate descriptions of the contents that may help the AI model better understand the field's intended use.

When finished, select Save in the upper right. The Field Settings screen closes.
If the field is updated successfully, a success message displays in the upper right.

Usage Tips
Providing rich, detailed context for the AI Front Door to reference is hugely helpful in improving its results, but the question or request input is also important. Here, we recommend following general best practices provided by OpenAI (or your preferred LLM provider, if using another service).
See OpenAI's tips for prompt engineering, being mindful to adapt these to your specific business processes and use cases.
It's also helpful to understand how the AI Front Door works differently than a generic ChatGPT experience. Unlike the LLM that powers the AI Front Door, the Front Door itself is designed to be highly specialized for shared service teams and their requesters, meaning that it is designed to answer questions in the specific context of your Tonkean solution. For this reason, you should not expect it to effectively respond to generic requests like solving math problems or generating text.