Workday Reports
Workday is a finance and human capital management platform, offering enterprises a software suite designed to replace traditional enterprise resource planning (ERP) systems.
Two ways to integrate with Workday are to connect Workday as a native cloud application or to connect Workday Reports, utilizing Workday's Reporting as a Service (RaaS) feature. The latter option, using Workday RaaS, enables you to create and configure a report in Workday and expose that report data as a web service. Tonkean can then consume this service and you can then leverage its data in your solutions.
Prerequisites
You must meet the following prerequisites to create a custom workday report:
You must be a Workday admin in your organization.
You must have permission to create a custom report.
Create a Custom Report in Workday
To create a custom report in Workday using RaaS, follow the steps below:
Navigate and sign in to your Workday environment.
Navigate to the Tenant for Community Users screen and select {tenant-name} Sign In.
Navigate to the Community page and sign in using your admin username.
Select the search field and enter "create custom report". The Create Custom Report task displays as a result.
Select Create Custom Report. The Create Custom Report screen displays.
Enter a Report Name.
Select the Report Type dropdown and select Advanced.
Select the Data Source field and choose the data you want to use in Tonkean.
Select both the Optimized for Performance and Enable as a Web Service checkboxes.
Select OK. The report details screen displays.
In the Additional Info section, select Columns. The Columns tab displays.
Select the relevant data source columns and add each of the fields you want to include in the report. Select the plus icon, +, to add new columns.
Ensure that one of the columns contains a unique value, for example,
Worker_IDorWorker_Email.When finished, select OK.
Copy Workday Report URL
On the View Custom Report screen, navigate to Actions > Web Service > View URLs. The View URLs Web Service screen displays.
In the JSON section, use the right-click to select JSON, then select Copy URL.
The URL should appear in the following format:
https://[subdomain].workday.com/ccx/service/customreport2/tonkean/employees?format=jsonPaste this URL into a separate document for later reference.
Set Up the Workday Report as a Data Source
Once your custom report is complete in Workday, you can create a Workday Report data source and connect that custom report to Tonkean.
As an advanced option, you can define prompt values or filters in your custom report in Workday to improve performance. After configuring these options, connect the report as a no-code data source.
In Tonkean, select the main nav icon,
 , in the upper left and select Enterprise Components. The Enterprise Components screen displays.
Select + New Data Source in the upper right.
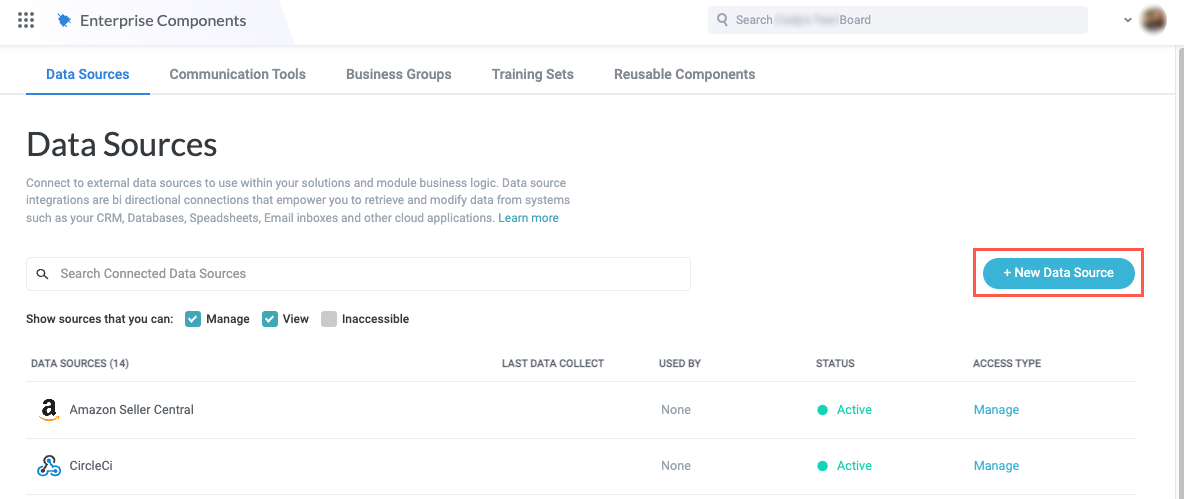
Select Cloud Application from the dropdown. The Add New Data Source window displays.

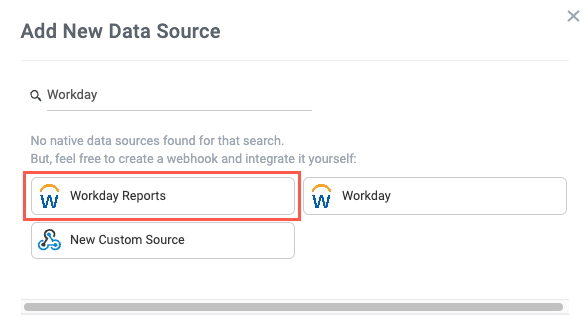
Enter "Workday" in the search field, then select Workday Reports. The New Workday Reports Connection window displays.
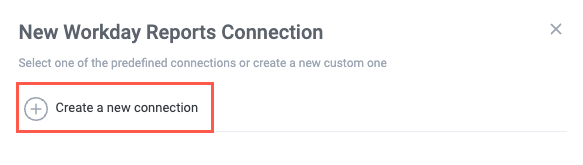
Select Create a new connection. The Set Up Data Source window displays.
Enter values for each field. All fields are required:
Report Name - The custom report integration name in Tonkean.
Report Web Service URL - The custom report URL you copied and saved in a separate document.
Username - Workday username for the account with access to the custom report.
Password - Workday password for the account with access to the custom report.
Unique Identifier field - The name of the report column that contains a unique value (such as
Worker_IdorWorker_Email).Item Title field - The name of the report column that acts as the data source record title.
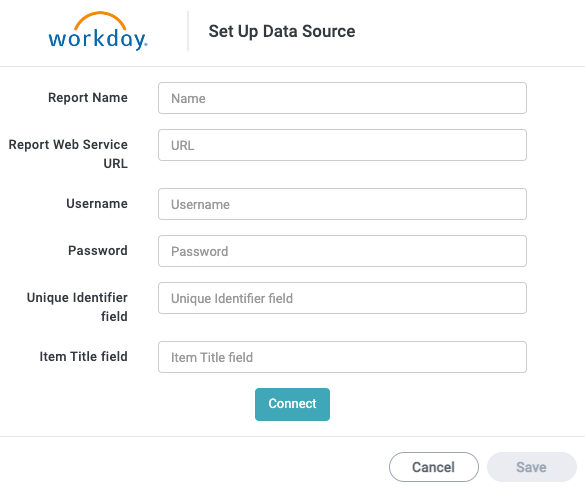
Select Connect.
When finished, select Save.
Your Workday custom report is connected to Tonkean.