Google Sheets
Google Sheets is a web-based spreadsheet application offered as part of the Google Docs Editors suite. Sheets allows you to create and edit spreadsheets, leverage numerous formulas and functions to process data, and even write custom code. You can also collaborate with multiple users in real time.
Sheets is a popular integration with Tonkean not only because it provides a convenient place to store and manipulate data as it moves through a Tonkean workflow, but also because your team is likely already working there.
Authenticate with Sheets
To use Sheets in Tonkean, you must first connect it as a data source:
Select the main nav icon,
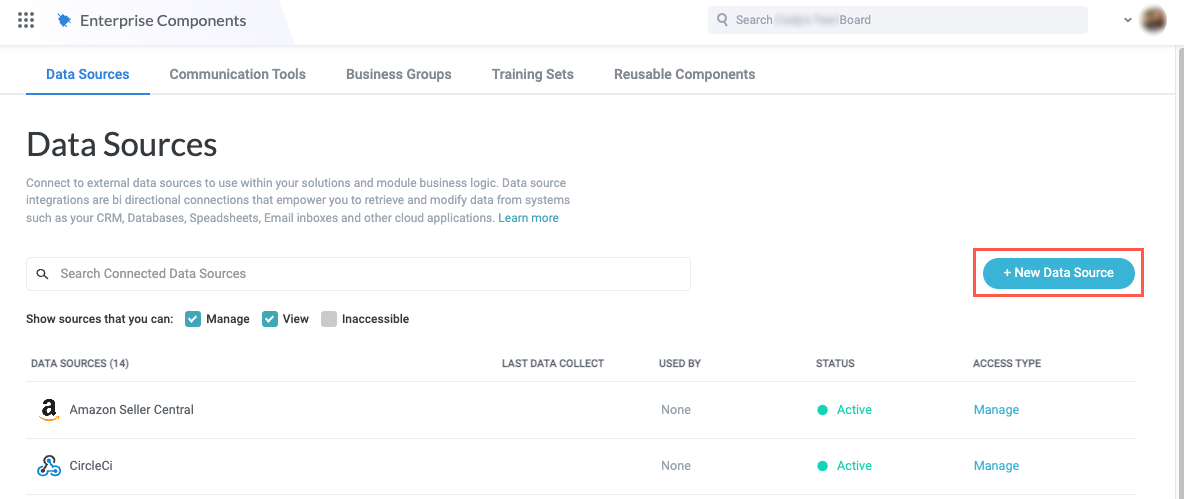
 , in the upper left and select Enterprise Components. The Enterprise Components screen displays.
Select + New Data Source in the upper right.
Select Spreadsheets / Files. The Add New Data Source window displays.
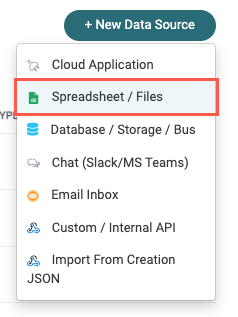
Select Google Sheets. The New Google Sheets Connection window displays.

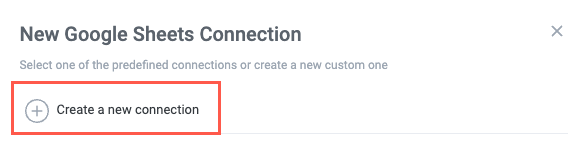
Select Create a new connection. The Set Up Google Spreadsheet window displays.
You have two options for authenticating with Google Sheets:
OAuth - Log in with your Google account username and password:
Select OAuth and then select Authenticate with Google Sheets. A Sign In window displays
Select the Google account you want to connect to Tonkean. You are informed that Tonkean is requesting access to your Google account. Select Allow.
Service Account - Provide the credentials for your service account in JSON format.
Once the you connect the data source, you cannot change the authentication type. We recommend consulting with your organization's IT department to ensure you're following account and security best practices.
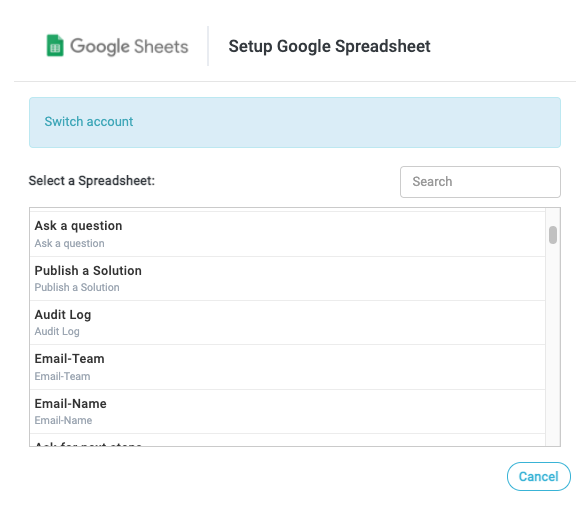
After authenticating with Google Sheets, the Setup Google Spreadsheet window displays the Select a Spreadsheet field. Select the spreadsheet you want to connect to Tonkean. The selected spreadsheet serves as the data source, the rows and columns from which Tonkean will monitor and update with relevant actions.
The selected spreadsheet cannot be changed in the future. You must set up another Google Sheets connection to access a separate spreadsheet.
Once you select a spreadsheet to connect, several sections display where you configure the data structure, map fields, and define the usage method.
Configure Spreadsheet Mapping and Permissions
Once your chosen spreadsheet is connected, you must configure how the spreadsheet's rows and columns are mapped to Tonkean, as well as what permissions Tonkean has.
Set Data Structure
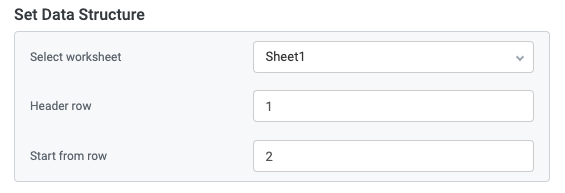
When you connect a spreadsheet as a data source, you can select one worksheet. You must also specify the header row and on which row the data starts. In the example below, the header is on row 1 and the data starts on row 2.
Select worksheet - Select the worksheet for Tonkean to access.
The selected worksheet cannot be changed in the future.
Header row - Specify which row on the worksheet is the header row. The columns in the header row are used as metadata for the fields.
Start from row - Specify which row the content starts on (that is, the first row that is not the header).
Map Columns to Item Fields
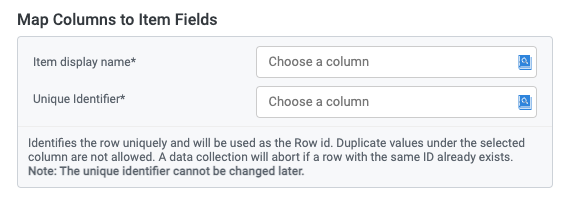
In this section, you map the columns from your spreadsheet to Tonkean. Unlike other data sources, Sheets does not by default assign unique IDs to the data, so you must specify one of the columns to act as the unique ID, allowing Tonkean to distinguish between the rows (items).
These columns are used as the Title and Unique Identifier for each item. Keep in mind as you map these columns that you may encounter different use cases for the spreadsheet in the future, so configure the rows in a way that allows flexibility in the future.
An item in Tonkean corresponds with a row in the spreadsheet.
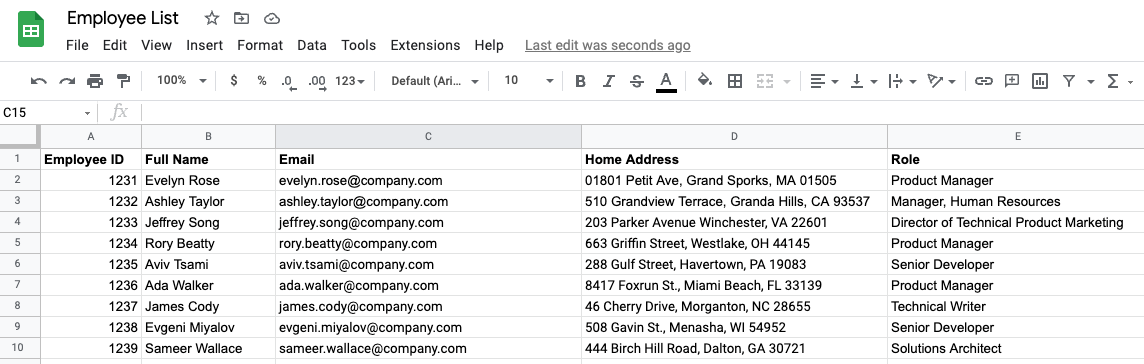
Item display name - The name that displays for the item; this is the data source item Title. In the example Employee List spreadsheet, column B, "Full Name", is an acceptable value.
Unique Identifier - The unique identifier for the item. This value must always be unique to the item and cannot change. For example, looking at the example Employee List spreadsheet, you cannot choose "Full Name" or "Address" since there's no guarantee there won't be another employee with an identical name or address. "Email" is generally an acceptable choice as a unique identifier, but the safest choice is "Employee ID", which will not change at any point in the future and can not be duplicated.
Duplicated rows are not allowed. The data collection process aborts if a row with the same ID already exists.
Spreadsheet Usage Method
Tonkean supports two usage methods for Sheets:
Add / Update / Delete - This usage method allows the basic Create, Read, Update, Delete (CRUD) operations and supports spreadsheets up to 100,000 rows. With this method, you can add new rows, update existing rows, and delete rows.
We recommend this method for spreadsheets containing data that is updated frequently and doesn't contain (now or in the future) 100,000 or more rows.
Append - This usage method allows only the appending (adding) of new rows and supports spreadsheets up to 500,000 rows. This method does not allow you to update or delete existing rows.
We recommend this method for spreadsheets containing record or log data (for example, an audit trail), or for large data sets that are not updated.
The usage method cannot be changed in the future.
Monitor Google Sheets as an Intake Source
Like most data sources, you can use Google Sheets as the module intake source:
After creating a new module, select the item tile. The Item Details panel displays.
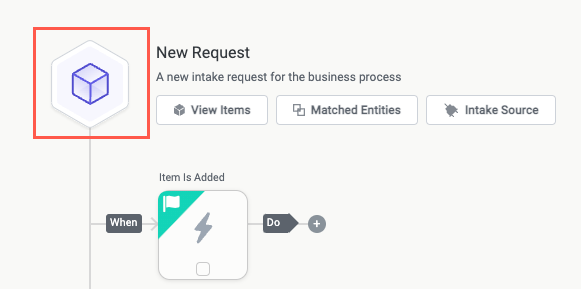
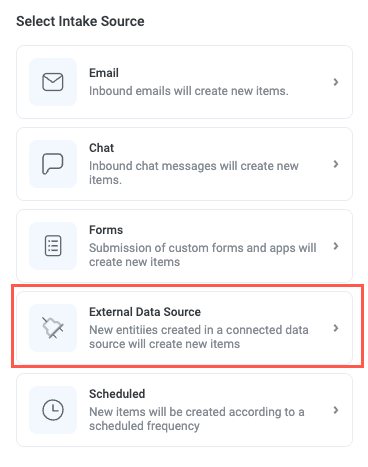
In the Select Intake Source section, select External Data Source. The Select Data Source section displays.
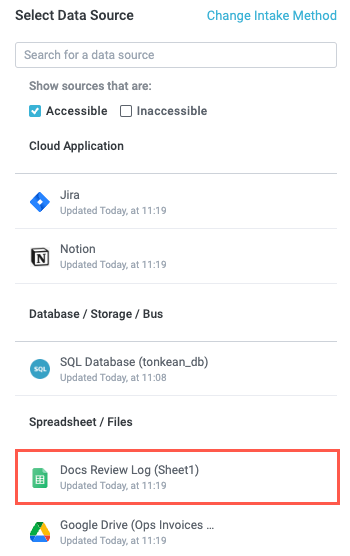
Select the Google Sheet data source you want to connect as the intake source. The connection configuration screen displays.
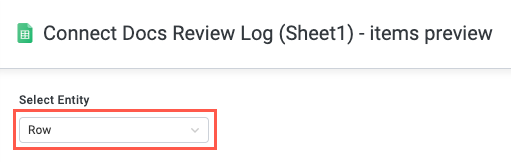
Select the entity you want to collect, where relevant.
You can currently collect only the Row entity in Google Sheets data sources.
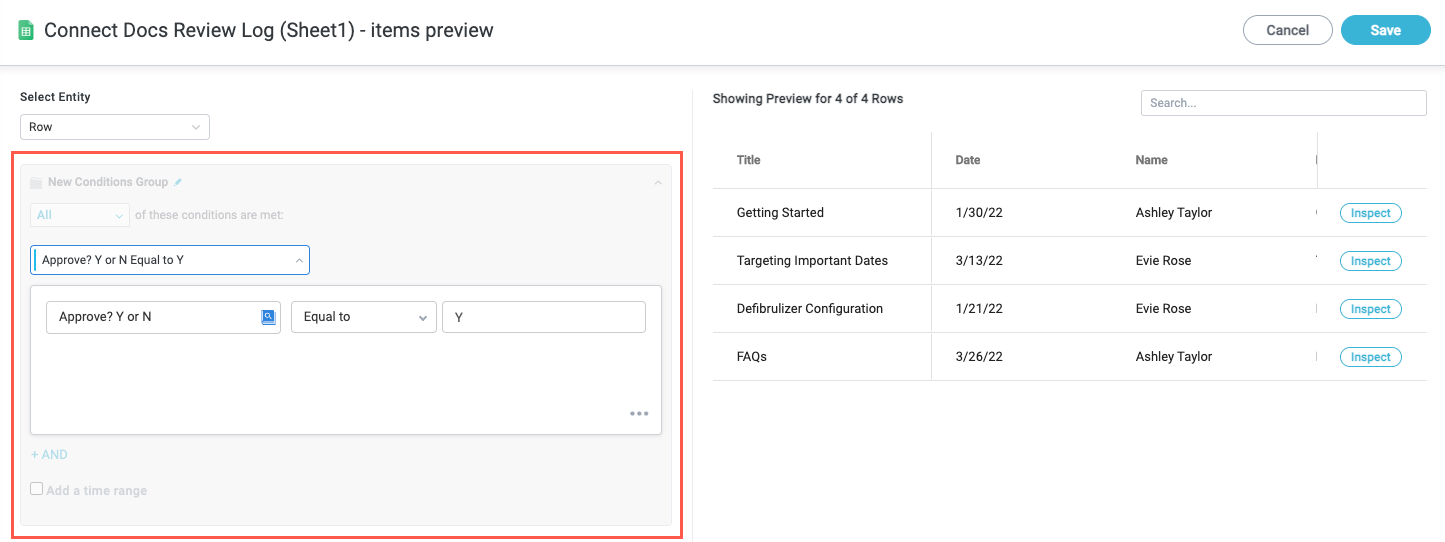
By default, Tonkean collects all entities of the selected type. If you want to filter the entities the module monitors, configure the conditions for the conditions group.
When setting up a new intake source, we recommend always adding a custom filter instead of monitoring all entities of the selected type. This ensures there's a smaller amount of data to monitor and respond to. For example, configuring the filter to monitor Rows that contain a value in a specified field is a good place to start.
Select who to set as the creator of the items synced from the data source:
The default actor of this module - The module actor, configured in the module settings. For more information about configuring the module actor, see Configure Module Settings.
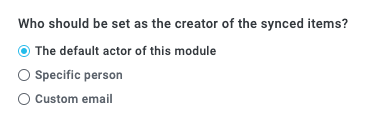
Specific person - Select a specific user from your board.
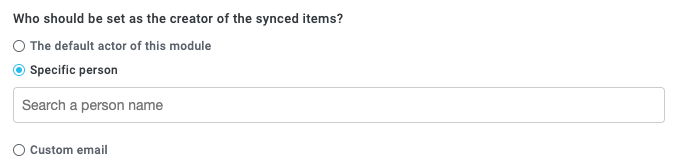
Custom email - Enter a custom email. Enter the email address manually or dynamically create the address by selecting the insert field button,
 , and using existing fields from your module.
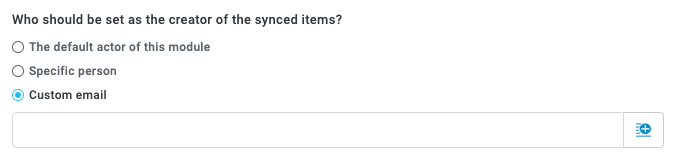
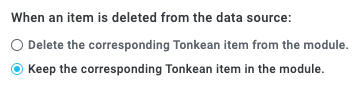
Select how to handle item deletion in the data source:
Delete the corresponding Tonkean item from the module - Delete the item that corresponds with the data source record.
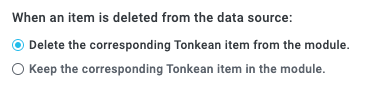
Keep the corresponding Tonkean item in the module - Keep the item when the corresponding data source record is deleted.
We recommend this option for most workflows, as deleting existing items can cause processes to break and make your metrics less helpful.
When finished, select Save in the upper right.
Your module is monitoring the specified Google Sheets spreadsheet.
Troubleshoot Common Issues
There are some common issues you may encounter with a Sheets integration. You can usually address these issues by knowing what the practical limitations are in Sheets and understanding how Sheets and Tonkean interact.
Slow Data Collection
While the Tonkean platform is designed to seamlessly exchange data between people and systems, and target an almost instantaneous workflow experience, Sheets is not designed with the same expectations. For example, it is not optimized to handle large amounts of data. For this reason, data collection for spreadsheets containing very large row counts (for example, nearing 100,000 rows) can take time to process. It is not uncommon to see data collection take up to 10 minutes.
If you're encountering issues from this long processing time and there's not an option to reduce the number of rows in a spreadsheet, we recommend accounting for this processing time in your workflow, such as including a Wait trigger.
More Columns than Expected
Tonkean collects all the columns in a connected spreadsheet, whether those columns contain data or not. Because Sheets by default includes 26 columns (lettered A-Z), you'll likely find Tonkean collects many empty columns. This is expected behavior.
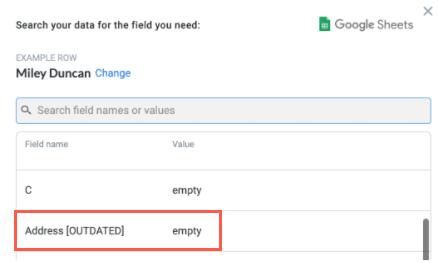
Deleted Columns Still in Tonkean
If you delete columns from a connected spreadsheet, the corresponding columns are not deleted in Tonkean. Instead, data is cleared from deleted columns. You may see the fields that were contained within a deleted column include the text "[OUTDATED]" when the data is no longer available.
Unexpected Behavior After Moving Columns
Spreadsheet columns are dynamic and may often be renamed, moved, or otherwise changed. However, modifying columns after connecting a spreadsheet can cause unwanted behavior like duplicated columns or, in the worst cases, failures to collect.
We recommend not modifying columns after you have connected the spreadsheet. Similarly, we recommend not cutting and pasting to override column values. Instead, consider copying only the data and renaming the column.
Problems with Empty Rows in the Middle of the Spreadsheet
Empty rows in the middle of a spreadsheet can cause substantial errors in your Sheets integration. When appending a new row, the Google Sheets API fills in empty rows first before adding new rows below existing rows.
For example, if you have 50 rows and row 20 is empty, the Google Sheets API will append a new row on row 20 instead of adding it on row 51, regardless of how much space is available. This insertion shifts all existing rows down and renders the data source unusable.
Because of this behavior, we recommend not leaving any empty rows in your spreadsheet when using the append method.
Unable to Connect Google Sheets Using a Service Account
If you're unable to connect your Google Sheets instance using a service account, and you're receiving an error that reads Unable to login to Google Sheets integration, make sure you have an account, the cause likely is that the Google Drive API is not enabled in your organization's Google Cloud project.
To resolve this issue, follow the steps below:
This process should only be completed by a Google Cloud admin.
Locate and copy the
project-idfrom your service account JSON.Insert the
project-idvalue into the following URL:https://console.cloud.google.com/apis/library/drive.googleapis.com?project={PROJECT-ID}Navigate to the link and enable the Google Drive API.
For more information about enabling APIs in Google Cloud, see Enable and disable APIs.