Internal DB
Internal DB is a dedicated Tonkean database table that's fully customizable, enabling you to define a custom entity and record structure. Like other data sources, you can also create custom actions to create and update records in the database.
Some common use cases for the Internal DB include using it as a holding area for items in mid-process and as a custom request storage/audit log. For example, if you have items with sensitive data you need to redact after a prescribed period of time, you can write those items to an Internal DB for holding until they're ready to be redacted. The flexible nature of the data source means it can serve a wide variety of purposes across numerous processes.
Create an Internal DB
Creating an Internal DB is essentially the same process as adding any other native data source, except with additional configuration required after it's created.
To create an Internal DB, follow the steps below:
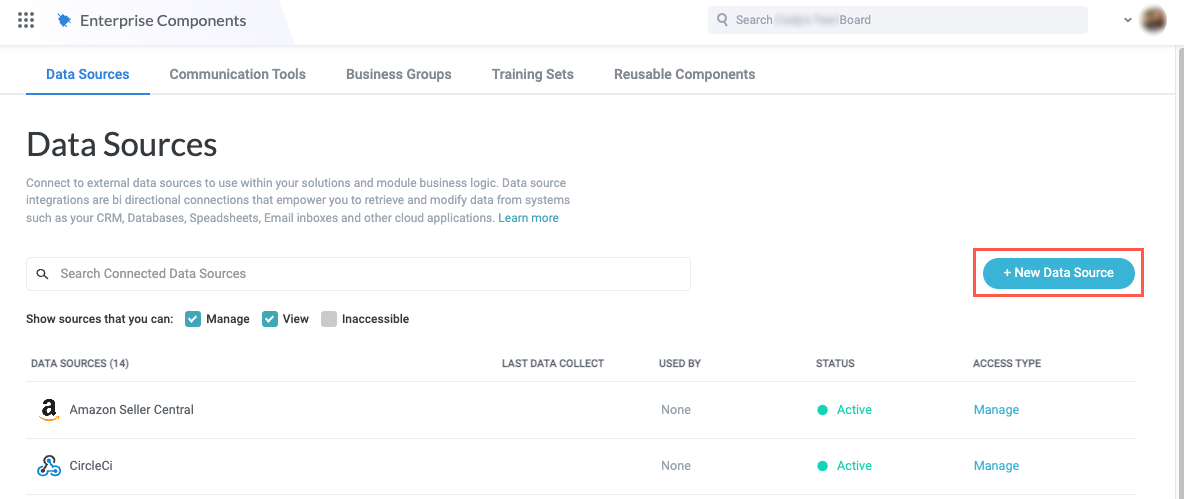
Select the main nav icon,
 , in the upper left and select Enterprise Components. The Enterprise Components screen displays.
Select + New Data Source in the upper right.
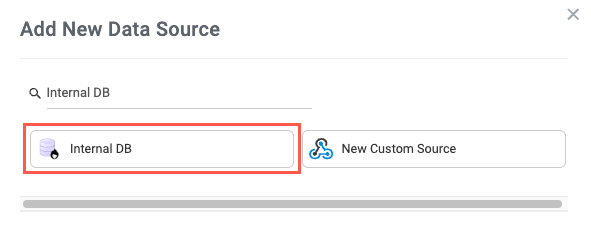
Select Cloud Application. The Add New Data Source window displays.

Enter "Internal DB" in the search field, then select Internal DB. The Set Up Integration window displays.
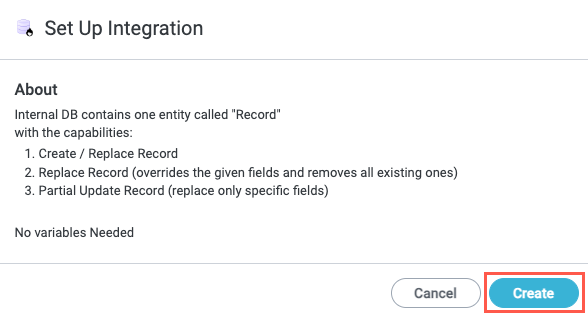
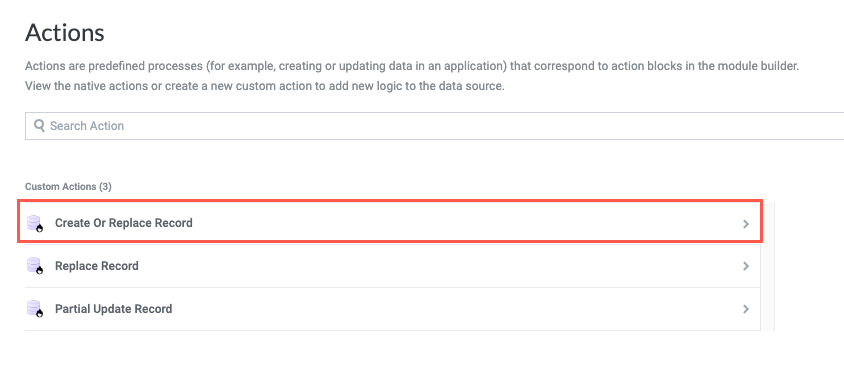
The Set Up Integration window provides a brief explanation of the data source and the available actions:
Create Or Replace Record - Create a new record or, if a record already exists for the supplied ID, replace that record with provided fields.
Replace Record - Replace an existing record. This action overwrites fields with newly provided values and deletes values from fields that aren't updated.
Partial Update Record - Update an existing record. This action overwrites fields with newly provided values but does not delete values from fields that aren't updated. That is, it replaces only updated field values.
When finished reviewing, select Create. The Internal DB is created and the data source configuration panel displays.
Set Up and Customize the Internal DB
The newly created Internal DB is, by default, a generic data source. Customize the Internal DB to set it up for your specific use case.
To set up and customize your Internal DB, follow the steps in the relevant sections below:
Customize the Entity Name
Record is the default entity type, but most users are working with a specific type of record, such as "conversation" or "request," and so on. We recommend updating the entity name to be specific to your use case:
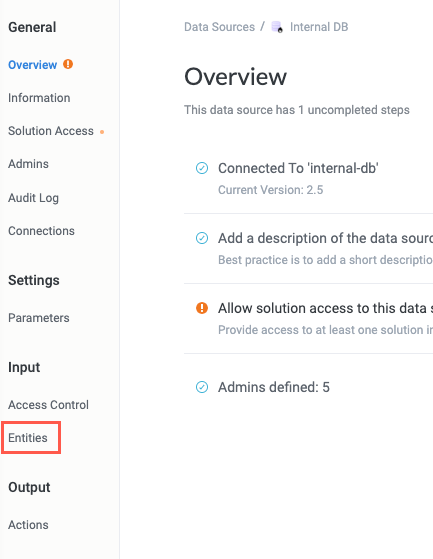
In the Internal DB data source configuration panel, select Entities. The Internal DB | Entities screen displays.
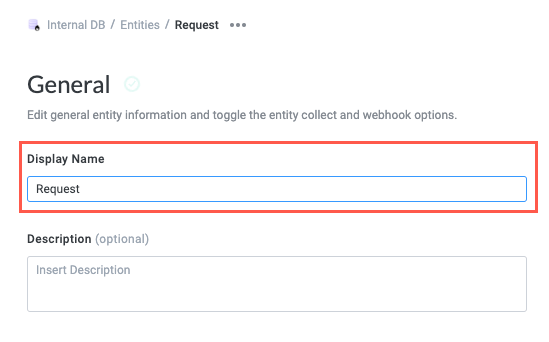
Select the default Record entity. The Entities | Record screen displays.

Edit the Display Name field to change Records to the entity type specific to your use case. In our example, we update this to be "Request".
Customize Action Names
Similar to customizing the entity type, we recommend customizing the default custom action names to make them specific to your use case.
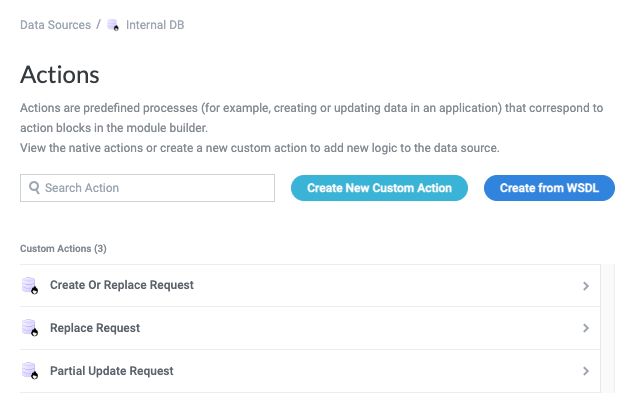
In the data source configuration panel, select Actions. The Internal DB | Actions screen displays.
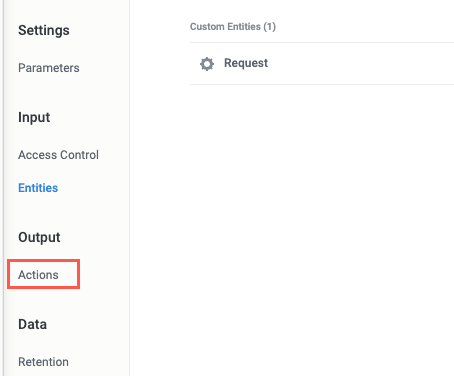
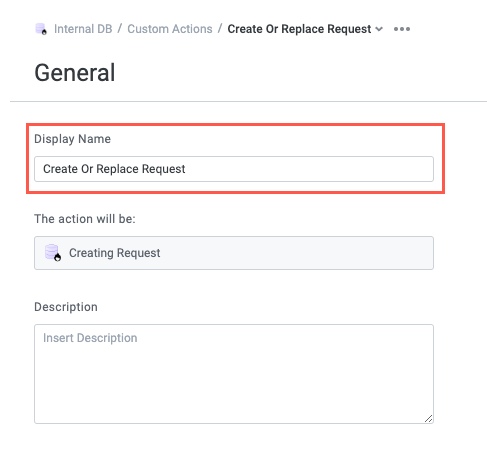
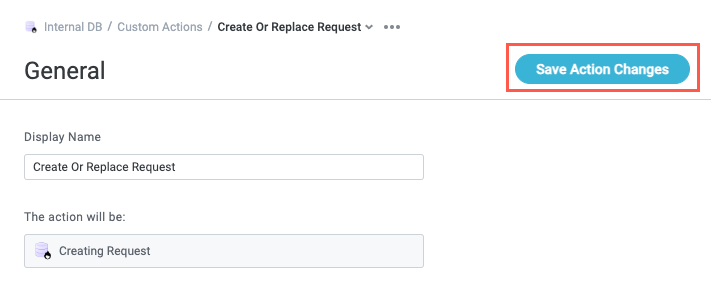
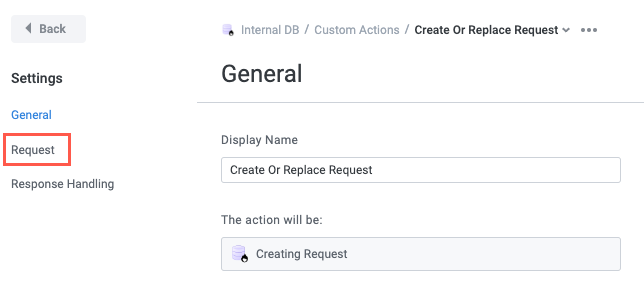
Select the default action, Create Or Replace Record. The Create Or Replace Record | General screen displays.
Edit the Display Name field to change Record to the entity type specific to your use case. In our example, we update this to "Create Or Replace Request".
Select Save Actions Changes.
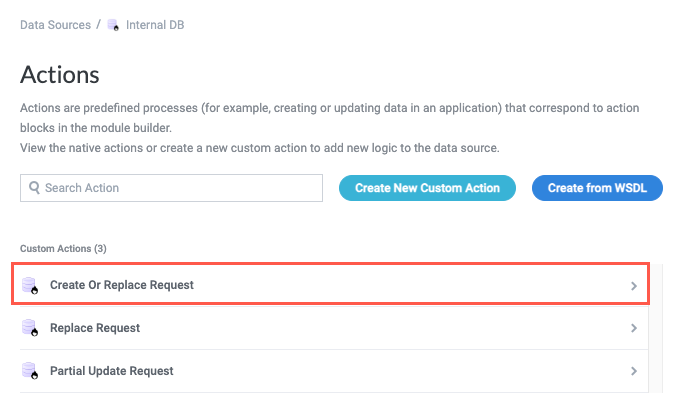
Repeat steps #2-4 to customize the name for each default action. In the end, the actions in our example display as follows:
With the actions customized to the use case, we can move on to add the fields we want in the database.
Add Fields
Next, add fields to the Internal DB to capture the necessary information. These fields are the columns that display when you view the relevant entity.
There are two parts to adding fields to your database. First, you must add fields to the entity itself, then you must add those fields as parameters in each action.
Add Fields to Entity
To add fields to your entity, follow the steps below:
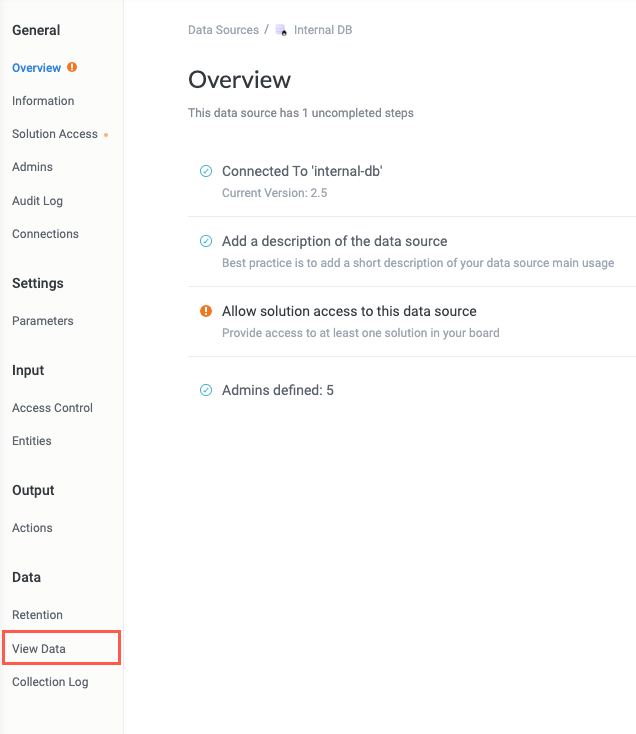
In the Internal DB data source configuration panel, select View Data. The Internal DB | View Data screen displays.
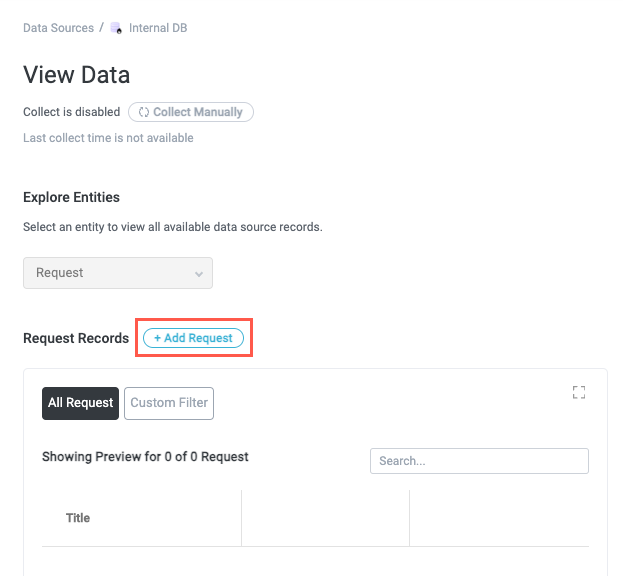
Select the + Add {Record}. The Add new {Record} window displays.
The View Data screen adapts to your customized record name. In our example, it displays our custom record name Request.
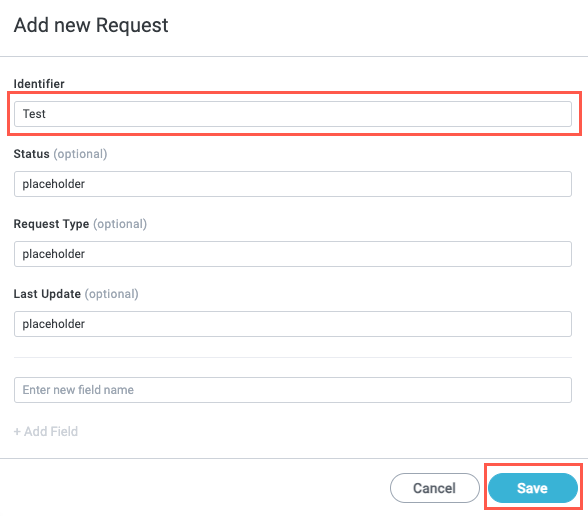
In the provided field, enter a new field name, then select + Add Field. The new field is added to the default Identifier field.

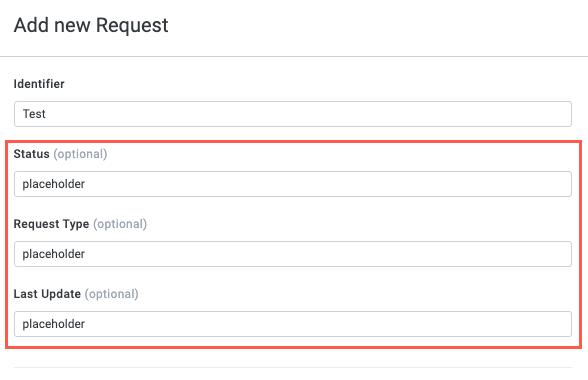
Enter a placeholder value for the newly created field.
Adding a placeholder value ensures the custom field is added to the entity; custom fields added without values are discarded upon saving the test record.

Repeat steps #3-4 for each field you want to add to the entity. In our example, we add a total of three fields.
When finished adding fields, enter a placeholder value for the default Identifier field, then select Save.
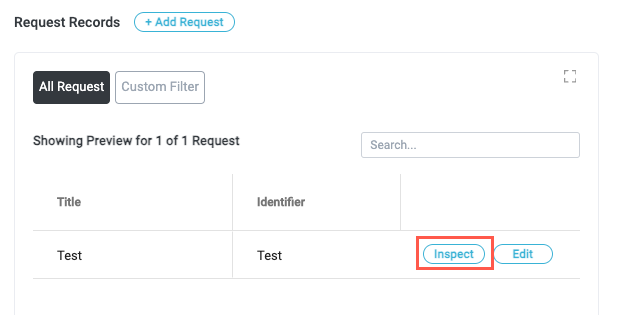
The test record is created and displays on the View Data screen.
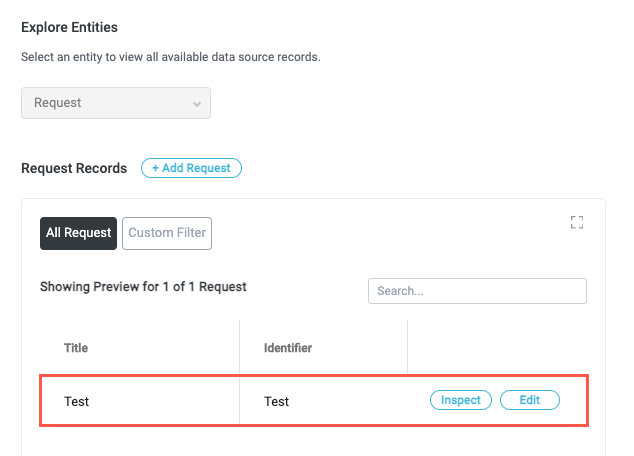
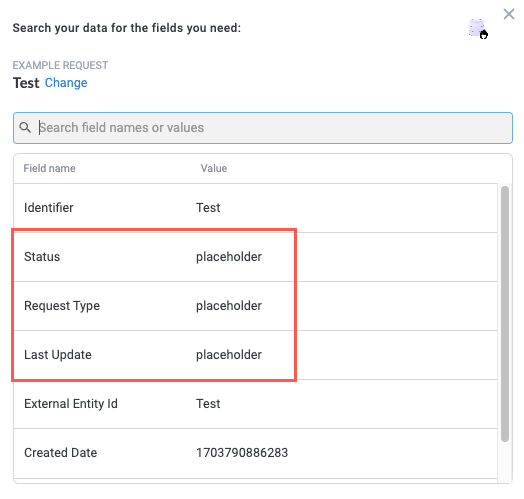
To confirm your fields were added to the entity, select Inspect on the test record.
In our example, we see each of the three fields we added:
Add Field Action Params in Actions
With fields added to the entity, you can add them to each of your actions, enabling makers to populate those fields with values when using the Internal DB actions.
To add fields as action params, follow the steps below:
In the data source configuration panel, select Actions. The Internal DB | Actions screen displays.
Select the first action, Create Or Replace {Record}. The Create Or Replace {Record} | General screen displays.
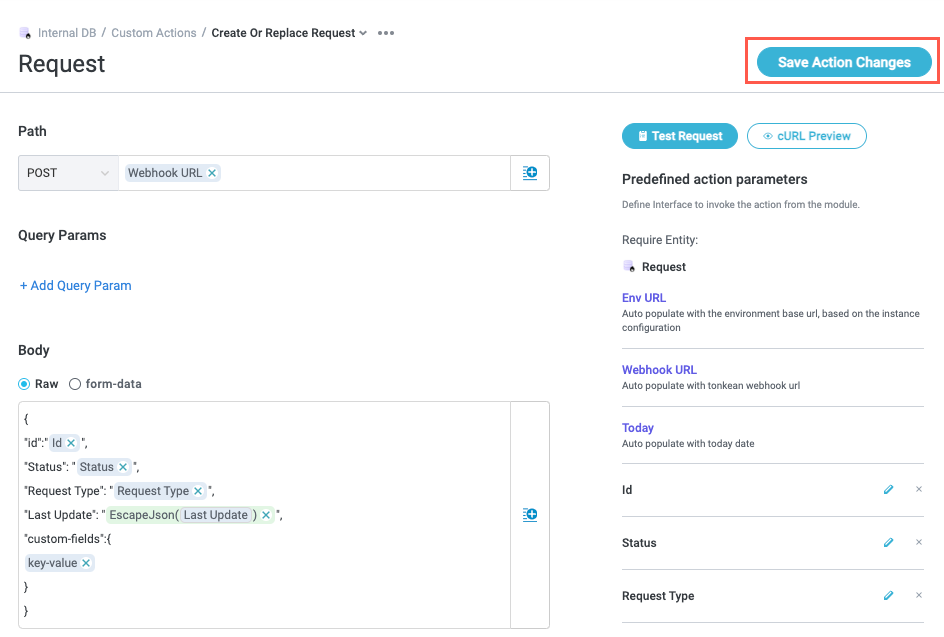
In the sidenav, select Request. The Create Or Replace {Record} | Request screen displays.
In the Predefined actions parameters section, enter a name and select + Add Param to create a param for each field you added to the entity. In our example, we add params for "Status", "Request Type", and "Last Update".
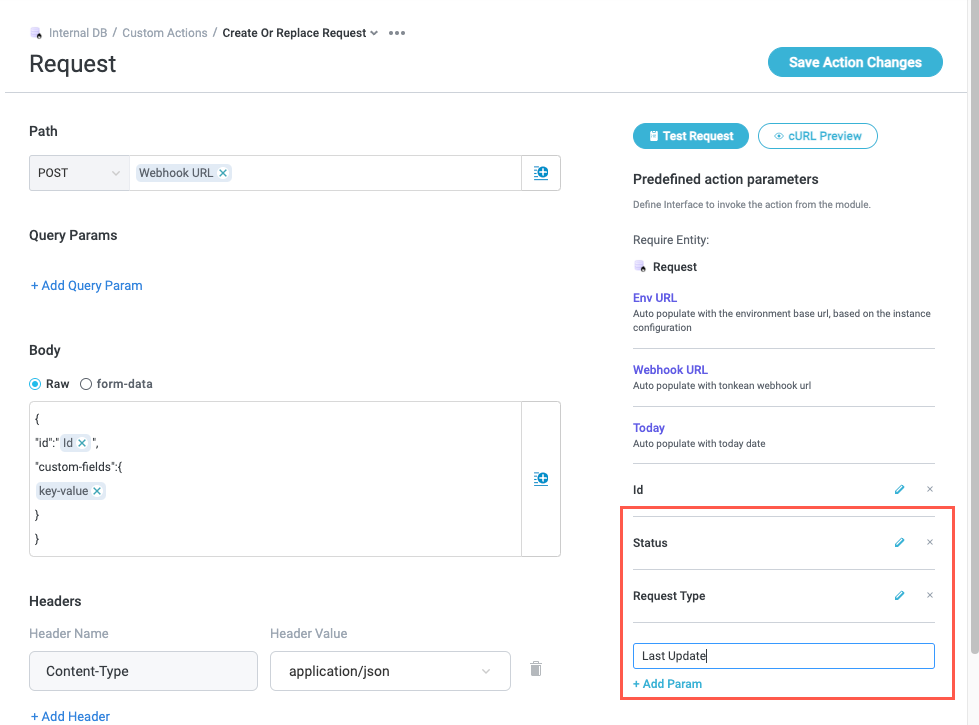
With the params defined for each field, add those fields to the request Body field in JSON format:
Enter the field name exactly as it appears in the entity schema. For example, we included the field "Request Type"—therefore, we must add
"Request Type", rather than"request type"or"requestType".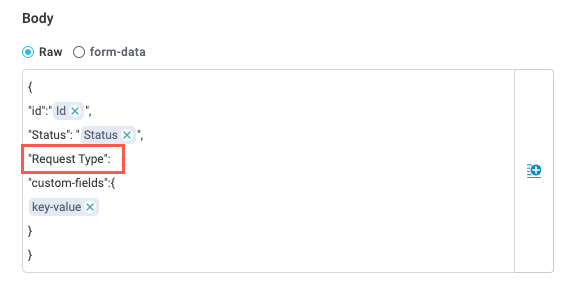
After entering the key for the field, select the Insert Field button,
 . The Insert Field dropdown displays.
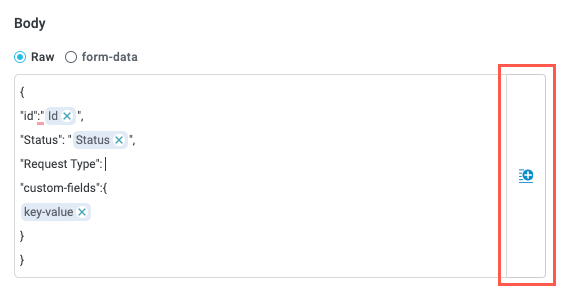
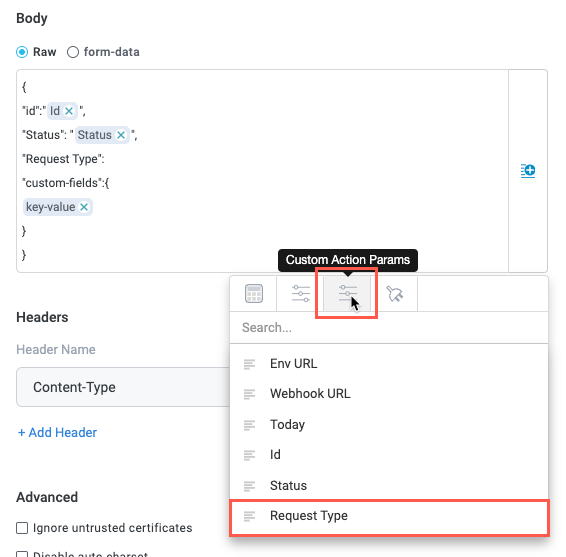
Select the Custom Action Params button, then select the relevant field param. The param is inserted into the Body field.
Ensure you include the required structure for the JSON, including quotations marks wrapping the inserted param:
"{Field Name}": "{Inserted Param}",Repeat steps #1-3 to add each param to the JSON Body field. In our example, we add all three params to the body:

If any of your fields may be populated with special characters that could break the JSON format (for example, quotation marks
(" ") or reverse solidus(\\) in a text field), we recommend using an Escape JSON formula and inserting the param into it: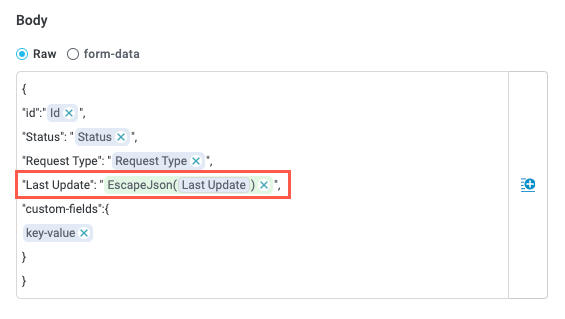
When finished adding params, select Save Action Changes in the upper right.
Repeat steps #1-6 for the other two default actions, Replace {Record} and Partial Update {Record}, and any custom actions. When complete, all actions in the Internal DB should be configured with each custom field in your record entity.
Set Advanced Request Options
The Advanced section of the action Request screen provides various options for configuring the behavior of the Internal DB action. See below for an overview of these options.
Note that the option Remove keys with empty values is especially important for the Internal DB. When this option is selected, any field that's passed in containing an empty value is removed from the request. For a Create Or Replace {Record} or a Replace {Record} request, removing these fields results in them being removed from the database—including previous values for those fields.
Ignore untrusted certificates - Ignore warnings generated by SSL or TLS certificates your browser has marked as untrusted.
Disable auto charset - Disable automatic assignment of the character set. Enable this option if you want to set the charset for your request by manually setting a value for
Content-Type(for example,Content-Type: text/html; charset=utf-8).Disable follow redirects - Disable automatic browser redirection.
Keep trailing forward slash - Maintain the trailing forward slash, "/" in the request path. Generally, the presence of a trailing slash indicates the resource is a directory as opposed to a file, which doesn't usually have a trailing slash.
Remove keys with empty values - Delete fields that are passed in with no values. Depending on the request method, such as whether it's a POST or a PATCH, determines whether the values for those fields are overwritten.
Enable dynamic key-value parameters - Allow users to dynamically provide key-value pairs as part of the action. Use this option when creating a request that supports key-value pairs not defined in the schema, such as within a dynamic object.
Use Internal DB Actions in the Module
Like any other data actions, you can add Internal DB action blocks to your module workflow to use the custom actions you created. To add an Internal DB action block in your module workflow, follow the steps below:
In the relevant module, identify the location in your workflow you want to add the Internal DB action and select the add block button,
 . The Action Block panel displays.
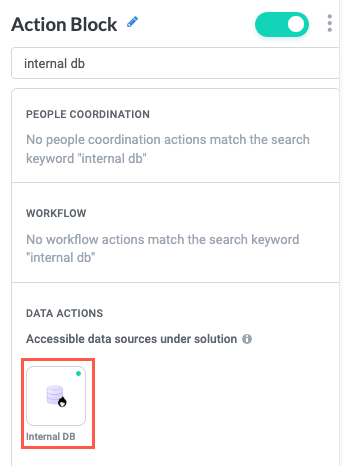
Search for "Internal DB" or scroll down to the Data Actions section, then select the Internal DB action. The Internal DB custom actions displays.
If your Internal DB data source is listed in the Inaccessible data source section, make sure you have given your Internal DB the necessary solution access in the Internal DB data source configuration panel.
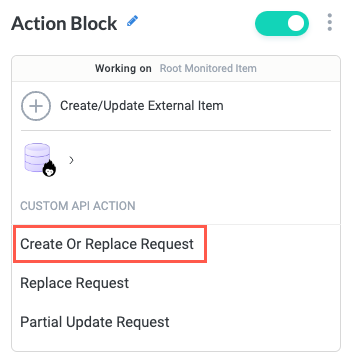
Select the action you want to insert into the workflow. The custom action parameters display.
For each field, select the insert field button,
, or enter a manual value. For the required default Id field, insert the relevant Record Id.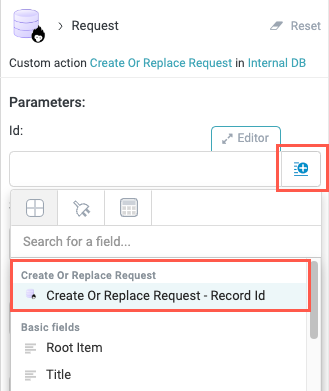
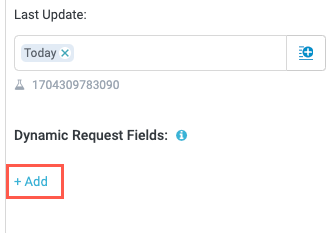
If relevant for your use case, you can also add dynamic request field, which are fields not already defined in the action schema.
This option is only available if the Enable dynamic key-value parameters option is enabled for the request.
To add dynamic request fields, select + Add in the Dynamic Request Fields section. Key and Value fields display.
Select the insert field button,
, or enter a manual value for each.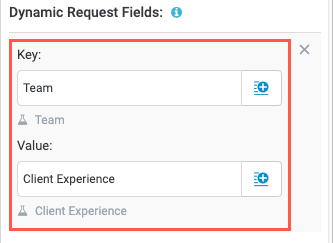
Your Internal DB action is configured.