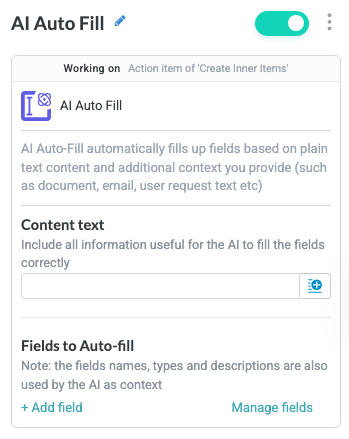
AI Auto Fill
The AI Auto Fill action leverages Tonkean AI through an integrated LLM (like Azure OpenAI) to automatically populate fields based on provided context. While AI Auto Fill is an incredibly flexible action, it is designed primarily to improve the user experience during the intake process, where the action can dynamically fill fields using contextual information provided by the user. For example, you can provide in the AI Auto Fill action a user-selected purchase category and purchase description, then have Tonkean auto-select a value in a commodity category dropdown.
Name the Action Block
Select the action title or the edit icon,  , and provide a descriptive title for the action.
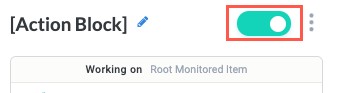
Turn Action Block On or Off
By default, action blocks are enabled and turned on. Select the toggle in the top right of the action panel to disable or turn it off.
When building a module, remember you can toggle actions on and off rather than deleting them.
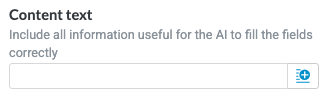
Content text
Provide the instructions, guidance, and content to help Tonkean AI fill the fields accurately. This field is essentially a prompt field where you can specify a desired approach for the AI to take, provide context, and specify things the AI should avoid.
For example, if you're configuring the AI Auto Fill action to fill purchase request intake fields, you can provide values from previously populated fields and include special considerations about how it can interpret those fields.
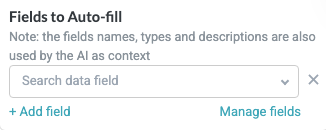
Fields to Auto-fill
Select + Add field to add the fields you want to automatically populate. Fields must already exist before they're available for inclusion on this action. You can select Manage fields to open the Fields panel and add or update fields there.
Tonkean AI uses the field names, types, and descriptions as additional context to populate the fields. The field description is an especially powerful tool in this regard. For example, you can provide specific rules, such as "limit values to one word" and the AI will respect this instruction. For information about configuring the field description, see Configure a Text, Long Text, Number, and Date Field.