Microsoft Outlook
Microsoft Outlook is a web-based calendar and email application offered as part of the Microsoft 365 suite. Outlook allows you to create events, send and receive email messages, and collaborate with other members of your organization.
Outlook is a popular integration with Tonkean for email-centric workflows or creating calendar events.
Authenticate with Outlook
Tonkean integrates with Outlook in two main ways: connecting as an individual user or using an Azure enterprise application:
User authentication - Authenticate as an individual user, granting Tonkean access to all calendars and inbox folders for that user.
Application authentication - Authenticate using an Azure application (either one of Tonkean's provided apps or your own), leveraging scopes (permissions) to specify which email inbox and folders Tonkean has access to.
Authenticate with Outlook as a User
To use delegated user authentication to connect Outlook as a data source, follow the steps below:
In a separate tab, log in to the Microsoft Account you want to connect to Tonkean.
In Tonkean, select the main nav icon,
 , in the upper left and select Enterprise Components. The Enterprise Components screen displays.
Select + New Data Source in the upper right.
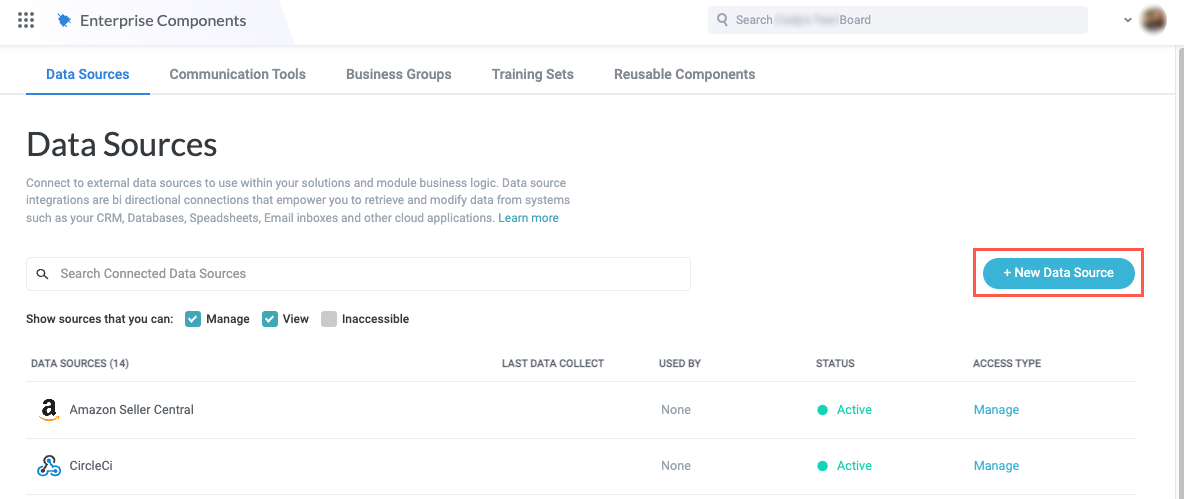
Select Cloud Application. The Add New Data Source window displays.

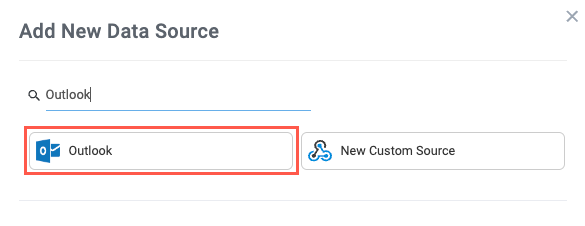
Enter "Outlook" in the search field, then select Outlook. The New Outlook Connection window displays.
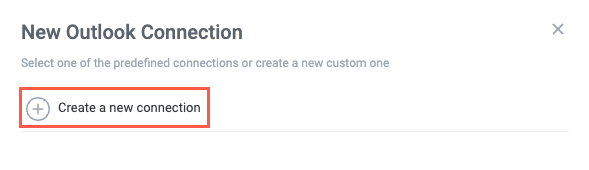
Select Create a new connection. The Set Up Data Source window displays.
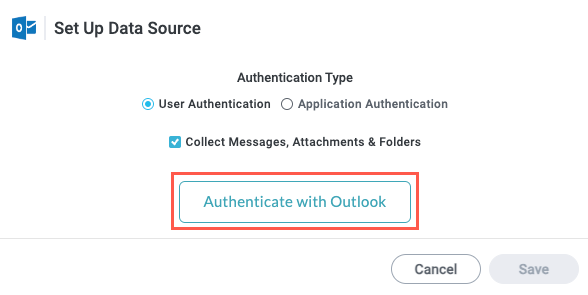
In the Authentication Type field, select User Authentication. If desired, select the Collect Message, Attachments & Folders checkbox. This option enables Tonkean to collect these entities. By default, Tonkean only collects Calendars and Events.
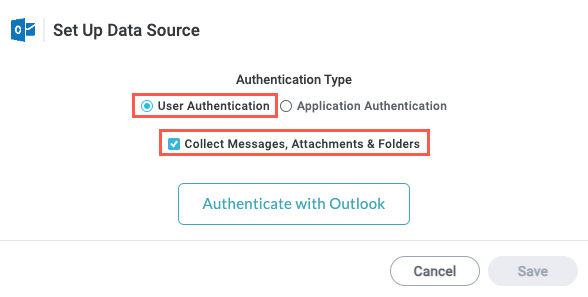
Select Authenticate with Outlook. The Microsoft authentication window displays and the user is signed in.
If you are not signed into your Microsoft account, you must sign in on the Microsoft authentication window. Or, if you are signed into a Microsoft account that you do not want to connect to Tonkean, you must sign out of that account prior to authenticating.
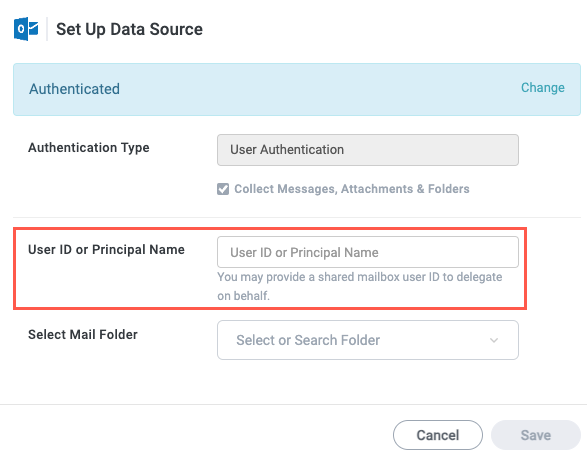
If desired, you can add a User ID or Principal Name if you want to connect a shared mailbox. This step is optional.
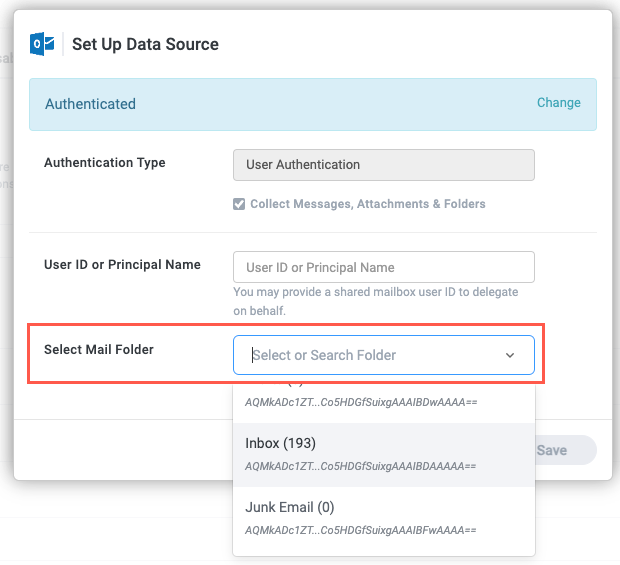
Select or search for the Mail Folder to connect Tonkean to. To enable Tonkean to view all messages, select the root folder, Inbox.
When finished, select Save.

Your individual user Outlook account is connected to Tonkean. Be sure to give the relevant solutions access to the new data source.
Authenticate with Outlook using an Application
There are several options for authenticating with Outlook using an application. First, you must determine whether you're using your own application or one of Tonkean's applications. Using your own application provides full control of the specific scopes and permissions granted to Tonkean, but requires that you create and maintain that application.
On the other hand, using one of Tonkean's applications is the simplest option—and there are two applications to choose from, depending on the data you want Tonkean to collect:
Application authentication is the recommended option for most users as it gives admins more control over which data is shared with Tonkean.
Tonkean for Outlook - This application is the standard version with access to collect messages, attachments, and folders. This application is able to perform the following actions:
Sign in and read user profile
Read and write calendars in all mailboxes (unless restricted to a specific mailbox)
Read and write mail in all mailboxes (unless restricted to a specific mailbox)
Send mail as any user
Read all users' basic profiles
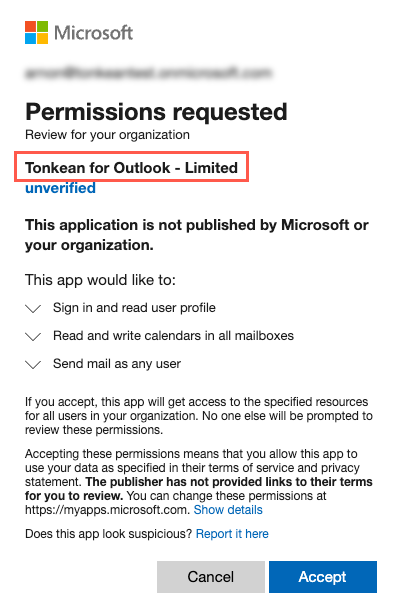
Tonkean for Outlook - Limited - This application is the most basic option with the fewest permissions. This application is able to perform the following actions:
Sign in and read user profile
Read and write calendars in all mailboxes (unless restricted to a specific mailbox)
Send mail as any user
To use application authentication to connect Outlook as a data source, follow the steps in the relevant section below:
Authenticate using the Tonkean for Outlook Application
The Tonkean for Outlook application, in addition to supporting sending mail and reading/writing calendars, enables you to collect messages, attachments, and folders.
Grant Access to the Tonkean for Outlook Application
Before connecting the Outlook data source in Tonkean, you must accept the permissions requested by the Tonkean for Outlook application. To accept these permissions, follow the steps below:
As a Microsoft admin user, navigate to the following Tonkean for Outlook permissions URL. The Permissions requested window displays.
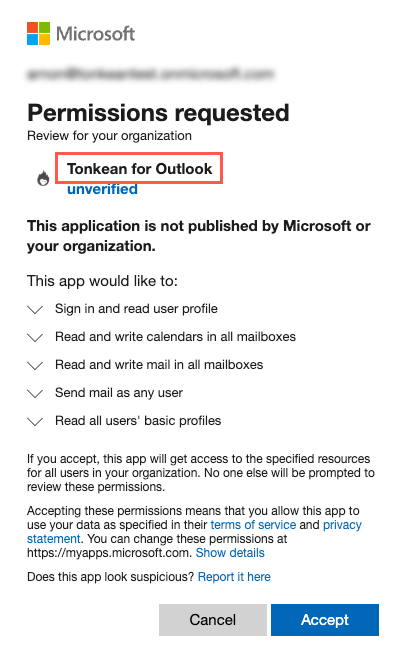
Confirm the application is Tonkean for Outlook, then select Accept. The Tonkean Sign In screen displays. You may sign in here or close the browser tab if Tonkean is open already in another tab.
Permissions are accepted.
Authenticate with Outlook in Tonkean
With the Tonkean for Outlook application granted the required permissions, you can authenticate with Outlook in Tonkean using that application by following the steps below:
In Tonkean, select the main nav icon,
, in the upper left and select Enterprise Components. The Enterprise Components screen displays.Select + New Data Source in the upper right.
Select Cloud Application. The Add New Data Source window displays.
Enter "Outlook" in the search field, then select Outlook. The New Outlook Connection window displays.
Select Create a new connection. The Set Up Data Source window displays.
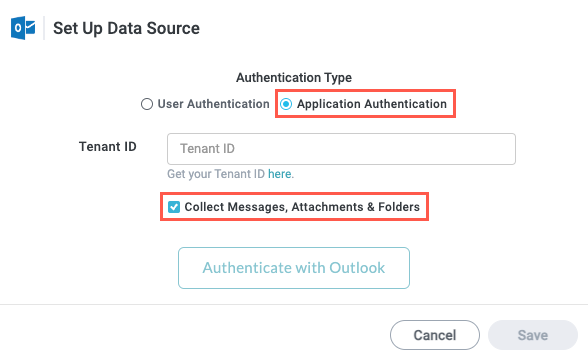
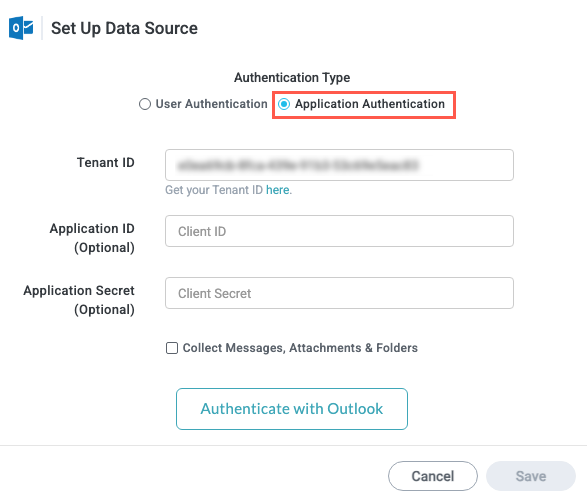
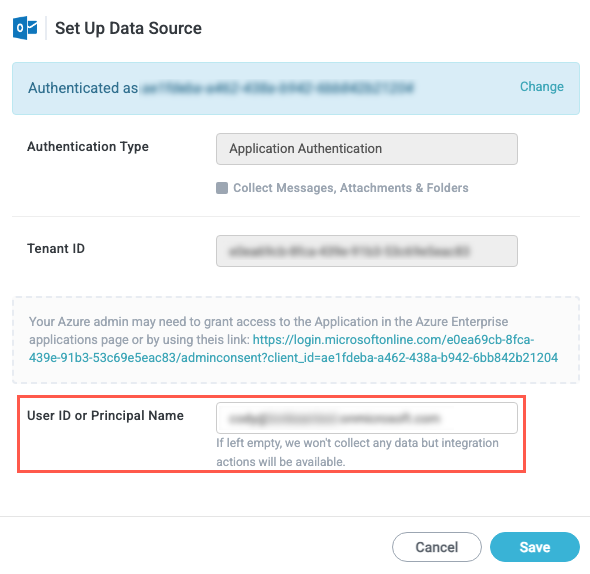
In the Authentication Type field, select Application Authentication. If desired, select the Collect Message, Attachments & Folders checkbox. This option enables Tonkean to collect these entities.
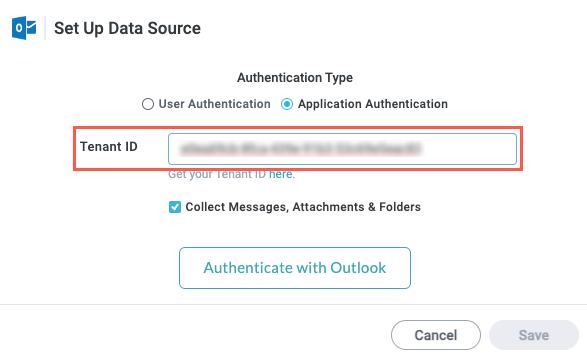
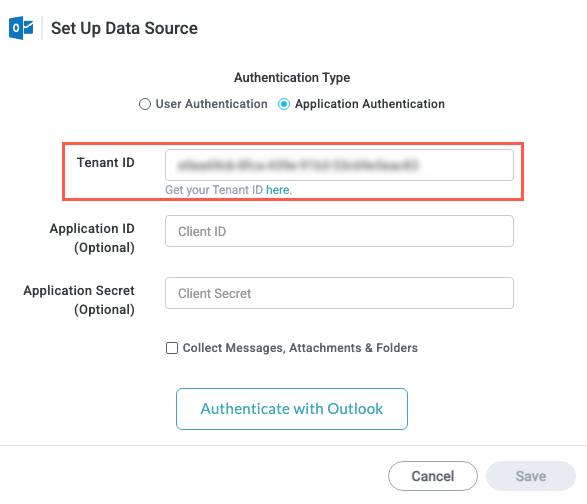
Enter your enterprise application Tenant ID.
To navigate to Entra ID to locate your Tenant ID, select here below the Tenant ID field.
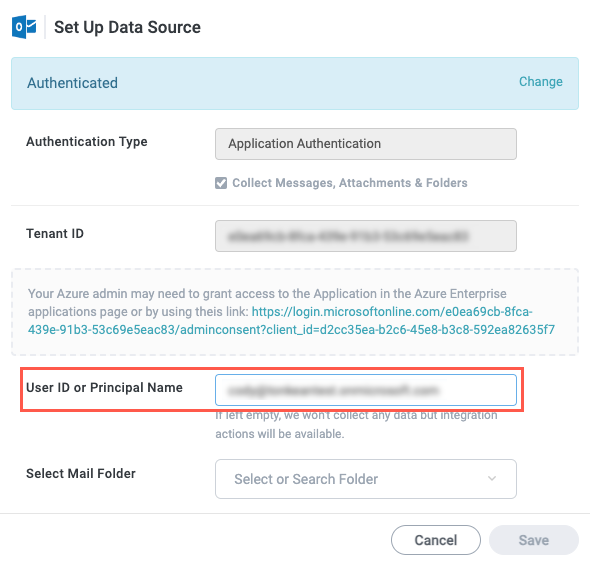
Enter your User ID or Principal Name. If no value is provided for this field, Tonkean does not collect any data but you can still use Outlook data actions.
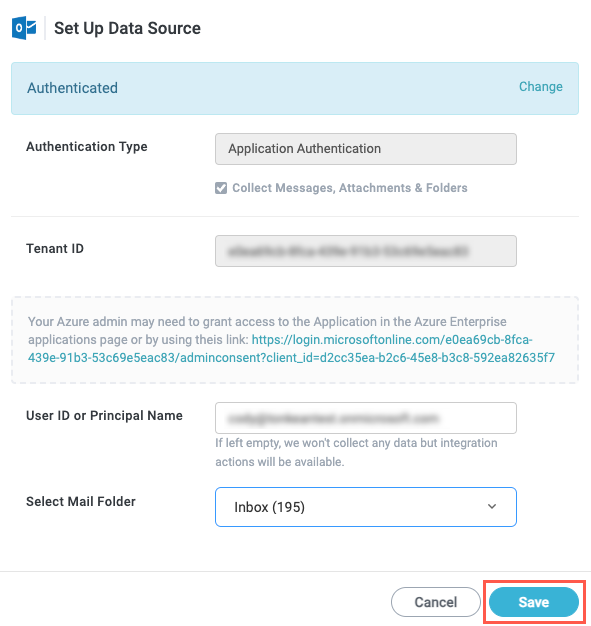
Select or search for the Mail Folder to connect Tonkean to. To enable Tonkean to view all messages, select the root folder, Inbox.
This dropdown only displays if you selected the Collect Messages, Attachments & Folders checkbox.

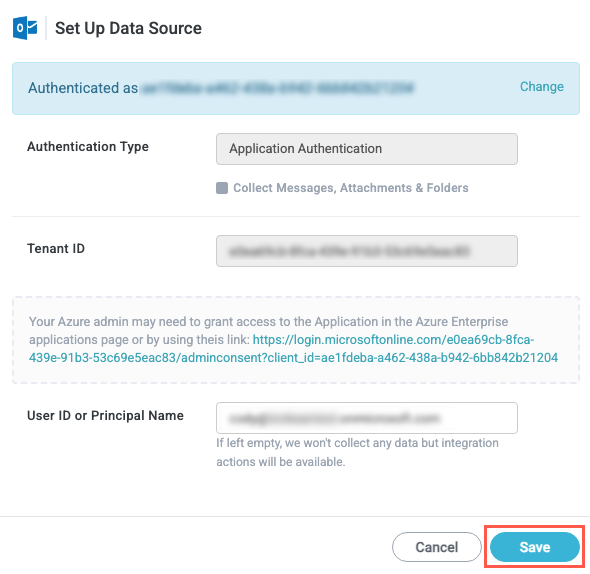
When finished, select Save.
Your Outlook account is connected to Tonkean through application authentication. Be sure to give the relevant solutions access to the new data source.
Authenticate with the Tonkean for Outlook - Limited Application
The Tonkean for Outlook - Limited application supports only sending mail and reading/writing calendars.
Grant Access to the Tonkean for Outlook - Limited Application
Before connecting the Outlook data source in Tonkean, you must accept the permissions requested by the Tonkean for Outlook - Limited application. To accept these permissions, follow the steps below:
As a Microsoft admin user, navigate to the following Tonkean for Outlook - Limited permissions URL. The Permissions requested window displays.
Confirm the application is Tonkean for Outlook - Limited, then select Accept. The Tonkean Sign In screen displays. You may sign in here or close the browser tab if Tonkean is open already in another tab.
Permissions are accepted.
Authenticate with Outlook in Tonkean (Limited)
With the Tonkean for Outlook - Limited application granted the required permissions, you can authenticate with Outlook in Tonkean using that application by following the steps below:
In Tonkean, select the main nav icon,
, in the upper left and select Enterprise Components. The Enterprise Components screen displays.Select + New Data Source in the upper right.
Select Cloud Application. The Add New Data Source window displays.
Enter "Outlook" in the search field, then select Outlook. The New Outlook Connection window displays.
Select Create a new connection. The Set Up Data Source window displays.
In the Authentication Type field, select Application Authentication.
Enter your enterprise application Tenant ID. The Application ID and Application Secret are only required if using a custom application.
To navigate to Azure to locate your Tenant ID, select here below the Tenant ID field.
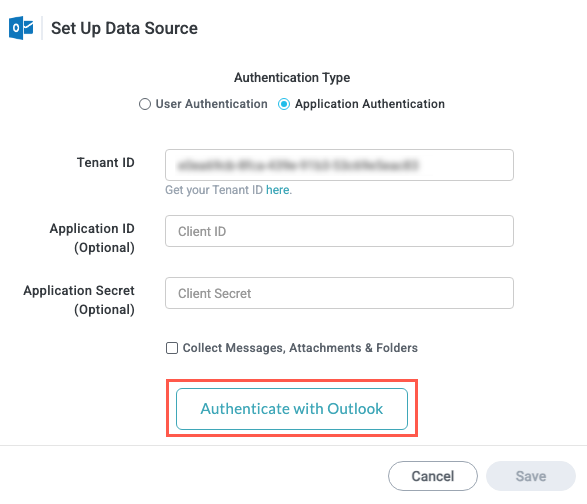
Select Authenticate with Outlook. The authentication process runs.
Enter your User ID or Principal Name. If no value is provided for this field, Tonkean does not collect any data but you can still use Outlook data actions.
When finished, select Save.
Your Outlook account is connected to Tonkean through application authentication using Tonkean for Outlook - Limited. Be sure to give the relevant solutions access to the new data source.
Authenticate with the Tonkean Using a Custom Application
If you prefer, you can use a custom Azure application to authenticate with Tonkean. Except for the additional step of creating your custom application and adding the necessary scopes, the process for authenticating with Tonkean using a custom application is nearly identical to using a Tonkean-provided application.
If you don't have an enterprise application in your Azure AD tenant, create one.
When registering the application, in the Supported account types section, select Accounts in this organizational directory only.
In the relevant enterprise application, add the following scopes as Application permissions (not Delegated permissions):
Mail.SendUser.ReadCalendars.ReadWrite(Include this scope only if you want Tonkean to collect the Calendar entity)Mail.ReadWrite(Include this scope only if you want Tonkean to collect Messages, Attachments, and Folders; this is equivalent to the Tonkean for Outlook application)
For more information about limiting access to specific mailboxes, see Limiting application permissions to specific Exchange Online mailboxes.
Authenticate with Outlook in Tonkean (Custom App)
With your enterprise application configured in Azure, you can authenticate with Outlook in Tonkean using that application. To authenticate with Outlook, follow the steps provided in either of these sections above:
Authenticate with Outlook - To collect messages, attachments, and folders.
Authenticate with Outlook (Limited) - To not collect message attachments, and folders.
The only difference is that in addition to providing the Tenant ID, you must also provide your custom application's Application ID and Application Secret. Otherwise, the setup process is the same.